CONTACT CUSTOMER CARE 1+(619)449-2392
Assembly Guide:
A
A
B
B
C
C
1A
1B
1C
1A
1B
1C
.
Step 1
Step 2
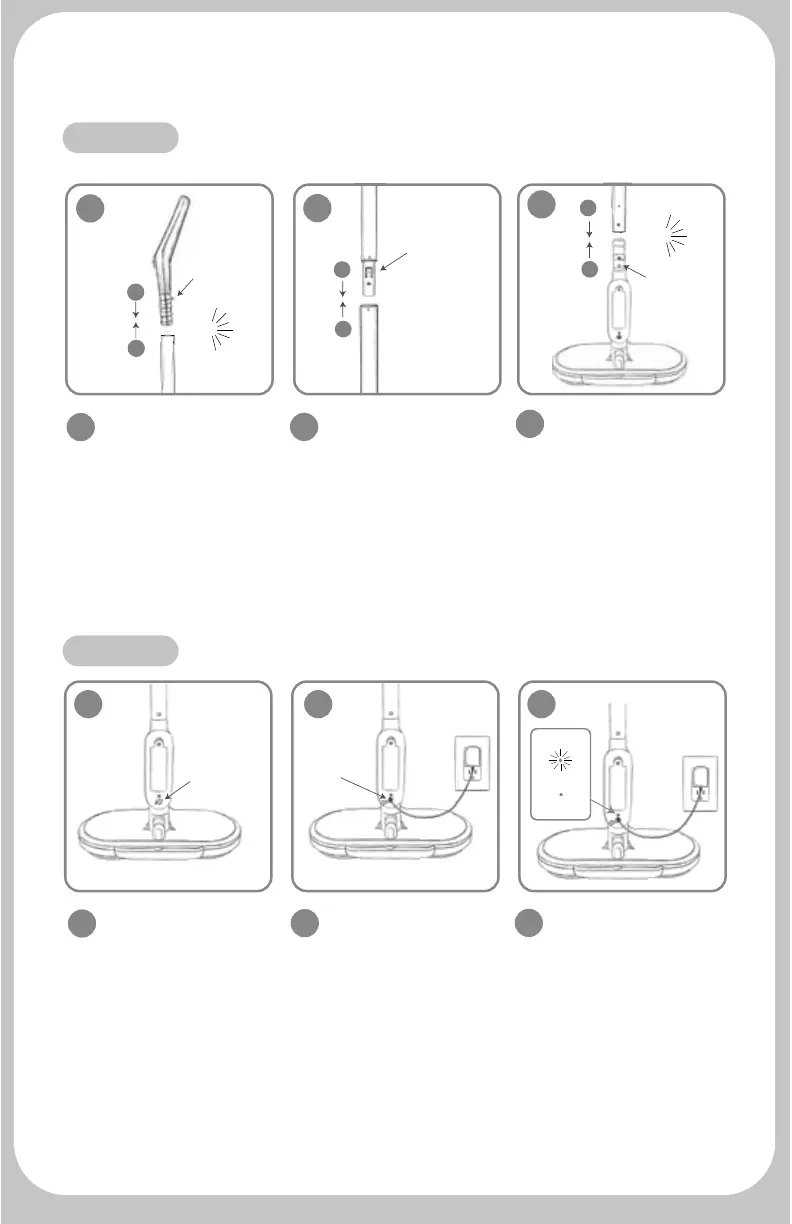
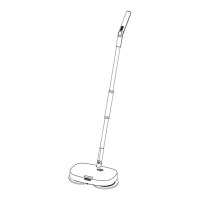
Assemble the main unit
Charging the main unit-please fully charge before using
A detailed guide to assembly
Connect handle and
top aluminum pole by
pressing in the metal pin
on the handle and aligning
it with the hole in the
top aluminum pole. Labeled
A to A.
2A
Now that your main
unit is fully assembled, it’s
time to charge it. Pull the
tab of the protective
closure to access the
charging port.
Connect the top
aluminum pole and bottom
aluminum pole. The poles
are designed so the tab of
the top aluminum pole locks
into place with the bottom
aluminum pole. Labeled B
to B.
2B
Plug the adapter into
an outlet and the cable into
the charging port on the
unit. Please fully charge
your unit prior to using. A
full battery charge takes
4-5 hours.
Connect the main body
to the bottom aluminum
pole by pressing in the
metal pin on the main
body and aligning it with
the hole in the bottom
aluminum pole. Labeled C
to C.
2C
The battery charge
indicator light shows the
charging status. A flashing
red light means the unit is
still charging, solid green
light means the unit is fully
charged and ready to use.
metaI pin
tab
metal pin
click
click
2A
protective
closure
2B
charging-
port
2C
Battery Charge
Indicator Light
flashing red
= charging
solid green
= fully charged



 To Next Page