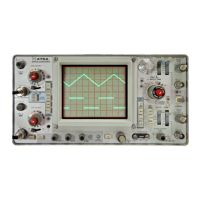
a. Equipment setup is shown in Fig. 6-4.
b. Turn the POWER switch to ON position, then connect
a calibrated voltmeter between pin K on the Vertical Ampli-
fier ond Blanking circuit board, and chassis ground (see Fig.
6-5).
c. If the voltage is not within tolerance, adjust the -10
Volts adjustment R968, for a meter reading of -10 volts.
2. Check +10 Volt and + 150 Volt Power
Supplies
NOTE
The high voltage supply must be operating before
the + 150 volt supply will regulate. If the high
voltage supply is not operating, a substitution
may be made by connecting a 30 volt battery
between the + 150 volt supply and the high volt-
age 175 V supply as follows:
Connect the + lead of the battery to pin AQ
on the power supply board. Connect the - lead
of the battery to pin Al.
a. Equipment setup is given in step 1.
b. Connect the voltmeter between pin L of the Vertical
Amplifier and Blanking circuit board and chassis ground
[see Fig. 6-5). Check the +10 volt supply. Must read
between +9.7 and +10.3 volts (10 V ±3%).
c. Connect the voltmeter between pin M, of the Vertical
Amplifier and Blanking circuit board, and ground. Check
the +150 volt supply. Must read between +145.5 and
+154.4 volts (+150V ±3%).
3. Adjust High Voltage Power Supply 0
a. Test equipment setup is given in step 2.
b. Turn the POWER switch to OFF position. Remove the
CRT base socket, then remove the plastic CRT base socket
cover. Replace the base socket on the CRT.
Fig. 6-5. Location of the low voltage check points.
Fig. 6-6. Adjusting the — 3670 V supply.
6-9

 Loading...


