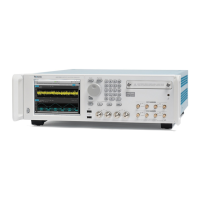
016-1674-50 Rackmount Kit
3
Installation Instructions
This section contains the following information:
H how to prepare your instrument to attach the rack adapter
H how to attach the rack adapter to your instrument
H Installation into equipment rack
Preparing the Instrument
This sub-section contains the following information:
H Handle Removal
H Feet Removal
H Rear Cover Removal
NOTE. All parts removed from the instrument in this procedure should be saved.
You will need some of them to reconvert the instrument to a standard version at a
later time.
1. Insert the flat-bladed screwdriver into the slit between the block and the
cover. See Figure 1.
2. Release the latch of the cover using the flat-bladed screwdriver. See Figure 2
and refer to
1 .
CAUTION. The latch of the cover can be released by lifting it up ward about 5
mm. Do not lift the cover more than necessary when releasing the latch. If so the
nail at the opposite side of the cover can be broken.
3. Remove the cover by sliding it sideways to the handle. See Figure 2 and
refer to 2 .
4. Repeat step 1 through 3 for another cover to remove.
5. Using a #2 phillips tip screwdriver, remove the one screw (M4 10 mm)
securing the block and handle to the cabinet.
Handle Removal
 Loading...


