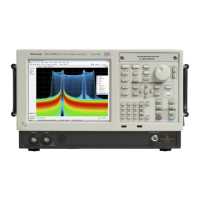
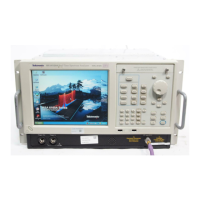
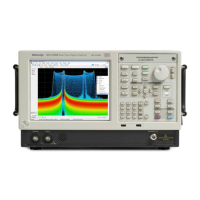
Kit description
6. Reinstall the f
ront bracket (item 1) and front closure bracket (item 2).
a. If installing one instrument: Reinstall the front bracket (item 1) b y starting
the threads of
the two thumb screws on either side of the instrument.
Reinstall the front closure bracket (item 2) by slipping it behind the front
bracket (item 1) and starting the threads of the thumb screws that go
through the holes provided in the closure bracket (item 2). Tighten all
four thumb screws.
b. If installing two instruments: Reinstall the front bracket (item 1) by
starting the threads of all four thumbscrews,andthentighteningall
four thumb screws.
7. You can now run cables through the center pass-through opening. If you are
not running cables through the pass-through opening, install the front middle
closure
bracket (item 5) using two 10-32 nuts.
6 RSA306B Rackmount Kit Installation

 Loading...


