6. SWITCHING ON THE
WFT402 - WFT402/12
1. Press the ON/OFF button to switch o the
router.
2. Insert the SIM CARD, as shown in Fig. 2.
3. Connect the power cable.
4. Press the ON/OFF button and wait for the
router to connect to the mobile phone net-
work of the operator associated with the SIM
CARD.
Insert or remove the SIM CARD with the
router switched o. If the router is on,
the SIM CARD may be damaged and
become unusable.
The LEDs on the front panel provide indications
on the operational status of the router.
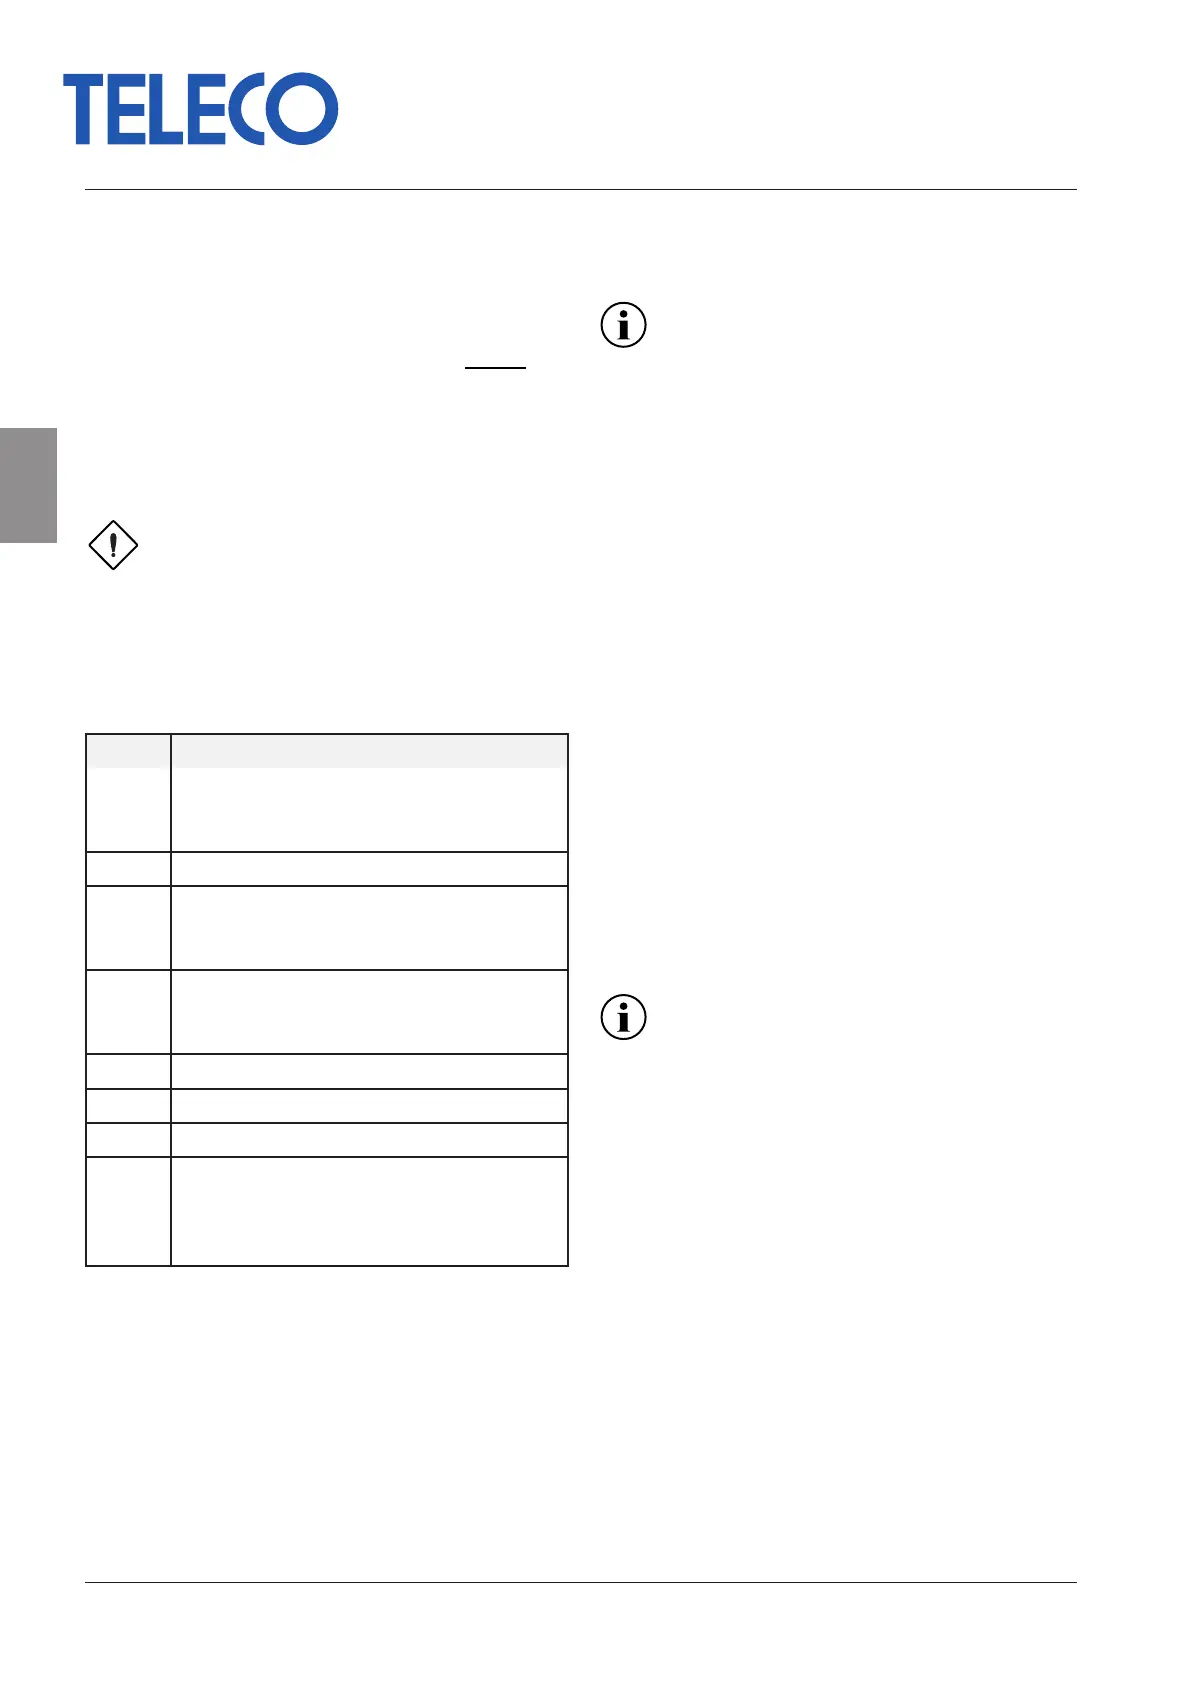
LED Status
SYS
Power supply
On: Power supply present
O: Power supply not present
RF Indication of the RF signal reception strength
WiFi
On: WiFi enabled
O: WiFi not enabled
Flashing: user connected
ETH
On: Concrete LAN or PC connection
O: Not connected with LAN or PC network
Flashing: Data transfer
SIM SIM present
WPS WPS active
4G 4G connection
NET
Wireless connection status indicator
On: Connected to the network
O: Not connected to the network
Flashing: data transfer
Tab. 1 - WFT402 - WFT402/12 LED status indi-
cators
6.1 Conguration
Congure the router using the Graphical User In-
terface (GUI) accessible via web browser by typ-
ing the address http://192.168.100.1.
Use the following login credentials to access the
conguration panel:
Password: admin
All the information for the GUI connection, the
user address, password and IP router is displayed
on a label on the back of the router.
Once you have entered, change the pass-
word to prevent unauthorized access.
6.2 APN conguration
For some telephone operators it is necessary to
manually congure the APN (Access Point Name)
address in order to access the internet.
1. Select the “Network setting” menu.
2. Select “Network setting”, select APN.
3. Set “Mode” to Manual, select “Add New”. Now
enter the APN address of the used operator.
Once the data has been saved the router will,
if it is correct, enable access to the internet.
6.3 Connecting to the WiFi network
The login credentials for the router WiFi network
are:
SSID: WFT402_xxxx;
WFT402/12_xxxx;
Password: 1234567890.
Change the SSID and WiFi network ac-
cess password using the GUI, in order to
prevent unauthorized access.
6.4 Internet access via the WAN port
1. Connect the WAN port on the back of the rout-
er to the Ethernet socket via an Ethernet ca-
ble with an RJ45 connector.
2. Congure the access parameters for the PP-
PoE/Static/DHCP internet network.
- 8 - Rev.001
EN
WFT402 - WFT402/12
Translation of the original instructions