10
Telesat Lightspeed Emulator Installation Guide
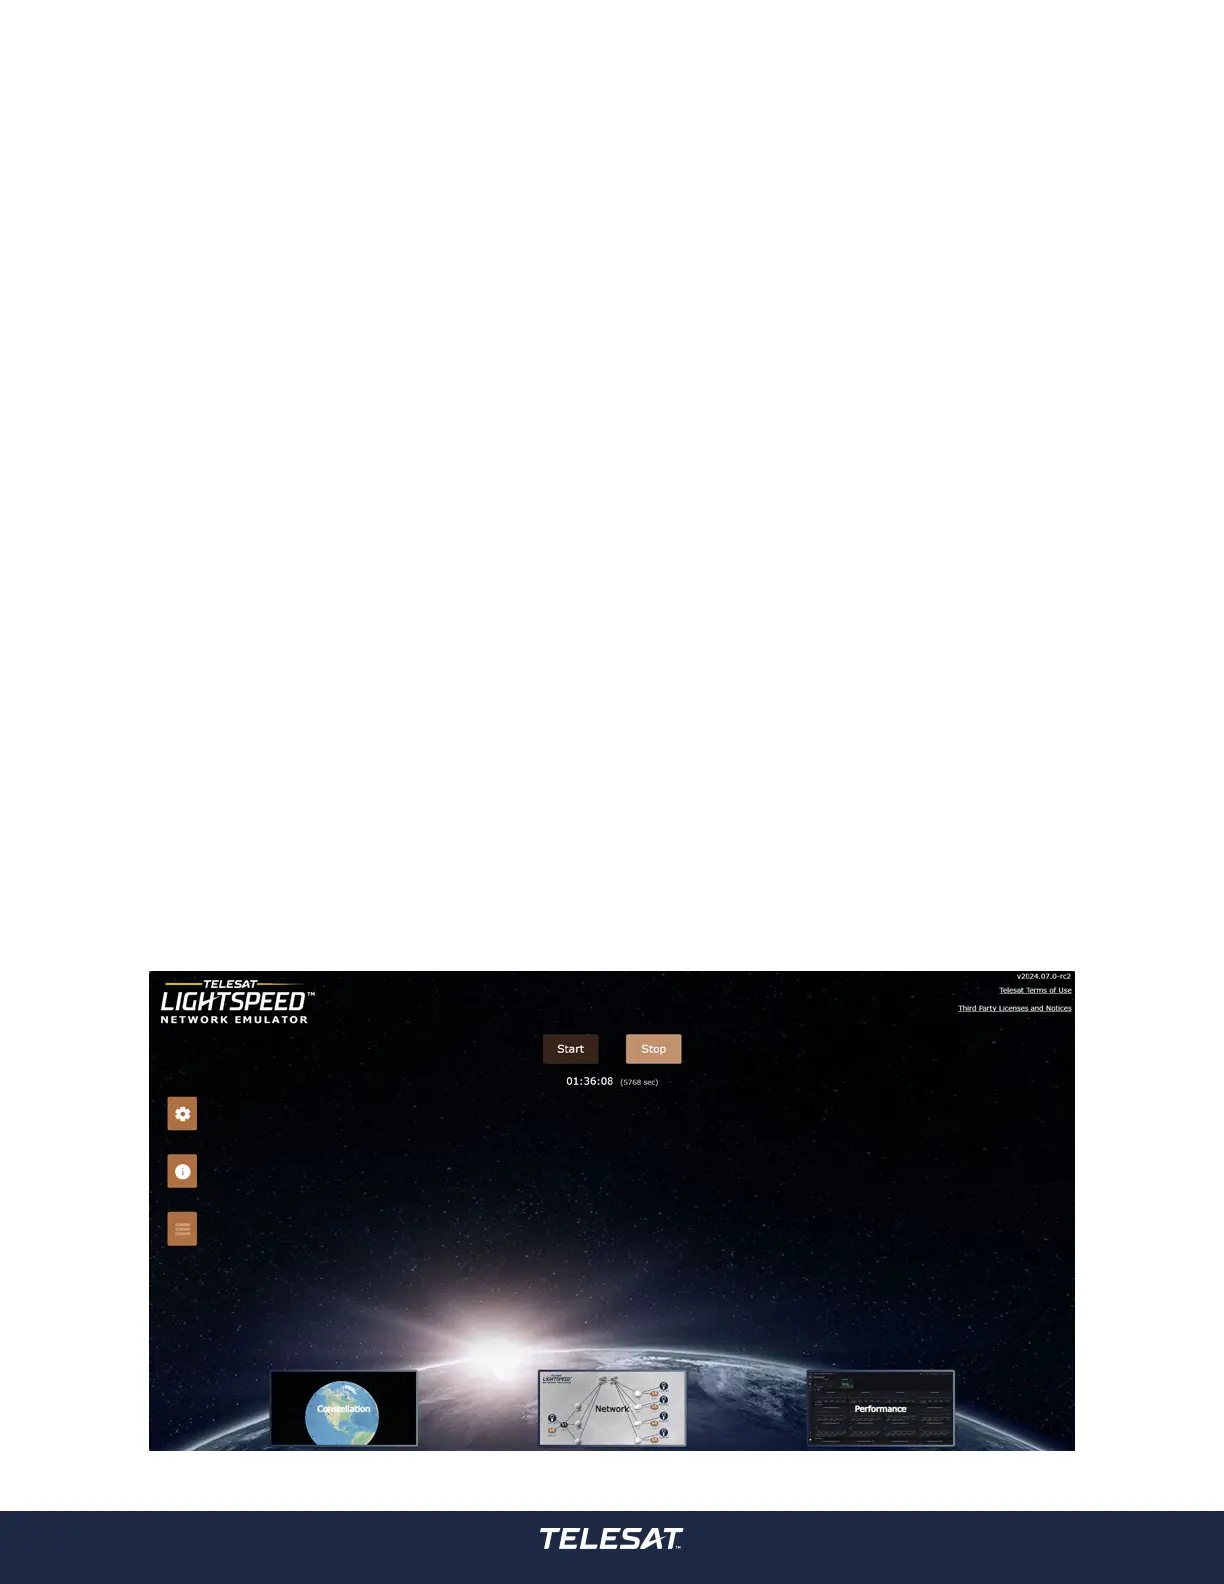
Figure 4: Network Emulator Home Screen
STEPS
1. Connect the Ethernet cable to the LAN1 management port on Network Emulator
and to the Ethernet port on the PC.
2. Log in to the PC.
3. Click on the Windows Start icon and type: View Network Connection.
The Ethernet Properties window opens.
4. Right click on the Ethernet port icon and select Properties.
5. Double click on Internet Protocol Version 4 (TCP/IPv4).
The Internet Protocol Version 4 (TCP/IPv4) Properties window opens.
6. Select Use the following IP address.
7. In the IP address: eld, enter 192.168.0.3
8. The subnet mask eld auto-lls with 255.255.255.0 once clicked on.
Gateway and DNS addresses are not required.
9. Click OK.
10. To test the connection, open a command prompt window. Click on the
Windows Start icon, type cmd and press Enter.
A command prompt window opens.
11. Type ping 192.168.0.2 (Network Emulator IP address) and press Enter.
If the destination host is unreachable or the connection times out, the IP
address conguration is not correct.
12. Open a browser window and enter 192.168.0.2 (Network Emulator IP
address) in the address eld.
13. The Network Emulator interface opens. On the initial start-up, you receive a
prompt with the Telesat Lightspeed Network Emulator Terms of Use. Read the
terms of use and click Close.
14. The Telesat Lightspeed Network Emulator is now ready for use. Refer to the
Telesat Lightspeed Network Emulator Release # User Guide for information
on operation.