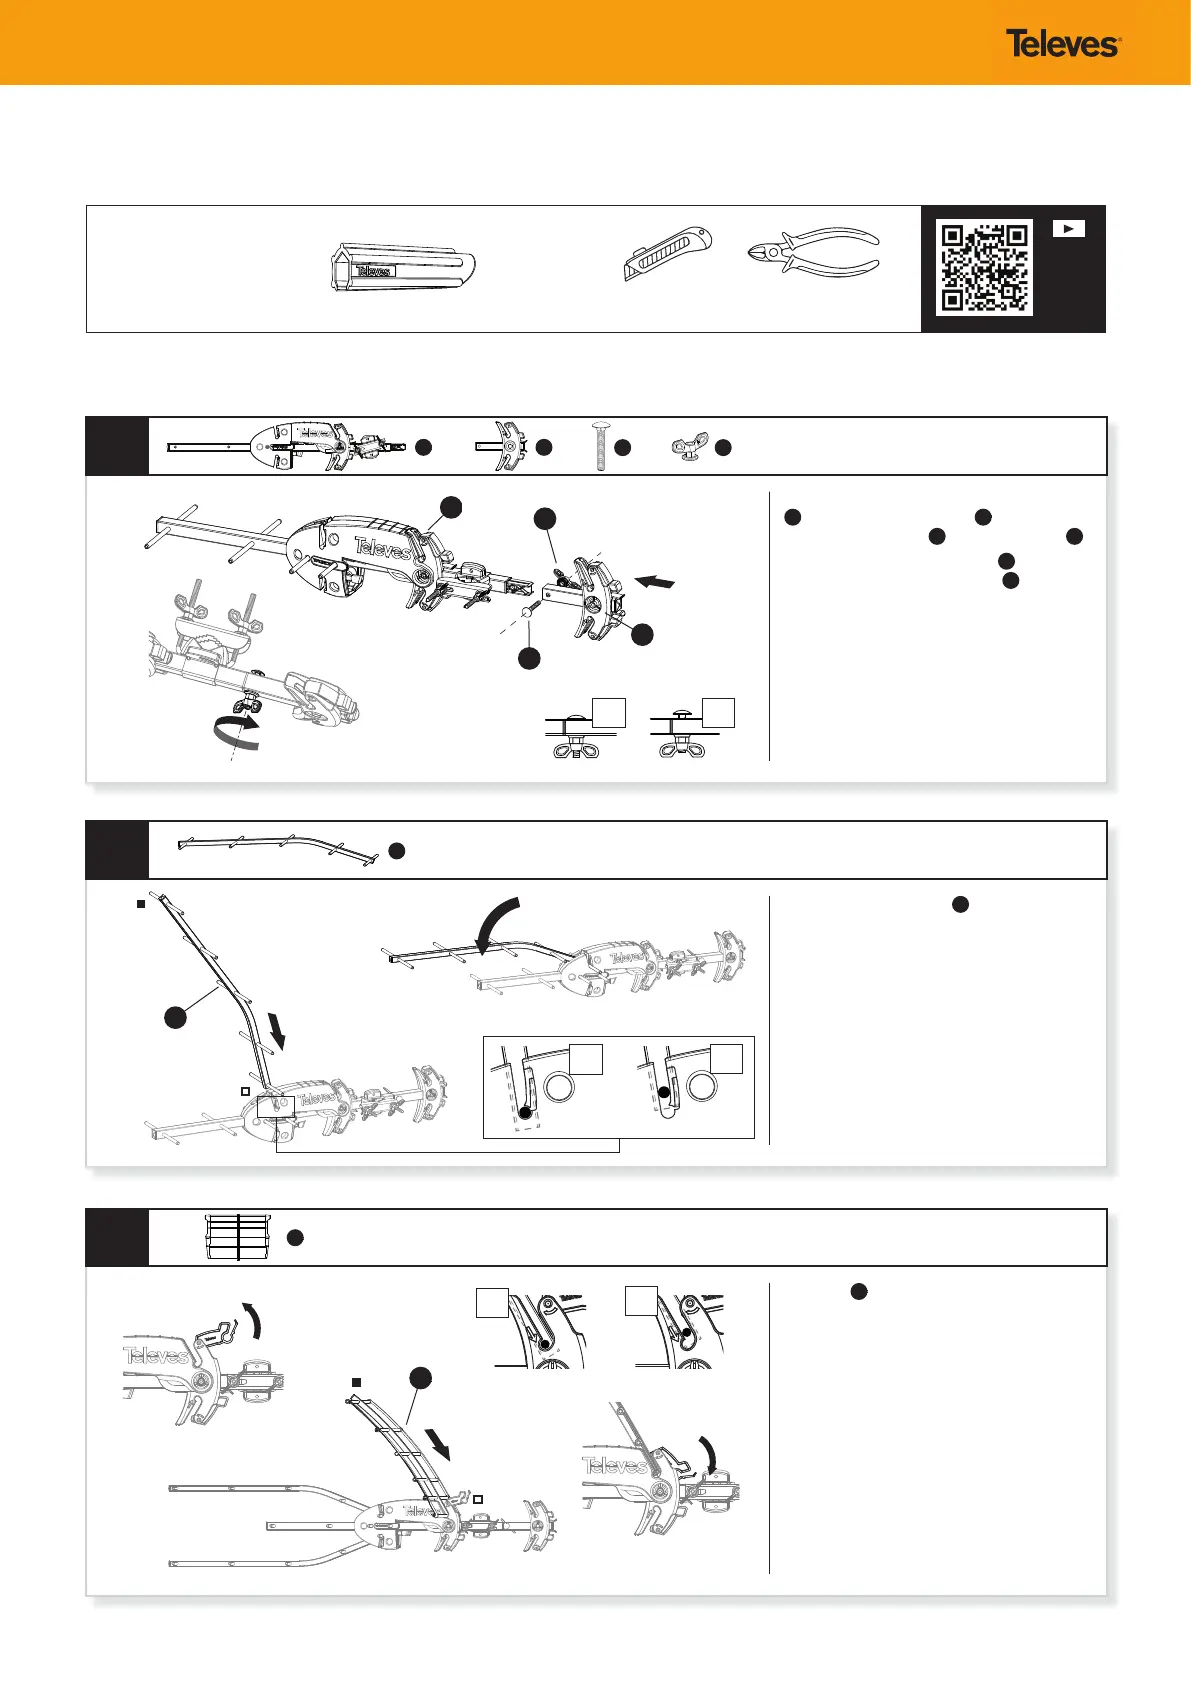
Antenna assembly / Montaje de la antena
1
3
2
A
B x2
C
I J
Proceed to insert the VHF reector extensión
C
into the Main asembly
A
. Secure both
parts using the screw
I
and the wing nut
J
.
Note: Tighten the wing nut
J
until the
square carriage head of the bolt
I
sinks into
the aluminum and the head sits ush with
the boom. The bolt base will bite into the
aluminum, securing the joint.
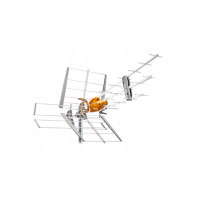
Place the
D
UHF reector in the self-locking
clamp by inserting the open end of the
reector without the grey plastic cap on it
and with the black plastic locking mechanism
in an upward position (unlocked).
Once the reector is fully seated in the clamp
(all the way to the bottom of the slot), lock
them in place by rmly pressing down on the
black plastic latches.
An audible “click” will be heard when the
reector is securely locked in place.
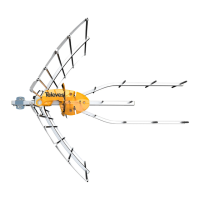
Insert the UHF director
B
all the way into
the position indicated on the chart. Fold it
towards the central element until you hear
the CLICK of the hook.
Insert the part of the director that does not
have a plug.
Do the same process with the lower director.
A
I
C
J
Note: Start the assembly procedure after thoroughly checking all parts and becoming familiar with them.
NO
NEEDED
TOOLS
to assembly
the antenna
Included accesory
Cutter or Cutting pliers to release the items
(NOT included)
D
Scan to
watch
assembly
video
B
D
CLICK!
CLICK!
 Loading...