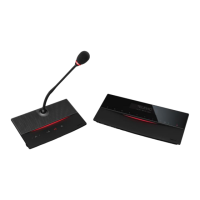
4. Headphone volume
5. Headphone bass
6. Headphone treble
7. Activate the floor sound: the LED on the button turns white when the floor is active
8. Microphone button: press the button to activate the microphone, the LED on the button turns
red when the microphone is active (or green if configured in this way)
9. Mute button: hold the button to mute the microphone, the LED on the button turns white when
the microphone is muted
10. Audible beeps: press and hold (1s, until your hear a beep) the button to enable auditory
feedback for:
Microphone button
Mute button
Channel already in relays
Incoming message
11. Headphone connector
12. Slow down: press this button to send a message to all units with an open microphone to speak
slower
13. Relay 1-6: press to select the incoming channel. The LED on the button of the active channel
tuns white when active
14. Outgoing channel A-C: press to select the outgoing channel. A green LED on the button
indicates the channel is selected, a red LED indicates the channel is active
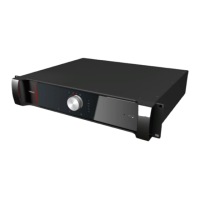
15. Display: for a detailed description see "How to use the Lingua IDinterface" on page46
How To Change Relays And Outgoing Channels
To change the relays and outgoing channels you need to execute a combination of actions:
1. Press the button underneath the channel and simultaneously rotate the Jog Wheel of the menu
button
2. The menu with available languages opens.
HO W TO USE THE L ING UA ID UNIT 44