63
O
EN
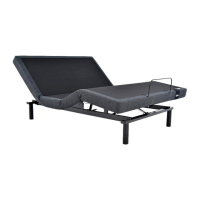
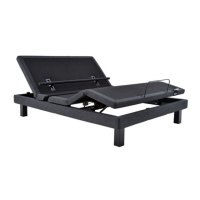
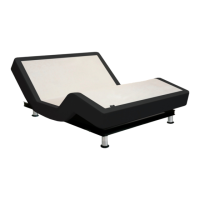
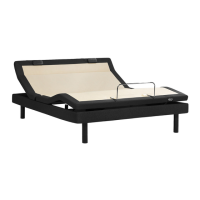
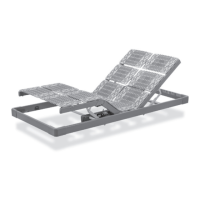
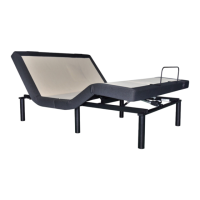
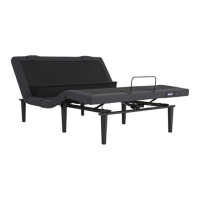
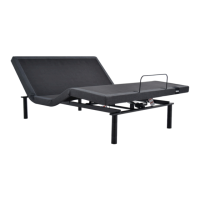
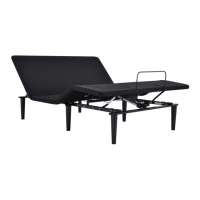
Aspire floating headboard installation
O
KR 머리판 브라켓 설치
O
JP フローティングヘッドボード取り付け方
O
CN 头枕支架安装
O
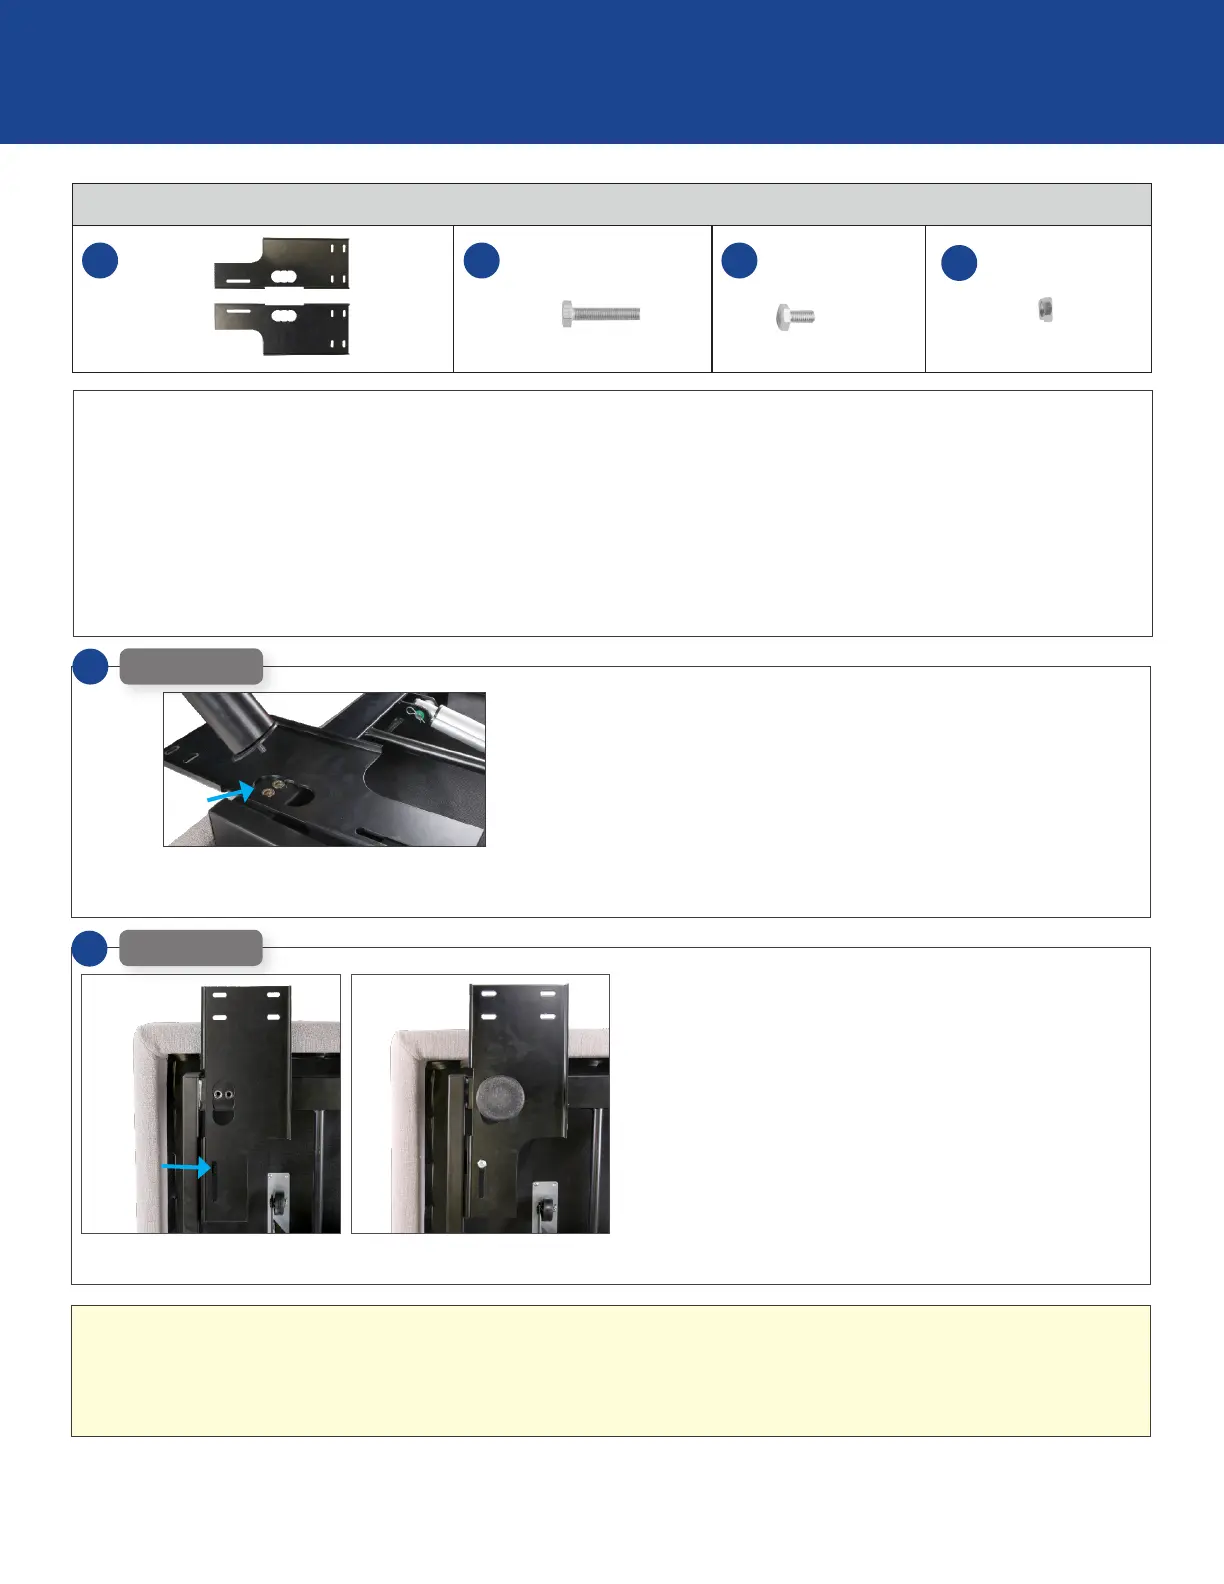
EN With the bottom of the base facing up, position the bracket
with the flat side of the bracket against the base.
Make sure the 4 holes in the end of the bracket extend
beyond the edge of the base by 1 inch (25 mm).
O
KR 바닥면이 위로 향하도록하여 브래킷의 평평한면이 바닥에
닿도록브래킷을 놓습니다.
브래킷 끝에있는4개의 구멍이1인치(25mm)정도
밑면의 가장자리를 벗어나지 않도록하십시오.
O
JP ベッドを裏 返しに置き、ブラケットの平らな 面 を下 にして ベ
ッドフレームの上に置きます。ブラケットの端にある4つの
穴がベッドフレーム上面から2.5cm程度外側に出るように
して合 わ せます。
O
CN 将底座倒置,将支架的平滑面放在底座上。确保支架末
端的4个孔超出底座边缘1英寸(25mm)。
O
CN 將底座的底部朝上,將支架的平面放在底座上。
確保支架末端的4個孔超出基座邊緣1英寸(25mm)。
Aspire
A B C
D
O
EN Insert leg into one of the leg threads and hand tighten
only.
O
KR 다리 끈 중 하나에 다리를 넣고 손으로 조입니다.
O
JP ベッドフレームにあるネジ穴のひとつにレッグを差し込
み 、手 で 回 し て 締 め ま す 。
O
CN 将床腿固定入一个螺孔,然后用手拧紧。
O
CN 將腿插入其中一條腿線,然後用手擰緊。
1
Aspire
O
EN Using one short bolt and one nut, secure the outside edge
of the bracket to the frame.
O
KR 짧은 볼트1개와 너트1개를 사용하여 브래킷의 바깥 쪽
가장자리를 프레임에 고정하십시오.
O
JP レンチを使用し、ブラケットとベッドフレームをショート
ボルトとナットで固定します。
O
CN 使用一个短螺栓和一个螺母,将支架的外侧边缘固定到
框架上。
O
CN 使用一個短螺栓和一個螺母,將支架的外側邊緣固定到
框架上。
2
Aspire
O
EN Repeat steps 1 and 2 for the other side of the base.
O
KR 받침대의 반대쪽에 대해1단계와2단계를
반복하십시오.
O
JP 反対側も手順1~2を繰り返します。
O
CN 对底座的另一侧重复步骤1和2。
O
CN 對底座的另一側重複步驟1和2。