64
O
EN
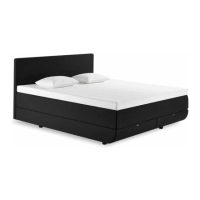
Aspire floating headboard installation
O
KR 머리판 브라켓 설치
O
JP フローティングヘッドボード取り付け方
O
CN 头枕支架安装
O
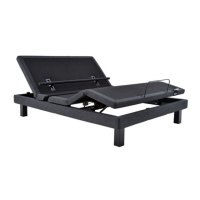
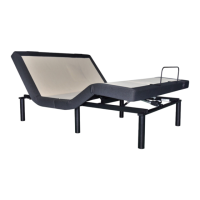
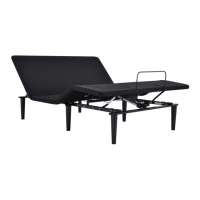
EN Carefully flip the base over on to its legs.
O
KR 다리 끈 중 하나에 다리를 넣고 손으로 조입니다.
O
JP 注意しながらベッドを表向き(レッグが床についている状
態)にします。
O
CN 小心地将底座翻转,用腿部进行支撑
O
CN 將腿插入其中一條腿線,然後用手擰緊。
3
O
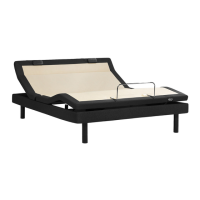
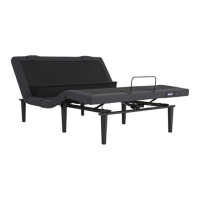
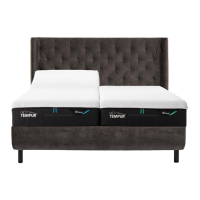
EN Lift and position headboards onto the top of the brackets.
Be sure to line up the holes in bottom of headboard with
the holes in the bracket.
O
KR 헤드보드를 들어서 브래킷 위에 위치시키십시오.
헤드보드 아래쪽의 구멍과 브래킷의 구멍이 일치하도록
하십시오.
O
JP ブラケットとヘッドボード底面にある取り付け穴が重な
るようにヘッドボードをブラケットの上に乗せます。
O
CN 将床头抬起并放置在支架的顶部。确保将床头立板底部
的孔与支架上的孔对齐。
O
CN 將床頭抬起並放置在支架的頂部。確保將床頭立板底部
的孔與支架上的孔對齊。
4
Aspire
Aspire
O
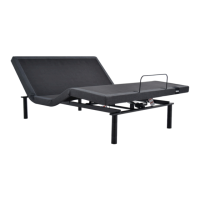
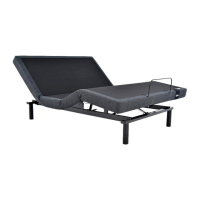
EN Thread 4 long bolts into the bottom of the head board for
each bracket. Tighten and secure the bolts.
O
KR 긴 볼트를4개를 이용하여 각 브래킷을 헤드보드
아래쪽에 고정시키십시오.렌치를 사용하여 볼트를
조이십시오.
O
JP レンチを使用し、ヘッドボードと両方のブラケットをロン
グボルト4本でそれぞれ固定します。 最後にヘッドボード
とベッドフレームとの間に隙間があいていることを確認
します。
O
CN 将4个长螺栓旋入每个支架所在的床头立板底部。拧紧
并固定螺栓。
O
CN 将4个长螺栓旋入每个支架所在的床头立板底部。拧紧
并固定螺栓。
5
x4
Aspire
O
EN If setting up a split unit with King size headboard, repeat
steps 4 and 5 for the second base.
O
KR 킹 사이즈 헤드보드와 함께 스플릿 유닛으로 설치하는
경우에는2번째 베이스에서4단계와5단계를
반복하십시오.
O
JP キングサイズのヘッドボードの取り付けは、手順4~5を
繰り返します。
O
CN 如需安装带有大号床头立板的单元,请对第二个底座重
复步骤4和5。
O
CN 如果安裝大床尺寸床頭板的組合單元,請對第二個床架
重複步驟4和5。