English
02
1. Set up the CPEs (AP mode + Client mode)
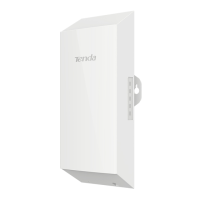
Place two CPEs in factory settings next to each other, open
their covers and power them on.
After the CPEs complete startup, they start automatic
bridging and their LED1, LED2 and LED3 indicators blink
quickly. About 1 minute later, when the LED1, LED2 and LED3
indicators of one CPE light solid on and those of the other
CPE blinks slowly, the automatic bridging succeeds.
To bridge more CPEs, put other CPEs in factory settings near
the CPE working in AP mode (LED1, LED2 and LED3 are solid
on), and power them on one by one within 30 minutes.
At least two CPEs are required for bridging. One CPE can bridge with 15
CPEs at most.
Automatic bridging only works for CPEs in factory settings.
Tips
-
-
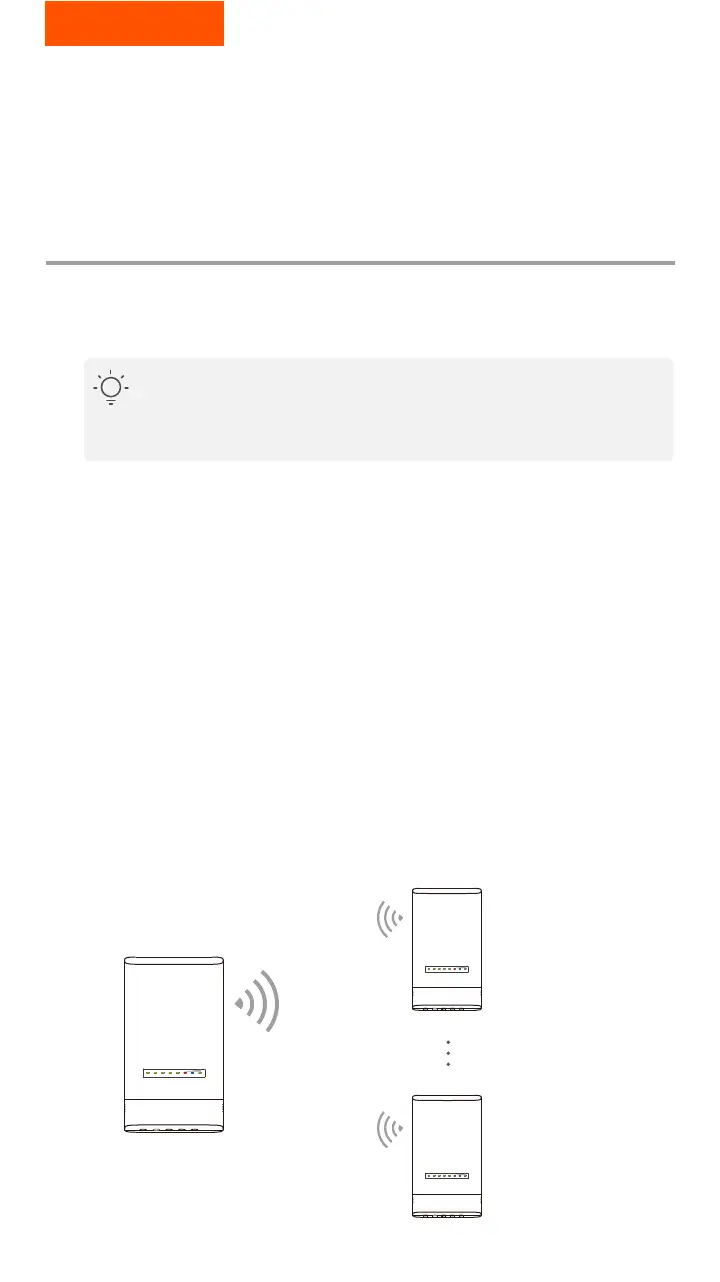
Scenario 1:
CCTV surveillance or point
to point data transmission
CPE1: AP mode
LED1, LED2 and LED3
are solid on.
CPE2: Client mode
LED1, LED2 and LED3
are blinking.
CPE16: Client mode
LED1, LED2 and LED3
are blinking.
Example: OS3 (Peer-to-multiple bridging)
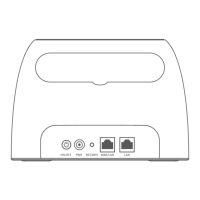
Power PoE
/
LAN1 LED1 LED2 LED3LAN2 LAN3 LAN4
Power PoE
/
LAN1 LED1 LED2 LED3LAN2 LAN3 LAN4
Power PoE
/
LAN1 LED1 LED2 LED3LAN2 LAN3 LAN4

 Loading...