ACM Series Instrument www.tensitron.com pg. 9
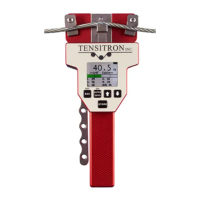
3. Save your reading by turning the Memory Lock feature ON. Do this by pushing
the memory lock shaft UP as far as possible, so the red stripe on the shaft is
visible. (See Figure 7)
4. Disengage and remove the meter from the cable. The pointer will remain
locked in position so you can note the reading.
5. To clear the reading and return the pointer to zero, turn the Memory Lock
feature OFF (see step #1 above).
6. If you engage the Memory Lock with no tension load, you may see the needle
move slightly off zero. However, this small amount of travel will not materially
affect the accuracy of tension readings taken when the Memory Lock feature
is correctly used.
7. Do not try to measure tension with the Memory Lock feature already ON. Only
turn the Memory Lock feature on AFTER engaging the meter on the cable.
Converting Readings to Tension Values with Calibration Chart
The number on the dial is NOT the tension. You must convert the reading on
the dial to a tension value by using the chart on the back of the meter.
1. Once the meter is engaged onto the cable, note the reading (where the pointer
is on the dial).
2. Refer to the calibration chart on the back of the instrument and locate the
column for the cable diameter you are testing.
3. Find the number in this column that most closely corresponds to the pointer’s
reading.
4. Follow this number’s row all the way to the left until you reach a number in the
“TENSION IN LBS” column. This number is the true tension of the cable.
5. Tensions may differ along the length of an aircraft cable because cable shape
and thickness may vary. For greater accuracy, it is best to take multiple
readings along the cable and average these readings.
 Loading...