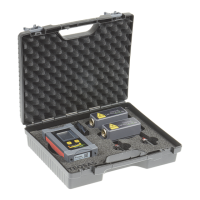
Calibration
LAP-TEQ PLUS 25
Step 2
► Check whether the reference surface on which the calibration is to be
carried out is level.
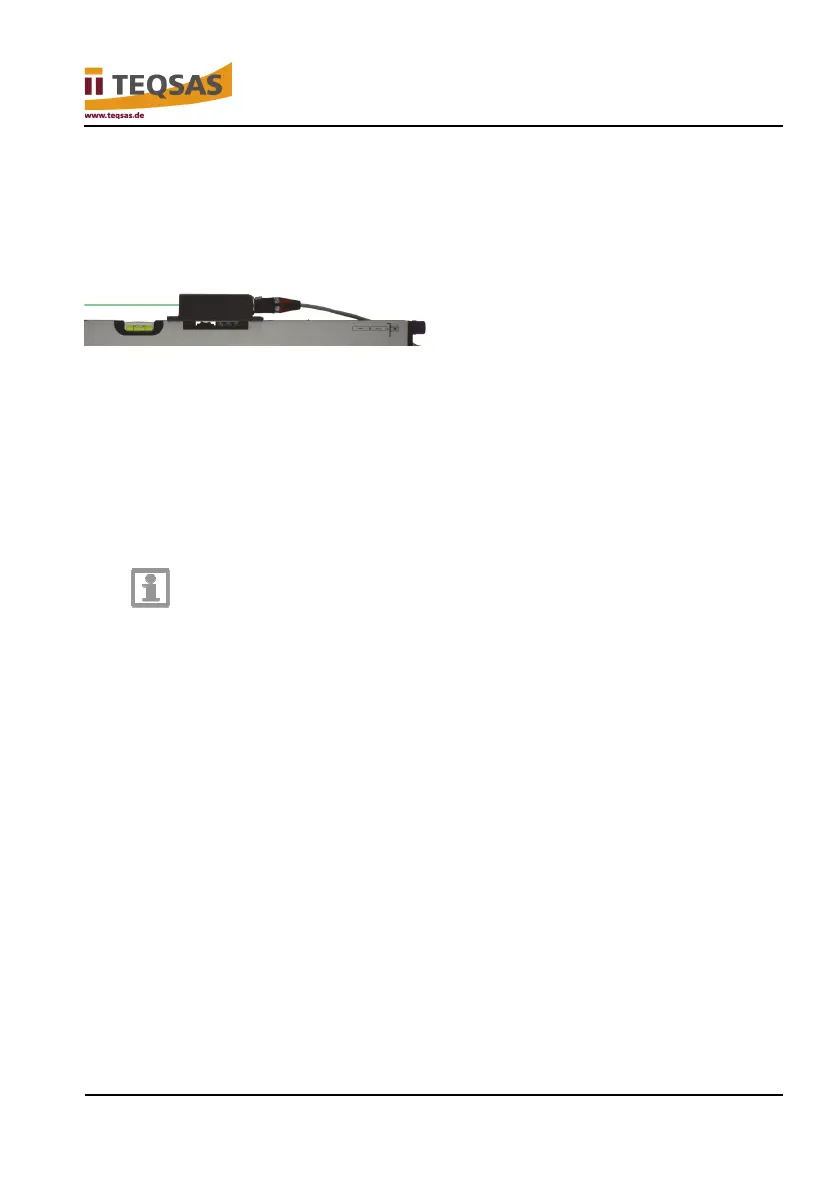
► Position the sensor unit with the base plate on the reference surface. The
laser beam exit points to the left.
Step 3
► Press and hold the “CAL” button on the display unit.
► Press the “Power” button on the display unit.
► Release both buttons as soon as “Welcome” appears at the bottom edge
of the display.
The system is now in calibration mode, which is indicated by “start calibrte?” in
the upper area of the display.
Notice
Pressing the “CAL” button on the display unit during operation
does not switch the sensor unit to calibration mode. Instead, a
short guide to calibration is displayed. The display automatically
switches back to the angle measurement after a few seconds.
► Press the “CAL” button again to start the actual calibration.
The question “calibrte 0.0° A?” appears on the display.
► Press the “CAL” button again to start calibration in direction “A”.
If “Sens pos incorrect” appears on the display, please check the orientation of
the base plate.
If the procedure is correct, “don’t move” appears on the display, followed by a
numerical value for “A” and the question “calibrte 0.0° B?”