①
Fig.7
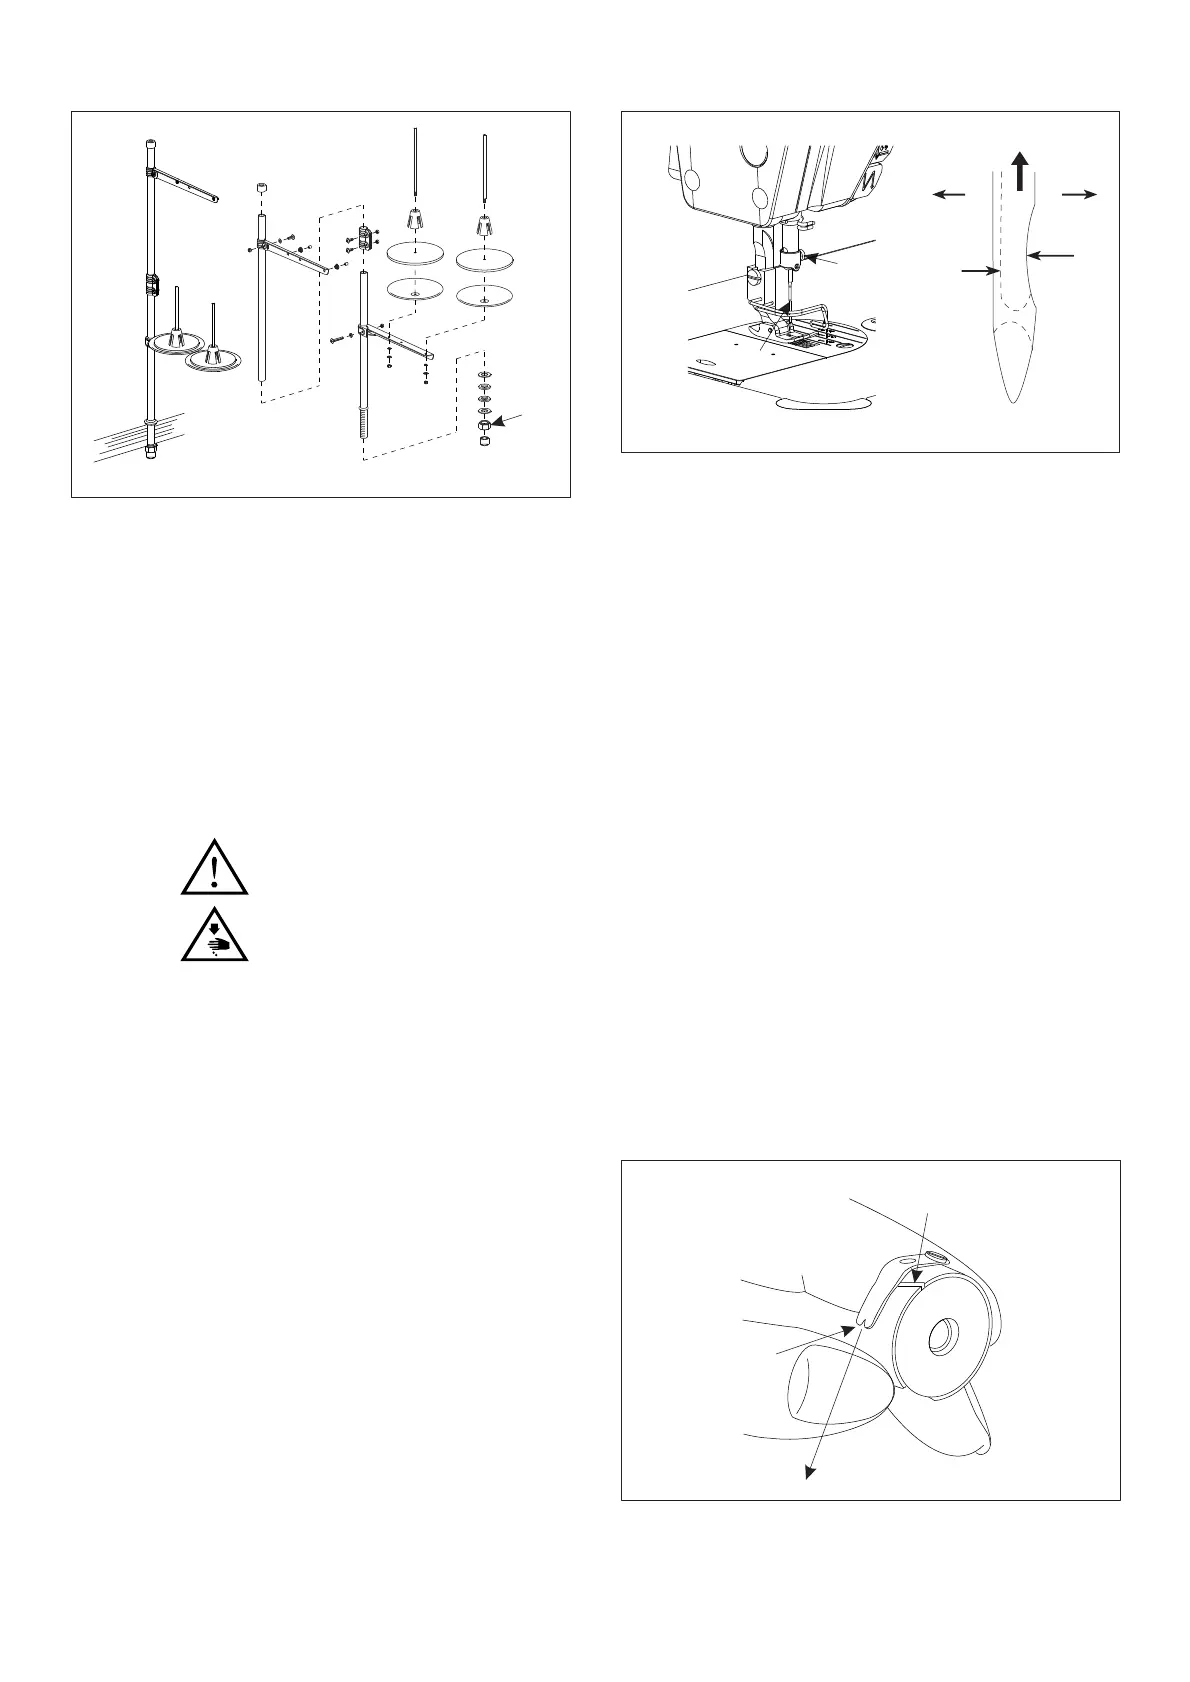
Mounting the Needle (Fig.8)
7
1. Turn the upper wheel to allow the needle to reach its maximum height.
2. Unscrew needle carrying screw ②
hold needle ① by hand, and align the indentation A of
needle to right direction B.
3. Insert the needle into the bottom of needle hole in direction of arrow till it reaches the end
point.
4. Screw down the needle carrying screw ②
5.
Take care to ensure that the elongated slot C on the needle is aligned to the left direction D.
Fig.8
①
②
A
B
C
D
Caution:
1. To prevent the unexpected startup of sewing machine, trim off the power
supply before the operation is conducted.
2. Needles are available in different sizes. Please select appropriate needle as
per the thickness of threads and the sewing materials.
A
B
C
Fig.9
Mounting the Bobbin (Fig. 9)
8
 Loading...