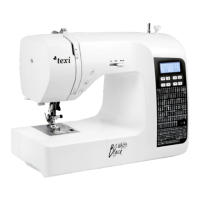
Caution: standard and maximal lifting heigh
Fig.14
①
A
B
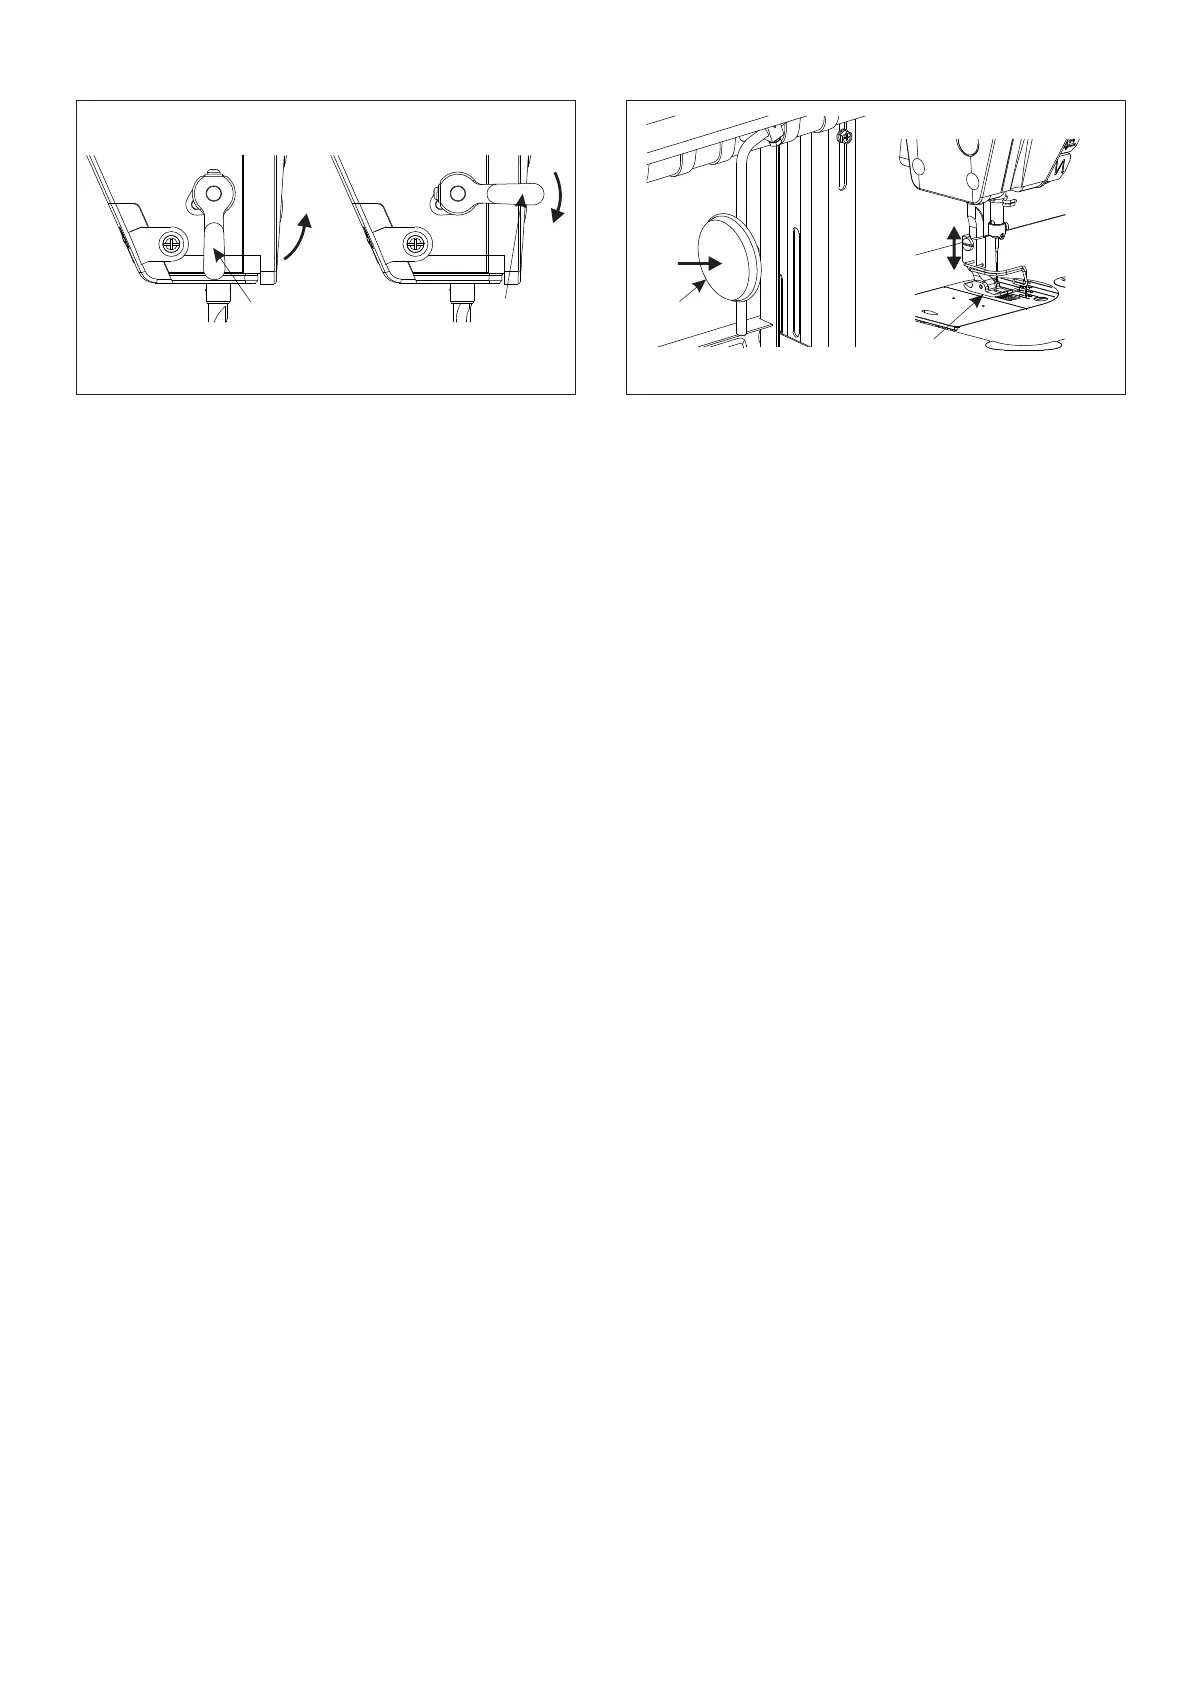
①
Fig.15
②
③
1.Use of back sewing buttonpush-
1) Push the backstitch switching push-button ①to allow the sewing machine to start backstitch
immediately.
2) Backstitch is implemented only while the push-button is held down.
3) It is changed to forward stitch once the push-button is released.
2. Use of reinforce sewing
Press the reinforce sewing button ②
one time, the sewing machine reinforce forth with half
stitch, press all the time, it continues sewing with forth reinforce.
Caution: in addition to continue back reinforce sewing,the reinforce sewing boutton can be as stop
button ② during any sewing condition.(before trimming)
3. Use of the light push-button
The illuminating lamp goes on at full brightness once the machine is powered on. Push illuminating
lamp control button ③ to reduce in sequence the brightness till turn off.
13 Adjusting the Stitch Length
The stitch pitch is controlled by the stepper motor , and there is no mechanical function
to adjust the stitch pitch . If you need to adjust the stitch pitch , please directly adjust the stitch pitch
on the operation panel. For the specific adjustment method , please refer to the elec-tronic control
operation manual.
14 Hand-touch Backstitch Device(Fig. 16)
 Loading...