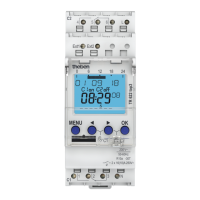
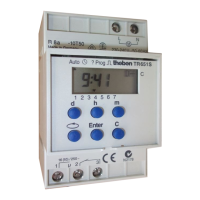
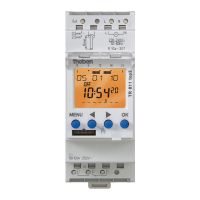
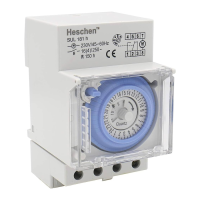
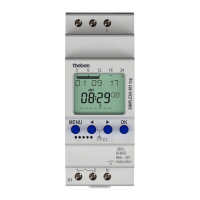
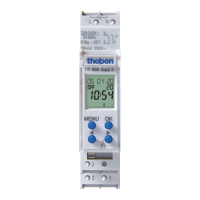
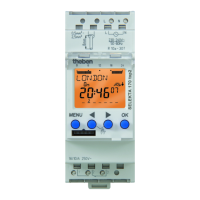
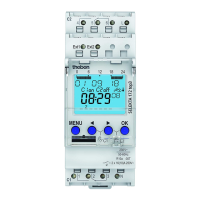
The Theben LUNA 111 top2 and LUNA 112 top2 are digital twilight switches designed for controlling lighting equipment in various applications such as streets, external stairways, display windows, and entrances. These devices are intended for installation on DIN top hat rails in closed, dry rooms.
Function Description
The primary function of the LUNA twilight switch is to automatically control lighting based on ambient light levels. It features a digital display and buttons for configuration and operation. The device measures lux values and switches lighting on or off according to preset thresholds.
Key Functions:
- Automatic Light Control: The switch monitors ambient brightness and activates or deactivates connected lighting based on configured lux values.
- Lux Value Setting: Users can define specific lux values for switching lights on and off. The device comes with a preset of 15 lux for both on/off levels, but these can be adjusted.
- Delay Setting: To prevent faulty operation due to transient light changes (e.g., lightning, car headlights), an on/off delay can be set. A default delay of 1 minute is pre-configured. When the delay ends, the channel status will flash ON/OFF.
- Sensor Allocation: The device supports connection with multiple light sensors. It can operate with up to 4 light sensors for a single LUNA unit or 1 light sensor for up to 10 LUNA units, with a maximum of 16 devices (LUNA + light sensors) in total. By default, all connected sensors are active for all channels, and the sensor sending the lowest lux value is considered active.
- Manual and Permanent Switching: Users can manually override the automatic control or set a permanent ON/OFF state. Manual control reverses the channel status until the next automatic or programmed switching event. Permanent switching keeps the lights in the selected state, making programmed switching times and thresholds ineffective.
- External Input: An external input can be configured with different functions, including "Not Active" (no function), "Button" (for manual control or countdown timer), or "Switch" (for permanent On or permanent Off). When an external function is active, "EXTERNAL" is displayed on the screen.
- Hour Counter: The device includes an operating hour counter for each channel (relay). This feature helps in maintenance planning, for example, by indicating when a lamp needs replacement after a certain number of operating hours (e.g., 5,000 hours). If the operating hours exceed a set value, "SERVICE" will appear on the display.
- PIN Code Protection: A PIN code can be set to protect settings from unauthorized changes.
- Language Selection: The device supports multiple languages for its interface.
Usage Features
Installation:
The device is designed for installation on DIN top hat rails. Installation should only be performed by a qualified electrician due to the risk of electric shock or fire.
- Mounting: The device clicks onto the DIN rail.
- Wiring: It features plug-in screwless terminals for load line connections and a 45° cable entry. Ensure the device is switched off, check for absence of voltage, earth and bypass, and cover any adjacent live components before wiring.
- Cable Connection: Strip cables to 8 mm (max. 9 mm) and insert them into the open DuoFix® plug-in terminals at a 45° angle. Two cables per terminal position are possible. To open the terminal, press a screwdriver downwards.
- Light Sensor Connection:
- Sensor 907 0 415: Strip cable by 10 mm (max. 11 mm) for 0.5-2.5 mm² wires.
- Sensor 907 0 456: Strip cable by 8 mm (max. 9 mm) for 0.25-1.5 mm² wires.
- Cable Length: Consider connection cable length: max. 100 m for 2 x 1.5 mm² and max. 50 m for 2 x 0.75 mm². Avoid running sensor wiring parallel to mains power cables and ensure correct polarity.
Operation:
The device is operated via its display and buttons.
- Navigation: The menu structure allows access to various settings. The "MENU" button activates the display and opens the main menu. "OK" confirms selections, and "ESC" cancels or leaves a menu. Arrow buttons are used to navigate options and modify values.
- Initial Operation: Upon first use, the language needs to be set. Press "OK" to confirm the language, then press any button to proceed.
- Setting Lux Values: Navigate through "MENU" -> "LIGHT" -> "CHANNEL C1/C2" -> "LUX VALUES" -> "LUX ON/OFF" to adjust the brightness thresholds.
- Setting Delay: Navigate through "MENU" -> "LIGHT" -> "CHANNEL C1/C2" -> "DELAY TIME" -> "ON DELAY/OFF DELAY" to set the delay in minutes and seconds.
- Activating Manual Control: Briefly press both control buttons simultaneously.
- Activating Permanent Switching: Press both control buttons simultaneously for 2 seconds.
- Cancelling Manual/Permanent Switching: Press both control buttons simultaneously.
OBELISK top2 Memory Card:
The device supports an OBELISK top2 memory card (9070404) for advanced configuration and data transfer.
- PC Software Integration: All functions can be set on a PC using the OBELISK software and then transferred to the device via the memory card.
- Data Transfer: The memory card can be used to read in/out saved switching times and device setups.
- Program Start: The OBELISK program can be started from the memory card, which takes on the programmed switching times and threshold values. Once the card is removed, the device reverts to its internal settings.
- Storage: Avoid mechanical overload and contamination of the memory card during storage and transportation.
Maintenance Features
Hour Counter for Maintenance:
The integrated hour counter helps in scheduling maintenance for connected lighting.
- Monitoring Operating Hours: The operating hours of each relay channel are displayed in the OPTIONS menu.
- Service Indication: If the operating hours exceed a predefined value (e.g., 5,000 hours for lamp replacement), "SERVICE" will appear on the display, prompting maintenance.
- Resetting/Adjusting: Operating hours can be deleted or a higher service value can be set in the Service menu (e.g., 10,000 hours).
Resetting the Twilight Switch:
The device can be reset to its factory settings.
- Procedure: Press all four buttons simultaneously.
- Options: Users can choose between "KEEP PROGRAM" (retaining current programming) or "DELETE PROGRAM" (erasing all programming).
PIN Code Management:
- Security: A PIN code can be activated to prevent unauthorized access to settings.
- Recovery: If the PIN is forgotten, contact the Theben Hotline, providing the serial number of the device for assistance.