Chapter 7: Updates for FW v2.03.01
- Added JBOD device info to General in the System Information category
- Modifed the Status layout in the System Information category
- Added Hardware Information in the System Information category
- Modified Disk Information layout and added support for JBOD device
- Added JBOD device to join RAID Management
- Added cloud backup Amazon S3 support
- Added Volume Expansion Management in the Storage category
General
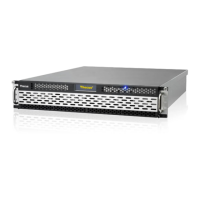
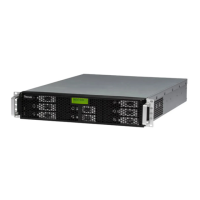
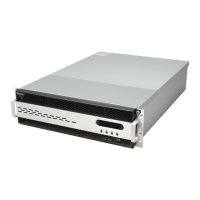
The Thecus N8900/N12000/N16000 series are supporting the addition of the JBOD
device Thecus D16000 to expand storage capacity. From General in System
Information, JBOD device info will be displayed if applicable.
Status
From the System Information menu, choose the Status item, System Service
Status and HW Status screens appear. These screens provide basic system and
service status information.
 Loading...