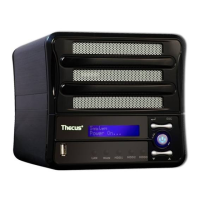
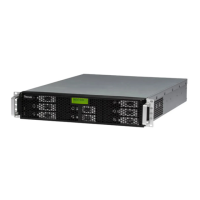
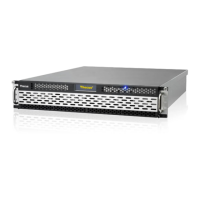
N3200XXX:
The N3200XXX only supports 3.5” Serial ATA (SATA) hard disks. To install a hard
disk into the N3200XXX, follow the steps below:
1. Open the front door of the N3200XXX.
2. For 3.5” HDD:
a. Get the hard drive rails and place them on either side of the hard
drive, fitting into the appropriate grooves.
b. Holding the hard drive rails in place, slide the hard disks into the
N3200XXX until they snap into place.
c. Tighten the thumbscrews.
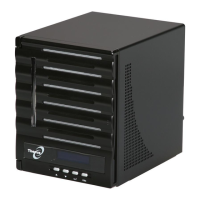
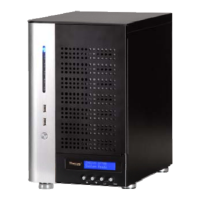
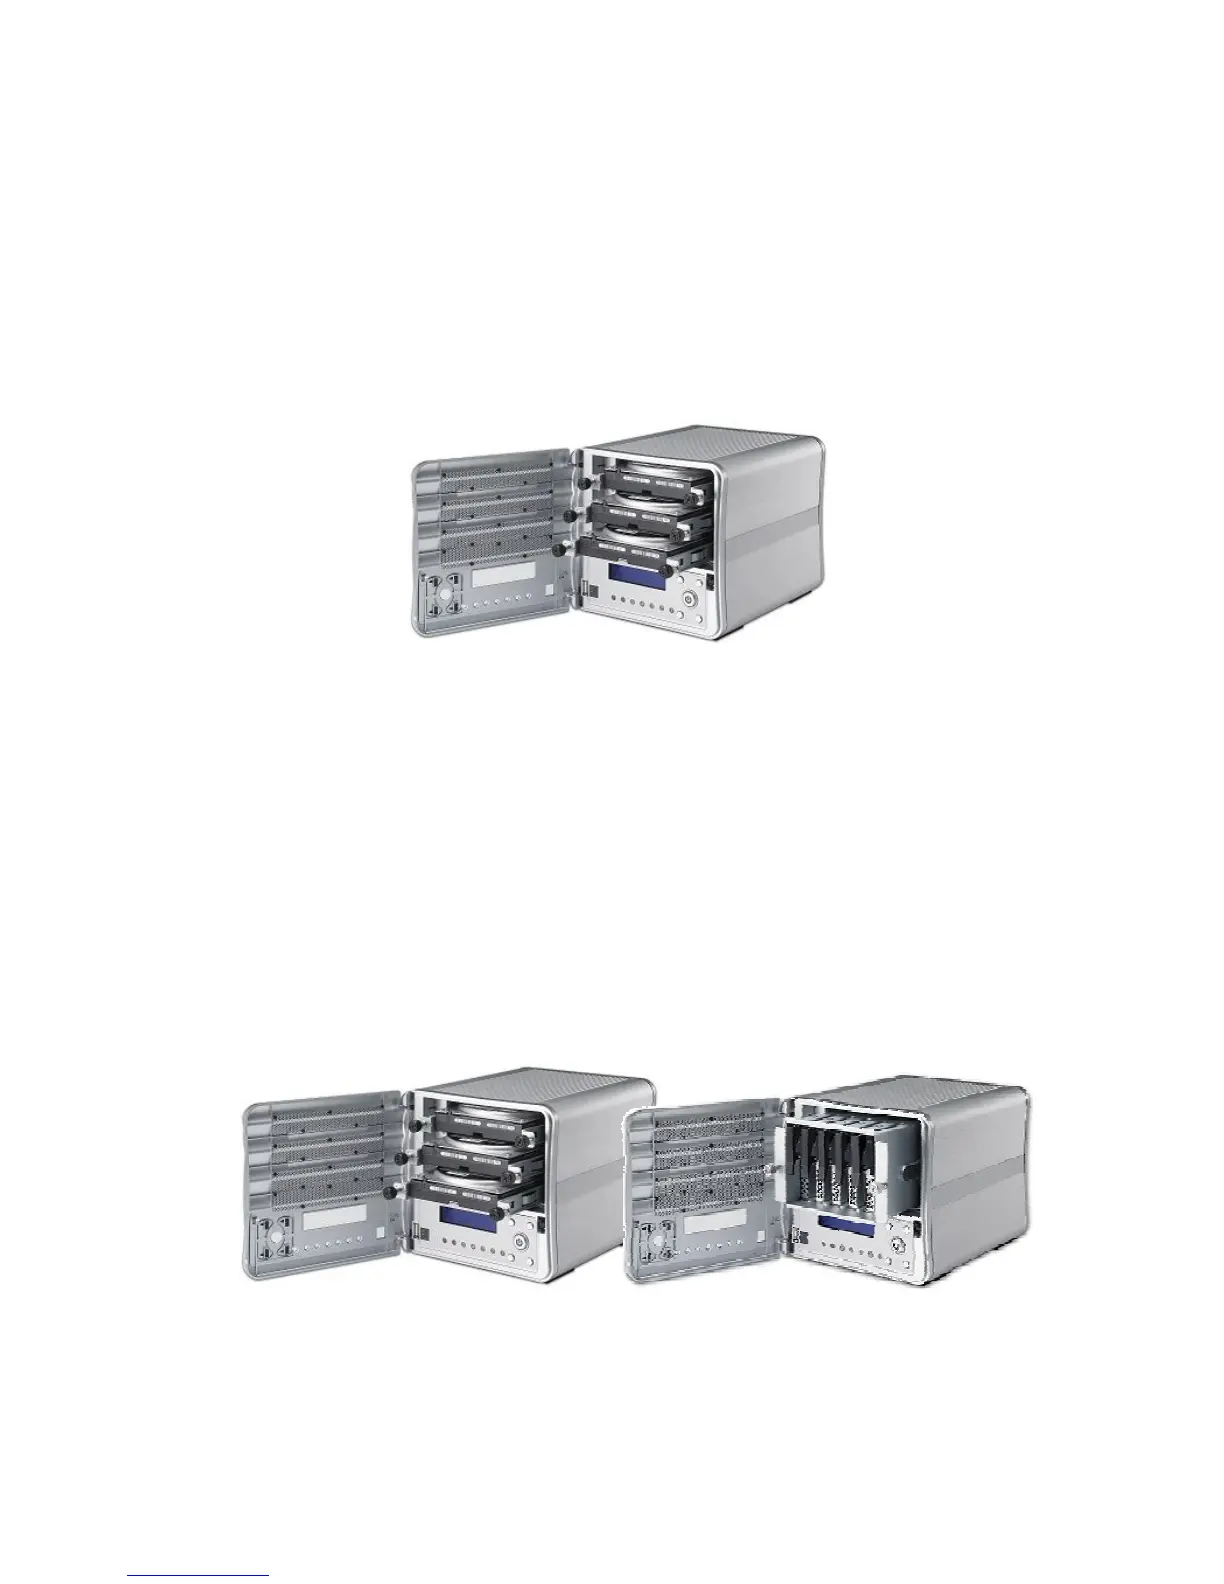
N0503:
The N0503 supports both 2.5” and 3.5” Serial ATA (SATA) hard disks. To install a
hard disk into the N0503, follow the steps below:
3. Open front door of the N0503.
4. For 3.5” HDD
a. Get the hard drive rails and place them on either side of the hard
drive, fitting into the appropriate grooves.
b. Holding the hard drive rails in place, slide the hard disks into the N0503
until they snap into place.
c. Tighten the thumbscrews.
5. For 2.5” HDD
a. Remove the included 2.5” HDD tray.
b. Slide the 2.5” HDD into the 2.5” HDD cage.
c. Slide the 2.5” HDD cage back in until it snap into place.
6. Replace the N0503 front cover.
 Loading...