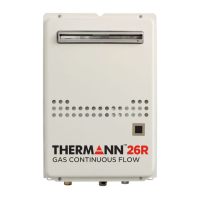
Thermann Owner’s Guide
Gas Continuous Flow Water Heaters
12
If the water heater will not be used for
a long period of time, drain the water.
• To prevent damage from freezing, the water
heater must be plugged into power at all
times. If power is unplugged, drain the water
completely from the water heater. Then use an
air compressor to remove all water from inside
the unit’s water piping.
It is recommended that Isolation Valves are
installed on the water heater, otherwise the
water connections will need to be removed to
drain the unit completely. Freeze damage due to
not draining properly will not be covered under
warranty.
• Drain water into a bucket to prevent water
damage.
To avoid burns, wait until the equipment cools
down before draining the water. The appliance
will remain hot after it is turned off.
CAUTION
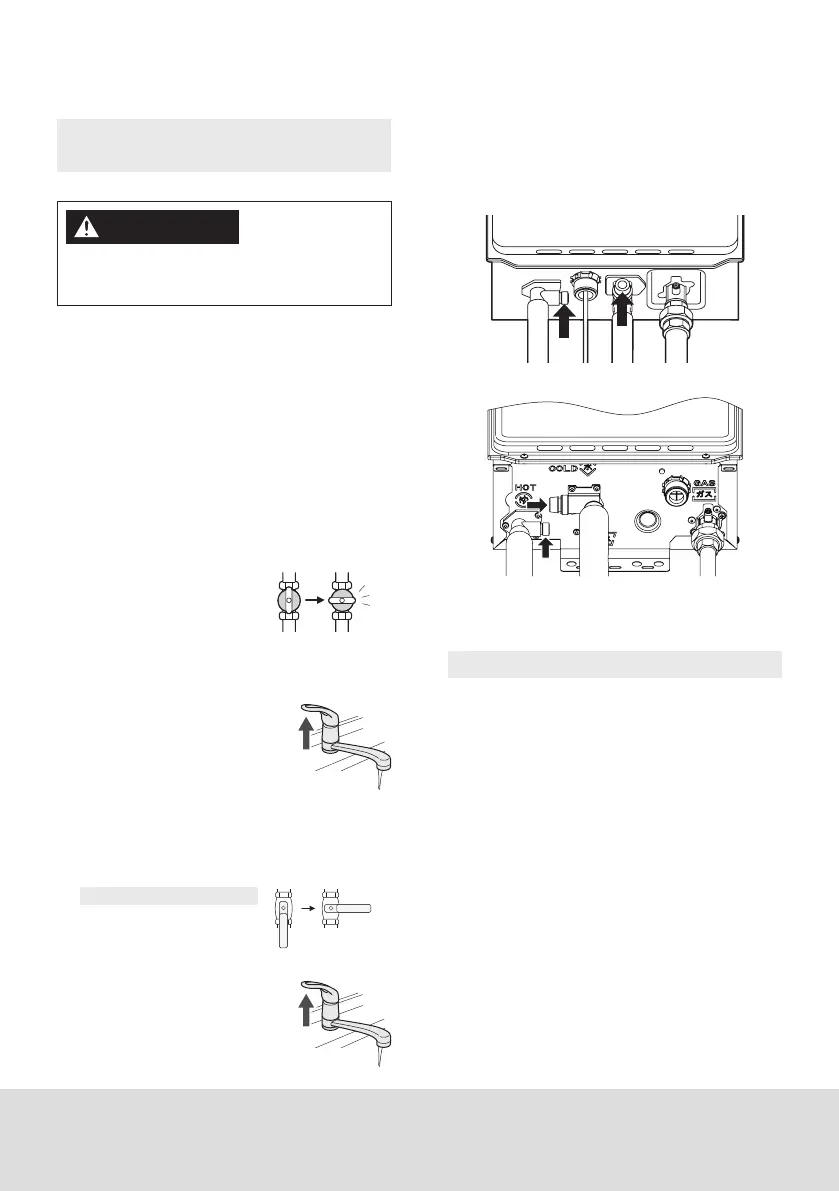
1. Close the gas supply valve.
2. Turn and leave open the hot water fixtures for
more than 2 minutes and close.
* When the remote
controller is installed, set
“Operation Button ON”.
Turn and leave open the
hot water fixtures for
more than 2 minutes and
close.
(An 11 Error Code may
appear on the remote controller. This is not a
malfunction of the unit. Do not turn Operation
Button OFF.)
3. Close the water supply valve and disconnect the
electrical power supplied to the unit.
Do not touch with wet hands.
4. Fully open all hot water
fixtures.
5. Open all drain plugs and drain the water out of
the unit.
6. When the water is completely drained, replace
all drain plugs and close the hot water fixtures.
Drain Plugs: Each drain plug might not be visible if
insulation is installed around the piping.
Turning the Unit Back On
1. Check that all drain plugs are inserted.
2. Check that all hot water fixtures are closed.
3. Follow the procedure on page 10 “Initial
operation”, steps 1 through 4.
(TH26ENG series)
(TH21ENB series, TH17ENB series)