Do you have a question about the Thermo Scientific NanoDrop 1000 V3.7 and is the answer not in the manual?
| Protein Concentration Range (A280) | 0.1 - 100 mg/mL |
|---|---|
| Connectivity | USB |
| Sample Volume | 1-2 µL |
| Concentration Range (dsDNA) | 2-3700 ng/µL |
| Absorbance Precision | 0.002 A (at 0.76 A) |
| Measurement Time | <5 seconds |
| Display | LCD |
| Power Supply | 100-240 VAC |
| Path Length | 0.2 mm (automatically adjusted) |
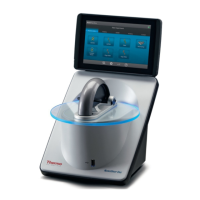
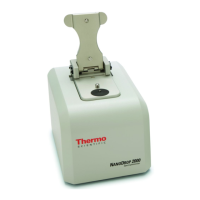
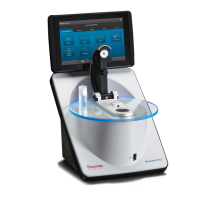
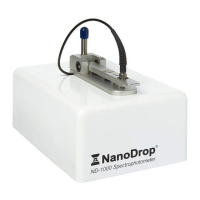
Describes the Thermo Scientific NanoDrop 1000 Spectrophotometer's features and capabilities.
Explains the basic process and steps involved in using the NanoDrop 1000 Spectrophotometer.
Lists the various applications and types of measurements the NanoDrop 1000 Spectrophotometer is suited for.
Specifies the necessary PC hardware, operating system, and software for the NanoDrop.
Provides a step-by-step guide for installing the NanoDrop software onto a computer.
Details how to connect the NanoDrop 1000 Spectrophotometer to a PC and power source.
Explains the basic use and functionality of the instrument's sample retention system.
Procedures for cleaning the instrument's measurement pedestals to prevent carryover.
Details the recommended sample volumes for accurate and reproducible measurements.
Module for confirming instrument performance and troubleshooting operational issues.
How to initiate a sample measurement using the Measure button or F1 key.
How to perform a blank measurement to establish a reference for subsequent samples.
Step-by-step guide to perform a blanking cycle for consistent and accurate results.
How to select fluorescent dyes for Proteins & Labels analysis using the Dye/Chromophore Editor.
Steps required to perform measurements using the BCA assay, including standard curve generation.
Recommended sample volumes for Modified Lowry protein assay measurements.
Steps required to perform measurements using the Modified Lowry assay.
Recommended sample volumes for Bradford protein assay measurements.
Procedure to recondition pedestals for Bradford assay, particularly with surfactants.
Steps required to perform measurements using the Bradford assay.
Steps required to perform measurements using the Pierce 660 nm assay.
Measuring the reference sample (660 nm reagent only) for calibration.
Measuring standard samples to create a calibration curve for unknown quantitation.
Measuring unknown samples and calculating concentrations using the generated standard curve.
Process for importing samples into the Data Viewer for viewing and analysis.
Steps to perform the calibration check using CF-1 fluid to verify pathlength accuracy.
Steps for adding deionized water and performing a blank measurement during calibration.
Instructions for shaking and preparing the CF-1 calibration fluid ampoule.
Procedure for carefully opening the CF-1 calibration fluid ampoule.
Measures 10 replicates and displays calibration check results on-screen.
Procedure to repeat calibration with 2ul samples if initial check fails.
Steps to remove lint build-up from the solenoid area that can affect measurements.
Troubleshoots the USB2000 error indicating connection problems; includes confirming connection, running USB Reset, and using USBView.
Addresses errors from disrupted USB connections, suggesting 'Retry', checking power management, and static discharge.
Addresses Signal Error indicating low light or detector issues; includes performing an Intensity Check.
Addresses low UV detector signal, likely due to dried sample, and provides cleaning procedures.
Error message indicating the detector is saturated, possibly from dried sample.
Error due to high integration times, often from dried sample, requiring cleaning.
Warning when short path absorbance is not within tolerance of long path, likely due to unconditioned pedestals.
Procedures for reconditioning pedestals using PR-1 or lab wipes to fix column issues.
Details troubleshooting steps for Error Code 8, relating to Windows account access rights.
Explains Error Code 8 relates to Windows account access rights and file permissions.
Error when LabView Runtime engine is missing or corrupted, requires reinstallation.
Error due to lack of write access or moved report format files, requires admin check or reinstallation.
Error 9000 occurs when passwords.log file is missing or corrupt; requires reinstallation.
Error 9003 indicates monitor resolution is below required 1024x768.
Occurs when software detects a problem with the detector.
Error when a necessary file is deleted during software uninstallation.
Error when EZUSB.SYS file cannot be found during installation.
Tips to ensure representative results: clean surfaces, correct sample size, sample prep.
Checking instrument performance with a CF-1 calibration standard.
Addresses jagged spectra, possibly due to detector saturation or high integration time.
Procedures for cleaning the instrument's measurement pedestals after each use.
Verifying pathlength accuracy every six months using CF-1 calibration fluid.