EN
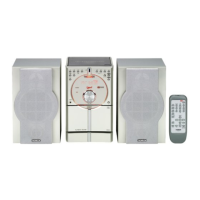
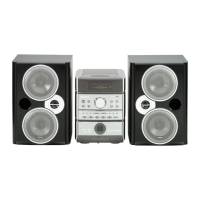
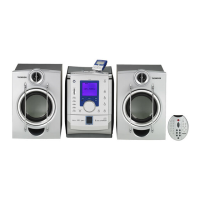
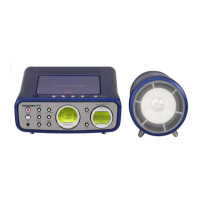
Remote Control
3
ON•ECO - Turns the unit on/off
EQ - Selects among different sound effects (flat / classic /
rock / pop / jazz)
REPEAT - In CD mode - toggles repeat options (repeat disc /
repeat track / repeat off).
MIX - Selects random playback in CD mode.
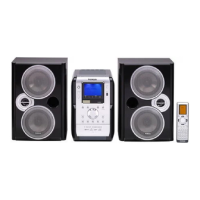
CD - Selects CD player.
X-BASS - Enable and disables X-Bass.
INTRO - Selects Intro play in CD mode.
DISPLAY - In CD mode - toggles among displaying track
elapse time, track remain time and disc remain time.
In FM Tuner mode - toggles RDS station information
(Frequency, RDS name, Radio text, RDS type, Clock timer,
RDS day and PI code)
TAPE - Selects tape player.
ST•MO - Toggles stereo and mono mode in FM tuner.
RDS - In Tuner FM mode - Enters to select RDS PTY; radio
text (INFO ON/OFF); RDS Clock/day (SYNC ON/OFF).
BAND/APP - Selects radio bands; starts auto preset
programming.
TUNER - Selects radio tuner.
REC•II - Starts recording or pause recording.
CLK•TIMER - Enters clock and timer setting mode.
SLEEP - Selects sleep time.
PRESET + / - - Selects next / previous preset stations.
SKIP BACKWARD / SKIP FORWARD - In Tuner
mode - Searches down or up radio frequency.
In CD mode - Skips to the previous or next track.
PLAY/PAUSE - In CD mode - Plays disc and pauses CD
playback.
In Tape mode - Plays tape and pauses tape playback.
STOP - Stops CD and tape playback.
MUTE - Mutes Volume.
VOL + / - - Turns up or down volume level.
PROG•SET•CLEAR - Enters program setting mode; confirms
your settings; clears preset station in tuner programming
mode; clears CD program in CD programming mode and
resets tape counter in tape mode.
Installing Batteries
The remote control must be inserted with 2 “AA” or “UM-3” or “R6” batteries prior use. Follow the
steps below to ensure correct installation.
1. Remove the battery compartment door (located at the back of the remote control) by sliding the
compartment door in the direction of the arrow and then lifting the door out and off the cabinet.
2. Before inserting the batteries, observe the polarities (that is, + and -) of the battery, then relate the
polarities to the engraved diagram inside the battery compartment. Now insert the batteries.
3. After installation of the batteries, replace and fit the lid to cover the batteries. Lightly push it close
with a snap.
Untitled-4 4/10/03, 1:57 PM8