INTERIOR
THOR MOTOR COACH | MADE TO FIT
65
9
Figure 1 Figure 2
Figure 3
Figure 4
Figure 5
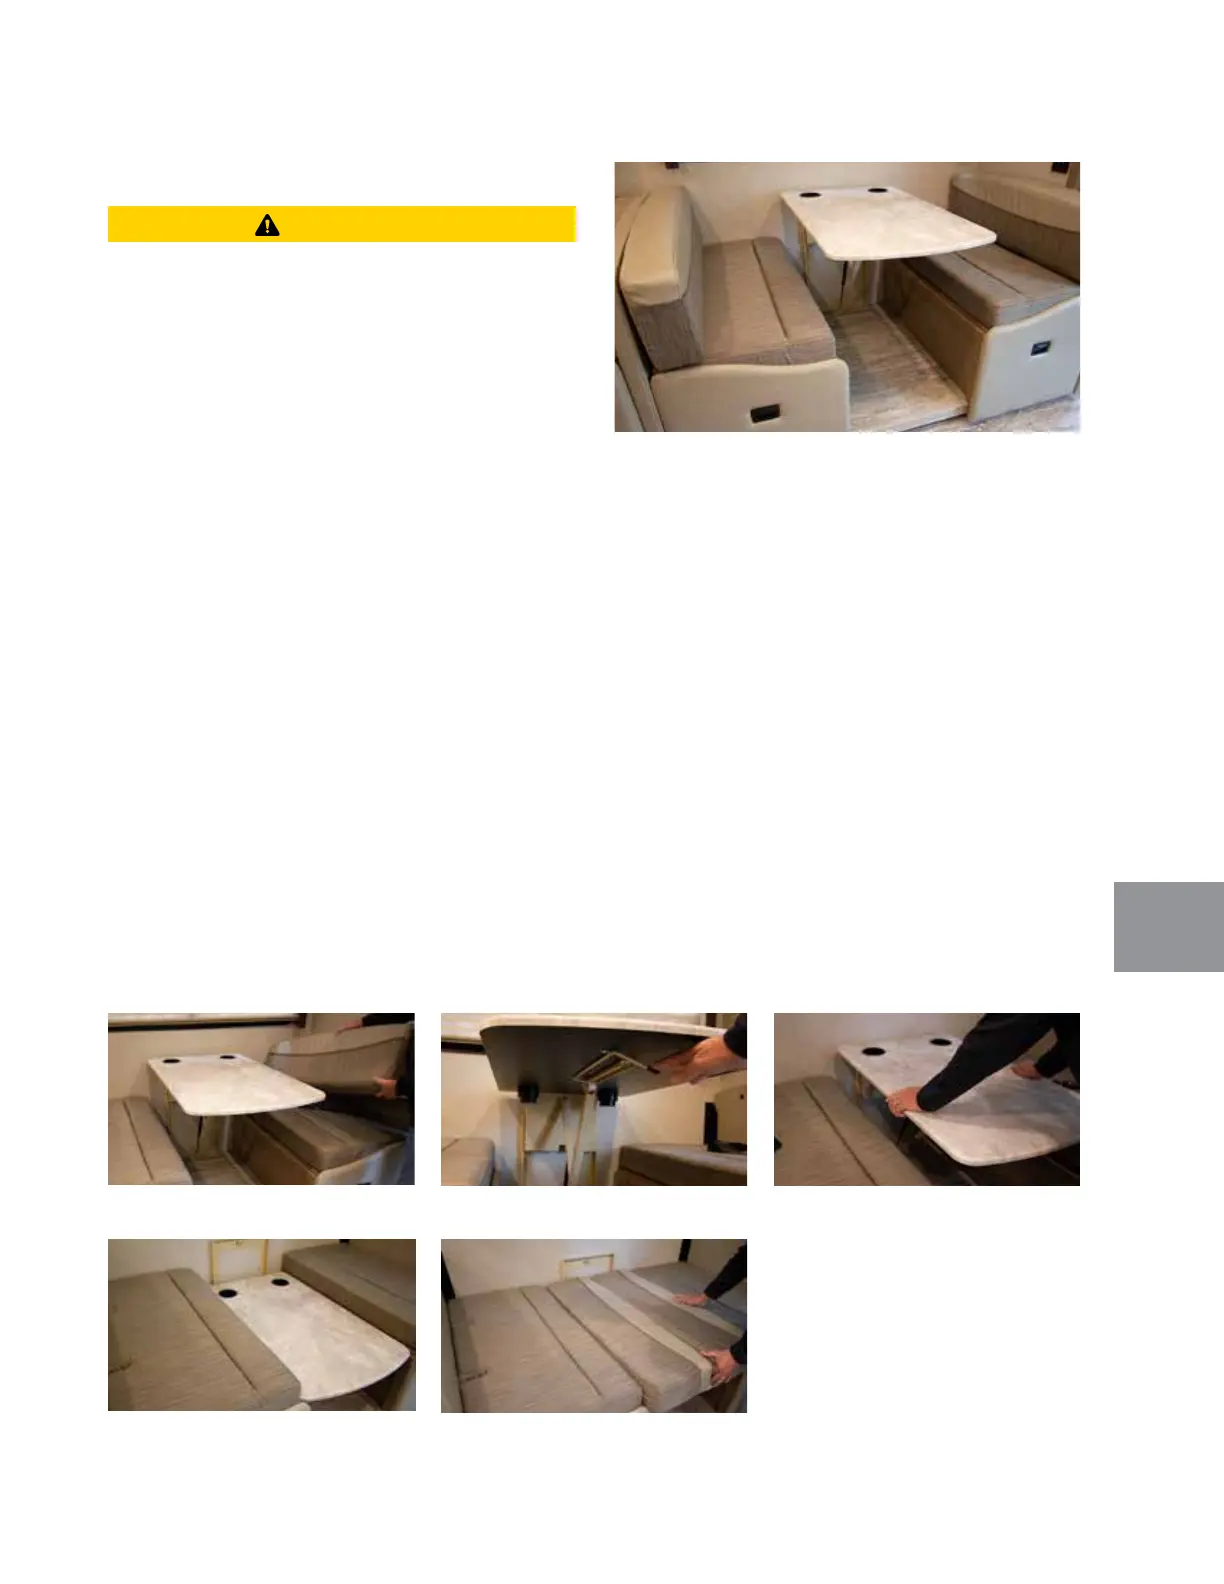
Typical Dream Dinette
Dinette Bed Conversions
To avoid injuries, ensure tabletop is secured by its
locking mechanism when it is in the up-right (dinette
table) position.
CAUTIONCAUTION
Most dinette seating areas are convertible to a sleeping
berth. e table top is lowered from its normal position
and becomes part of the bed foundation. Some tabletops
are attached to brackets (Dream Dinette), which allows
the tabletop to be easily lowered to the bed position, while
other dinette designs require the removal of tabletop from
support pedestal tubes, and manually placed into the low-
ered position.
STANDARD DINETTE BED CONVERSION:
1. Remove the dinette seat and back cushions and set
aside.
2. Li the tabletop from its support pedestal(s).
3. Remove the support pedestal(s) from the oor
bracket(s).
4. Place the tabletop between the dinette seats, ensuring
the table edges are engaged in the seat channel.
5. Place the seat and back cushions on top and across the
lowered table and dinette seats.
DREAM DINETTE BED CONVERSION:
1. Remove both dinette back cushions (Figure 1).
2. From underneath the tabletop, ip the locking lever to
its unlocked position (Figure 2).
3. Pressing equally and down on both long edges of the
tabletop (Figure 3), lower the tabletop to its lowest posi-
tion (Figure 4).
4. Place the seat and back cushions on top and across the
lowered tabletop (Figure 5).
When returning the bed to the dinette conguration, be
certain to lock the tabletop in the up-right position, with
the lock-lever (Dream Dinette), or ensure the tabletop is
securely fastened to the pedestal tube(s) and the pedestal
tube(s) are secured into their oor bracket(s).