Fit each tube into the matching socket firmly, noting the location of holes in the socket
and pins of the tubes, taking care to make sure that pin pattern corresponds to holes in
tube socket.
Tubes EML520 B V3 , PX25 and Г811 are fitted with two large and two small pins, pay attention
to align properly.
Tubes 6Д22С and Г811 are fitted with caps – fit the cap carefully, do not apply excessive force.
When inserting and removing tubes, handle them by their bases, not by their glass bulbs.
Unpacking
All Thrax Audio shipping boxes have been specially designed to protect their contents
and special care has been taken to prevent damage under normal shipping conditions.
Mishandling should be evident upon inspection of the shipping container. Carefully
remove your new component from its packing and examine it closely for signs of shipping
damage. We strongly recommend saving all original packing to protect your
component from damage should you wish to store it or ship it at a later date.
The Spartacus is shipped with the vacuum tubes removed. Tubes are supplied in separate
box. Unpack carefully, keep in mind Spartacus weights 35 kg!
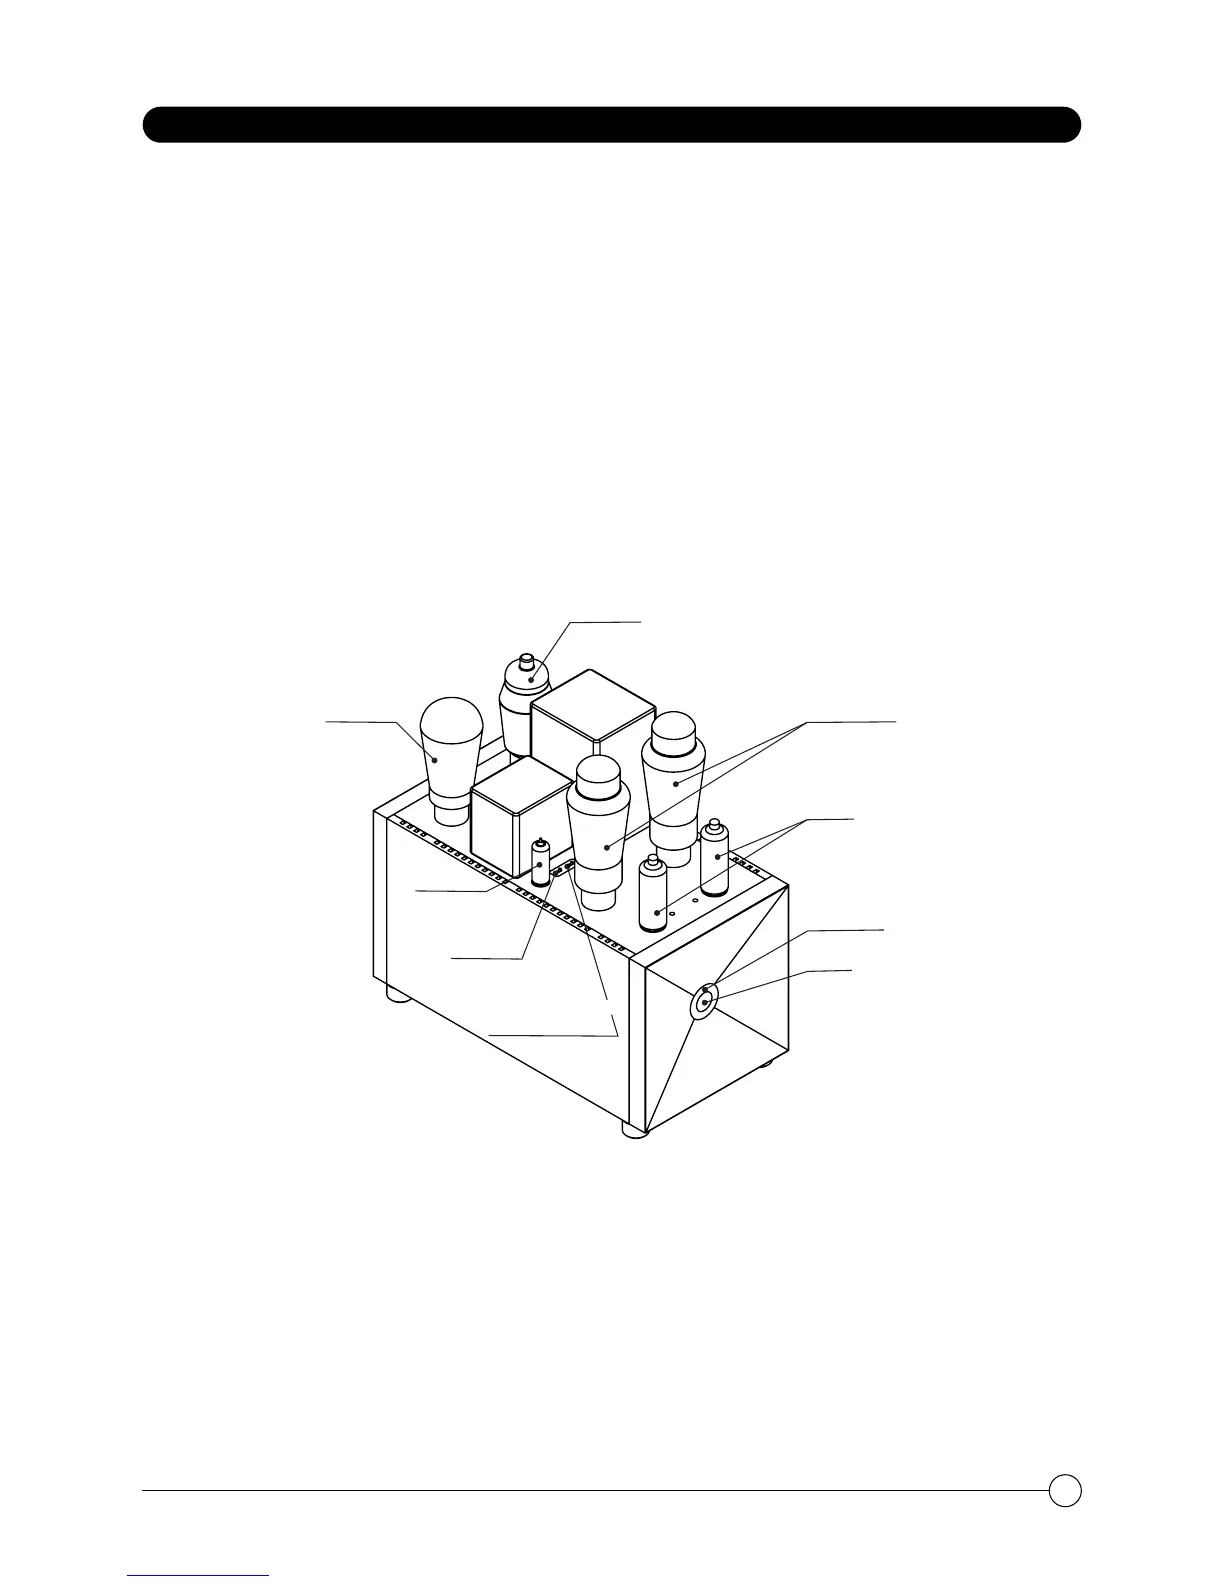
Installing the vacuum tubes
The drawing below shows the tube location.
PX25
Г811
СГ13
Gain
On/Off
Status LED
6Д22С
EML 520B V3
Output Impendance
4/8
UNPACKING AND INSTALLATION
5