E. Radio Check
Note that there is an unoccupied three wire cable coming from
your receiver. This is the receiver output for the aileron servo in the
wing. Plug the aileron servo into this cable’s connector and put the
wing in its place on the fuselage. Hold it in place with a few rubber
bands. Turn on your transmitter and then the receiver. Move the sticks
and observe the motion of the control surfaces on the airplane.
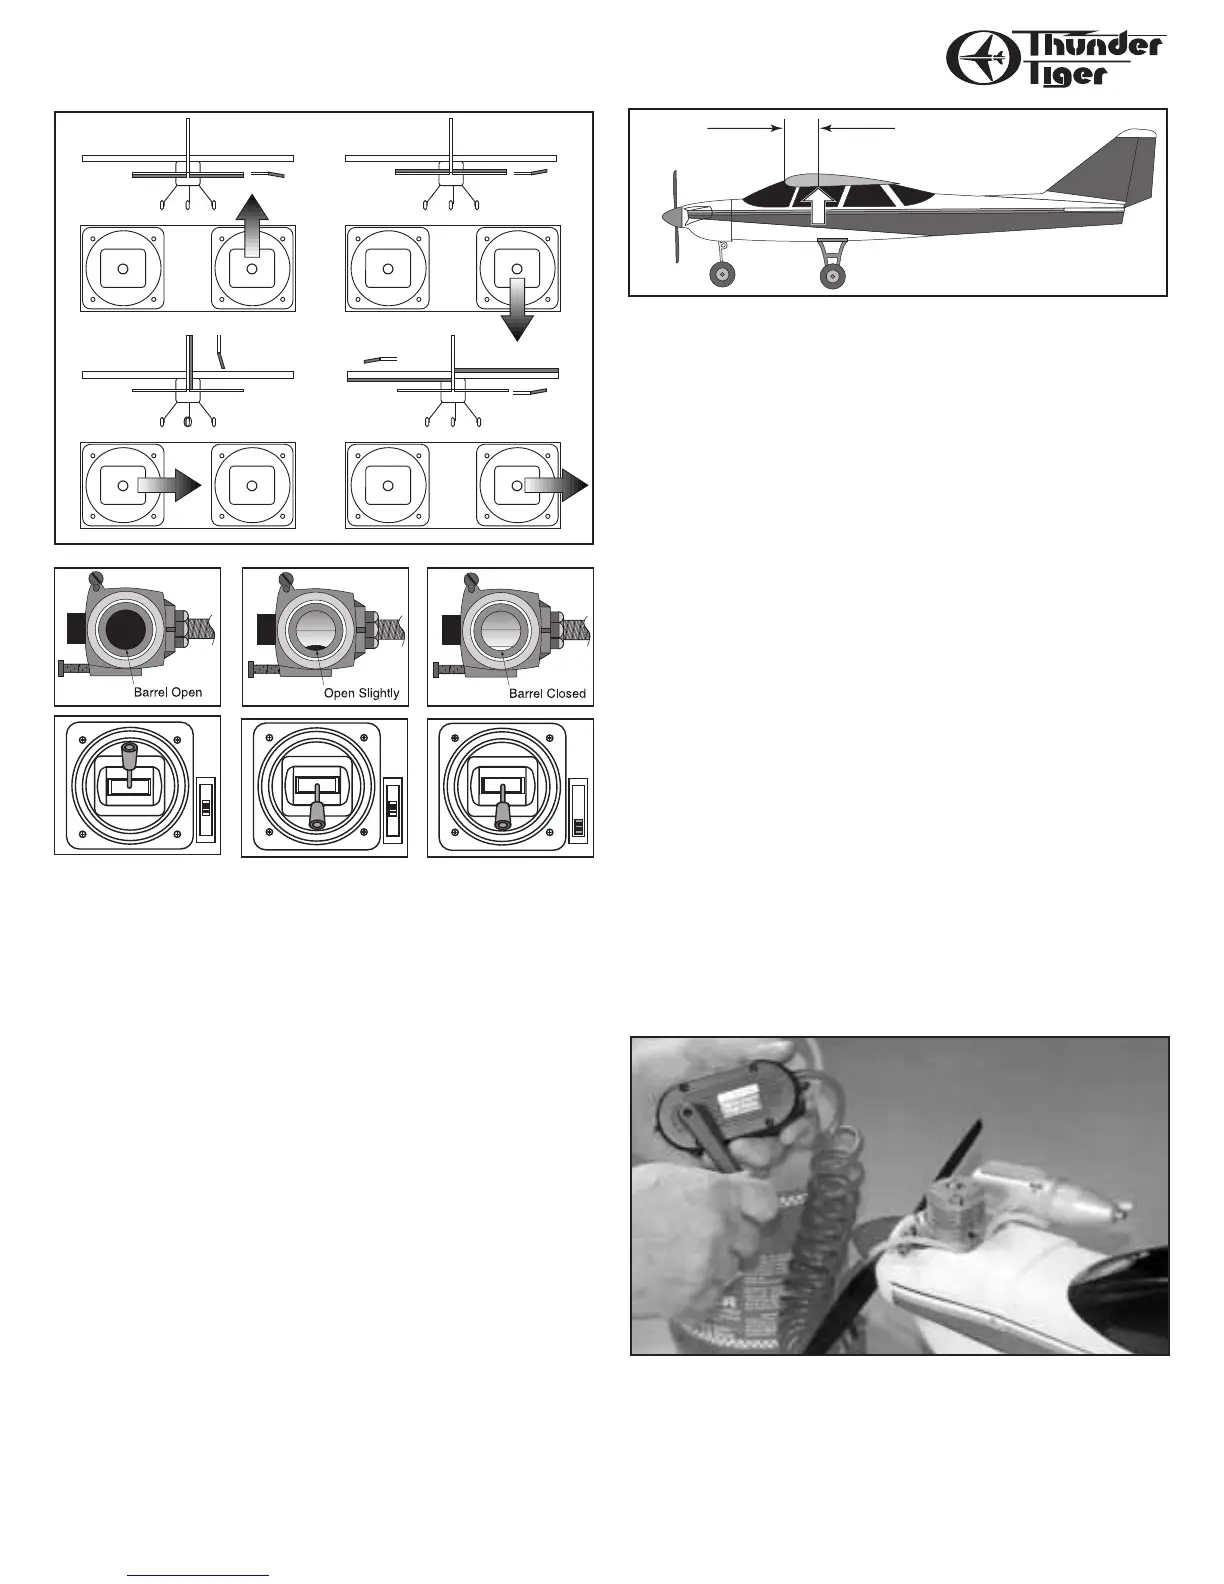
Referring to Drawing Four, make sure the direction of travel of
the control surfaces matches the proper direction of stick movement.
If it is opposite, refer to your radio system instructions on how to
reverse the servo travel.
Also make sure the surfaces are in neutral when both the stick
and the trim lever are in the center. If not, unsnap the clevis from the
control horn and screw it in or out until neutral is achieved.
Also make sure the amount of movement (throw) is proper. If the
throw is too much,move the clevis out on the control horn. If it is two
little, move the clevis in on the control horn. You will have to re-neu-
tralize the surface when you’ve made a throw adjustment.
F. Balance Check
With the wing on the airplane, use your two index fingers to sus-
pend the model in the air. Locate your fingers 3 3/4” back from the
leading edge of the wing,about 4”out from the fuselage. At this point,
a right angle is formed where the leading edge and the center balsa
sheeting ends. You can feel this point with your finger tips.
The plane should hang level or slightly nose down at this point.
If the tail drops, you need to redistribute or even add weight to the
nose until the plane balances. You can move the receiver battery pack
10
RADIO CHECK
to above the fuel tank if you need to. If the plane’s nose drops dra-
matically, add a little weight to the tail as a remedy. Stick-on weights
are available at your hobby shop for this purpose.
V. PRE-FLIGHT
A. Charge your batteries if it has been over two weeks since
they were charged last.
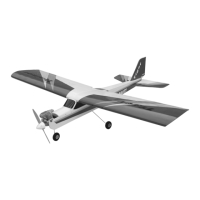
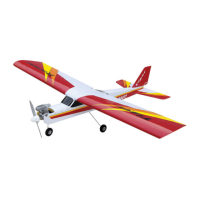
B. Rubber band the wing on:
Plug the aileron servo into the aileron cable coming from the
receiver. Making sure the excess cable is down inside the fuselage,
attach the wing to the fuselage using the rubber bands furnished. Use
eight rubber bands to secure the wing. Use two on both the right and
left side, then crisscross two more from the right front to the left rear
and crisscross the final two from the left front to the right rear.
C. Radio Check
MAKE SURE NO ONE IS OPERATING ON YOUR FREQUENCY
(Channel number). Any flying field has rules to govern frequency
usage. Make sure you abide by them.
Refer to your radio instruction manual for the proper ground
range you can expect from your system. Perform this range check
each flying session.
Move the transmitter sticks and verify that all control surfaces are
moving in the proper direction relative to stick motion. Make sure all
are working smooth and nothing is loose or binding.
Make sure all servo wheel/arm screws are in place. It is a com-
mon problem for a servo wheel to fall off a servo because the screw
was not re-installed after an adjustment!
Check the engine and engine components; make sure all screws
are tight.
D. Fuel-up the engine
Remove the fuel line from the engine’s carburetor. Plug your fuel
pump or bulb into this line. Pump fuel into the tank until you see it
coming out the line that is going to the engine’s muffler. (You may
want to remove this line from the muffler to prevent fuel from getting
into the muffler.)
 Loading...