Now, It’s time to put the data to
work.
Data Transfer Options
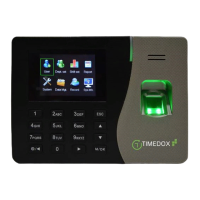
The Timedox Silver Plus offers two options for transferring data. Choose your
preferred option below and follow the relevant instructions.
Timedox Tip *Before getting started with these steps, we recommend you create a folder on your desktop and
name it ‘Timedox’. This will make importing and locating data simple and convenient.
Connection Option Requirements
Network Connection
Available network and Ethernet Port
A compatible USB 2.0+ storage device
Note: Choose your connection option before proceeding.
Connect via your Network (Silver Plus Only)
1. Verify that the Ethernet cable is connected to the Time-clock and designated wall
ports.
2. Press-and-hold to display the main menu.
3. Select System and then select Comm.
4. Use the arrows to select the DHCP option and turn it to ‘ON’, and then press
Timedox Tip; *If your network uses static IP addresses, please skip this step and enter a valid IP
address instead.
5. Remove the power cord from the timeclock for 30 secs, and then replace it.
6. Press to power the timeclock back on and repeat steps 2 & 3.
7. Find the IP address (and other options) and note the IP address here:
8. Launch the OfflineDeviceManager and enter the password: Timedox
(Refer to page 1 for instructions on how to download required software).
9. Select add Device > enter device’s IP address > and select ‘Connect Device’, and
wait for Confirmation > Select Close
10. Select ‘Upload’,and choose the appropriate device (displayed by serial number) from
the drop-down list, and select ‘Upload’.
11. Save the file to your Timedox folder.
Timedox Tip; Once you’ve chosen where to save the file the first time, you may set the clock program to auto
retrieve the data, in the settings menu
 Loading...