4. Preparation for Measurement
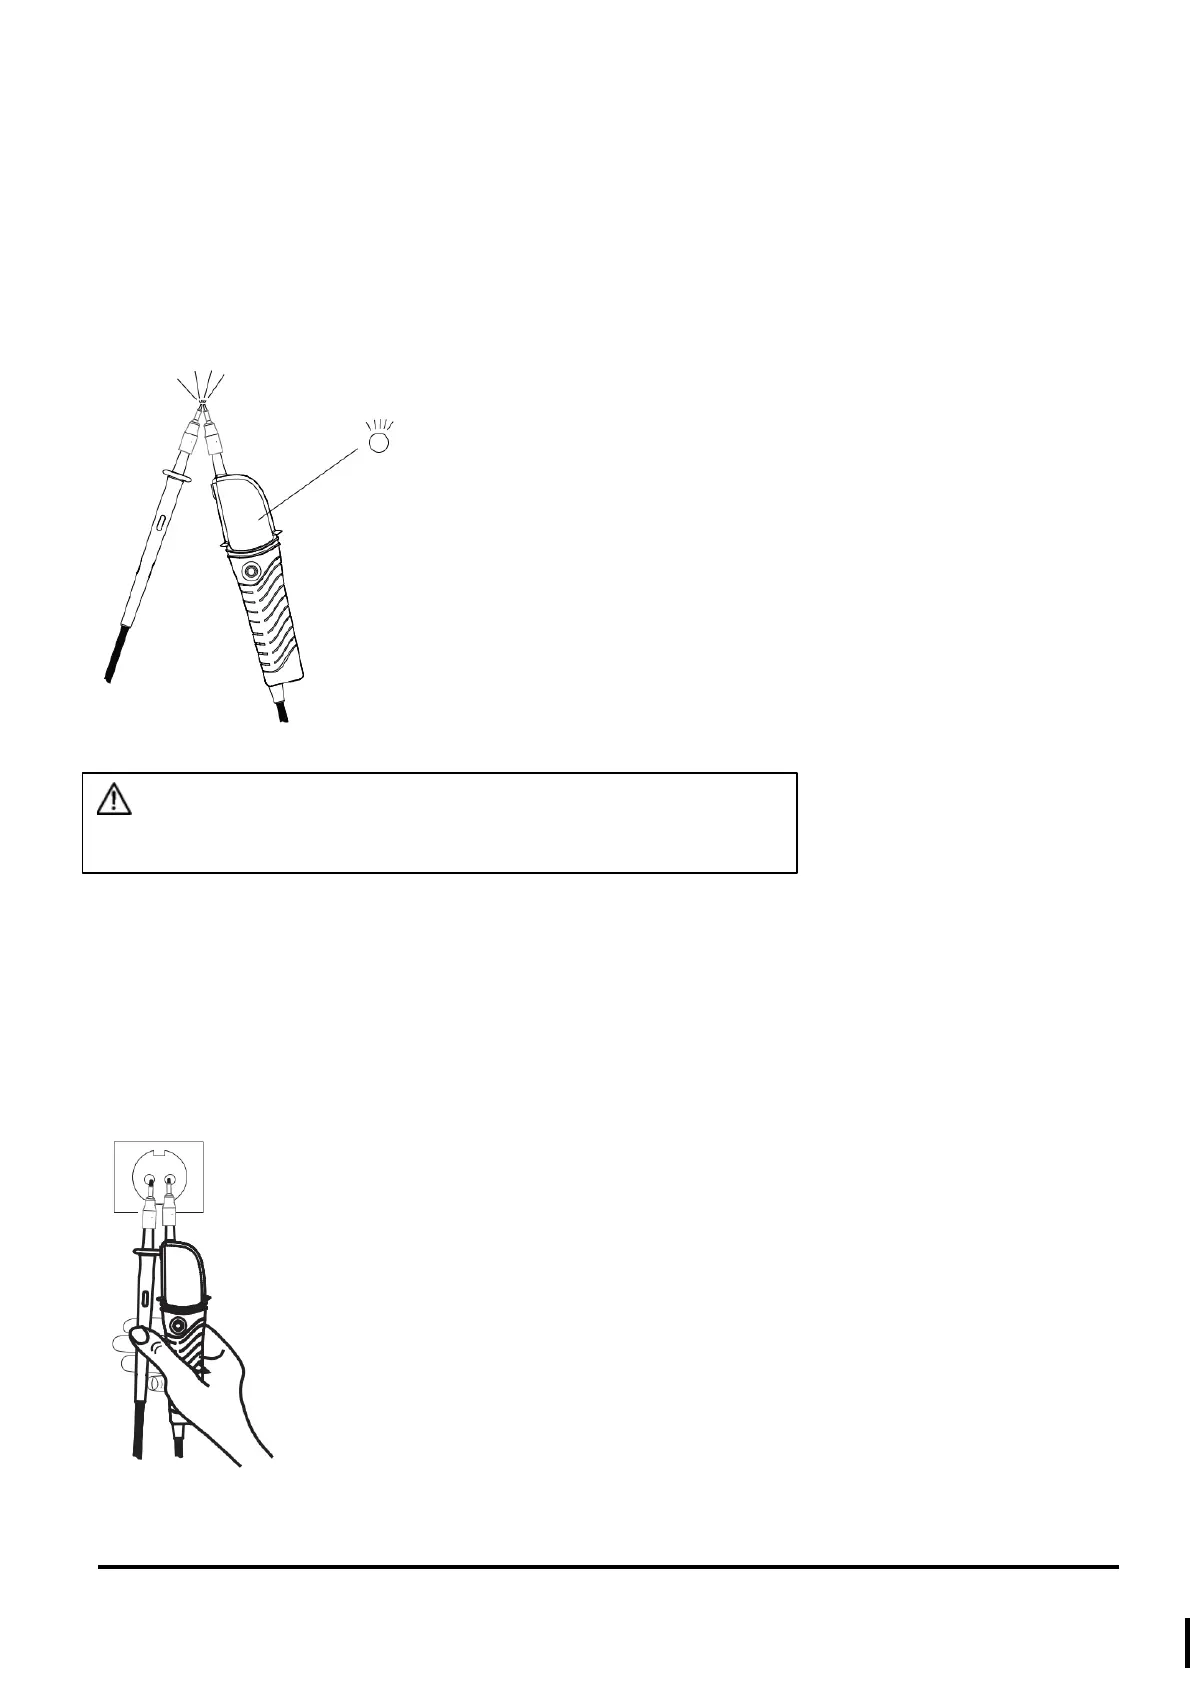
4.1 Self-Proving Test
•
Please touch the two probes together and press the torch button (5); all LEDs shall light up, except the
“POWER” LED.
•
Please do the “Self-Proving Test” before and after the measurements, which proves the instrument’s LED
indication is function properly.
•
All LEDs shall light up when battery is normal, except “POWER” LED.
•
LEDs will flash or go off when the battery voltage is below 2.4±0.1V.
•
Following the description of Clause 7 to replace the battery.
4.2 Trouble shooting
If any of the following problems occur, take off the “Battery Case” according to clause 7 in this
manual; then lock it back after 5 seconds. Do the Self-Proving Test again (Clause 4.1).
- Self-Proving Test cannot be performed before or after the measurement.
- The instrument doesn’t turn off automatically after the Self-Proving Test or the measurement.
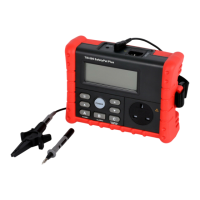
5. Single handed use
With the L1 probe on the probe clip, the user can change the spacing between probes with one hand.
6. Measurement
WARNING
• Do not use the instrument when abnormal is found at Self-Proving Test.
• Instrument may turn on due to the influence of static charge.