TTI932CHN
24
Getting
started...
EN
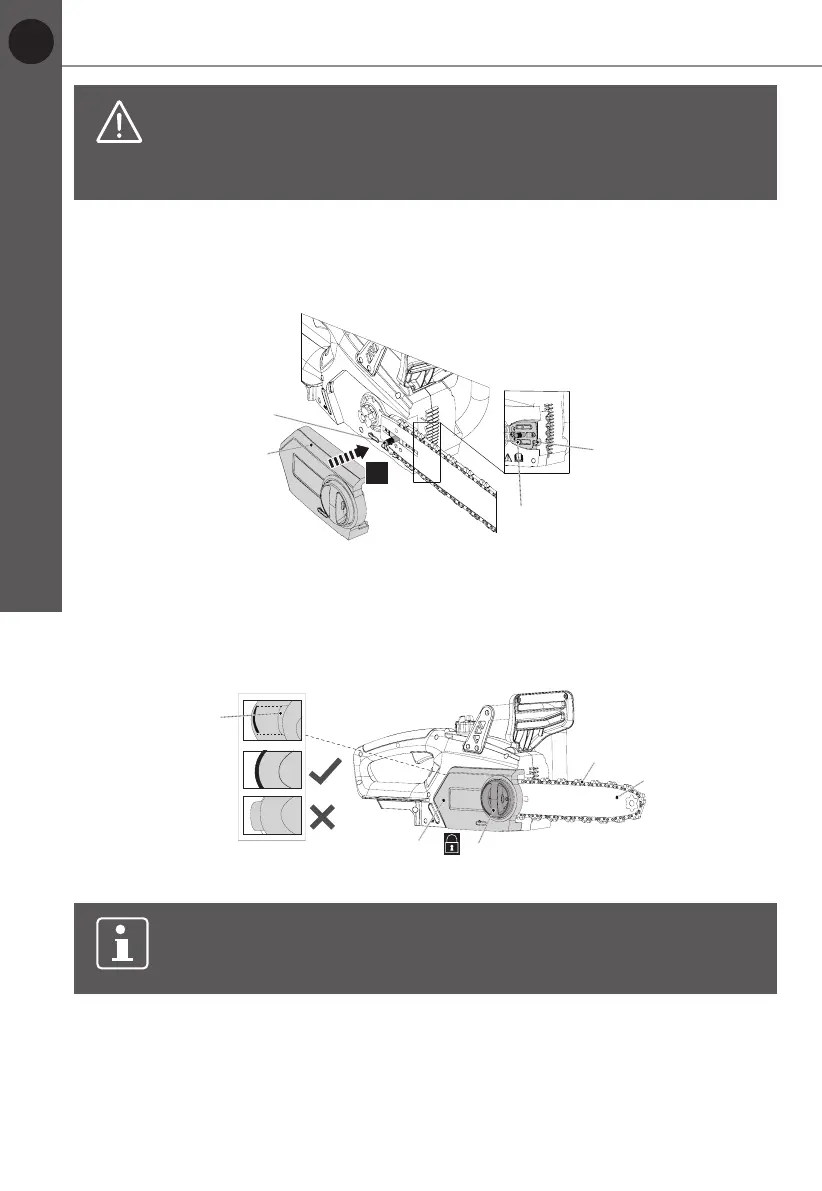
WARNING!
The direction of the saw chain ‘cutters’ must be as
indicated by the symbol and arrow on the guide bar! Ensure
the guide bar and saw chain are properly assembled in correct
direction; otherwise the saw chain cannot work.
7. Screw the tension screw (7) clockwise out to adjust the tension pin (8) /
guide bar (12) towards the right to tighten the saw chain (11) with a Multitool
(25), then align and place the chain saw cover (14) over the mounting bolt (9)
(Fig. 5).
9
3.
8
7
Fig. 5
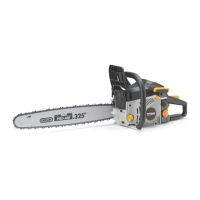
8. Ret the chain saw cover (14) and slightly tighten the locking wheel (13)
clockwise (Fig. 6). Ensure that the spigot (14a) engages correctly in the
slot.
Do not tighten the locking wheel (13) completely as saw chain tensioning is
required rst.
11
14a
Fig. 6
NOTE:
The saw chain (11) has not yet been tensioned. Tension the
chain as described under “Saw chain tensioning”. After operating
the product for approx. 1 hour, adjust the chain tension again.
Saw chain tensioning
Always check the saw chain tension before use, after the rst cuts and regularly
during use, approx. every ve cuts. Upon initial operation, new chains can
lengthen considerably. This is normal during the break-in period and the interval
between future adjustments will lengthen quickly.
Before you start