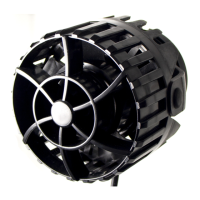
SKIMMER ASSEMBLY
The V
2
Skim Protein Skimmer is supplied almost fully assembled to ensure the skimmer
is ready to use as soon as possible after unpacking.
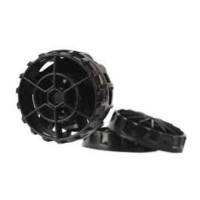
1. Ensure the skimmer collection cup (2) and lid (1) are securely and correctly
positioned on the main skimmer body (9) and on models 600-1500 please check
that the skimmer collection cup O ring (15) is also positioned correctly.
2. Attach the outlet pipe assembly (5) to the water outlet (4).
3. Attach the inlet pipe hose assembly (6) to the water inlet (7)
V
2
BUBBLE STOP ASSEMBLY
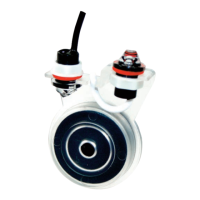
1. Select the correct mounting bracket (21 or 22) for your aquarium and insert bracket
into the slot located at the back of the V
2
Bubble Stop.
2. Insert the screw (23) on the mounting bracket for later use.
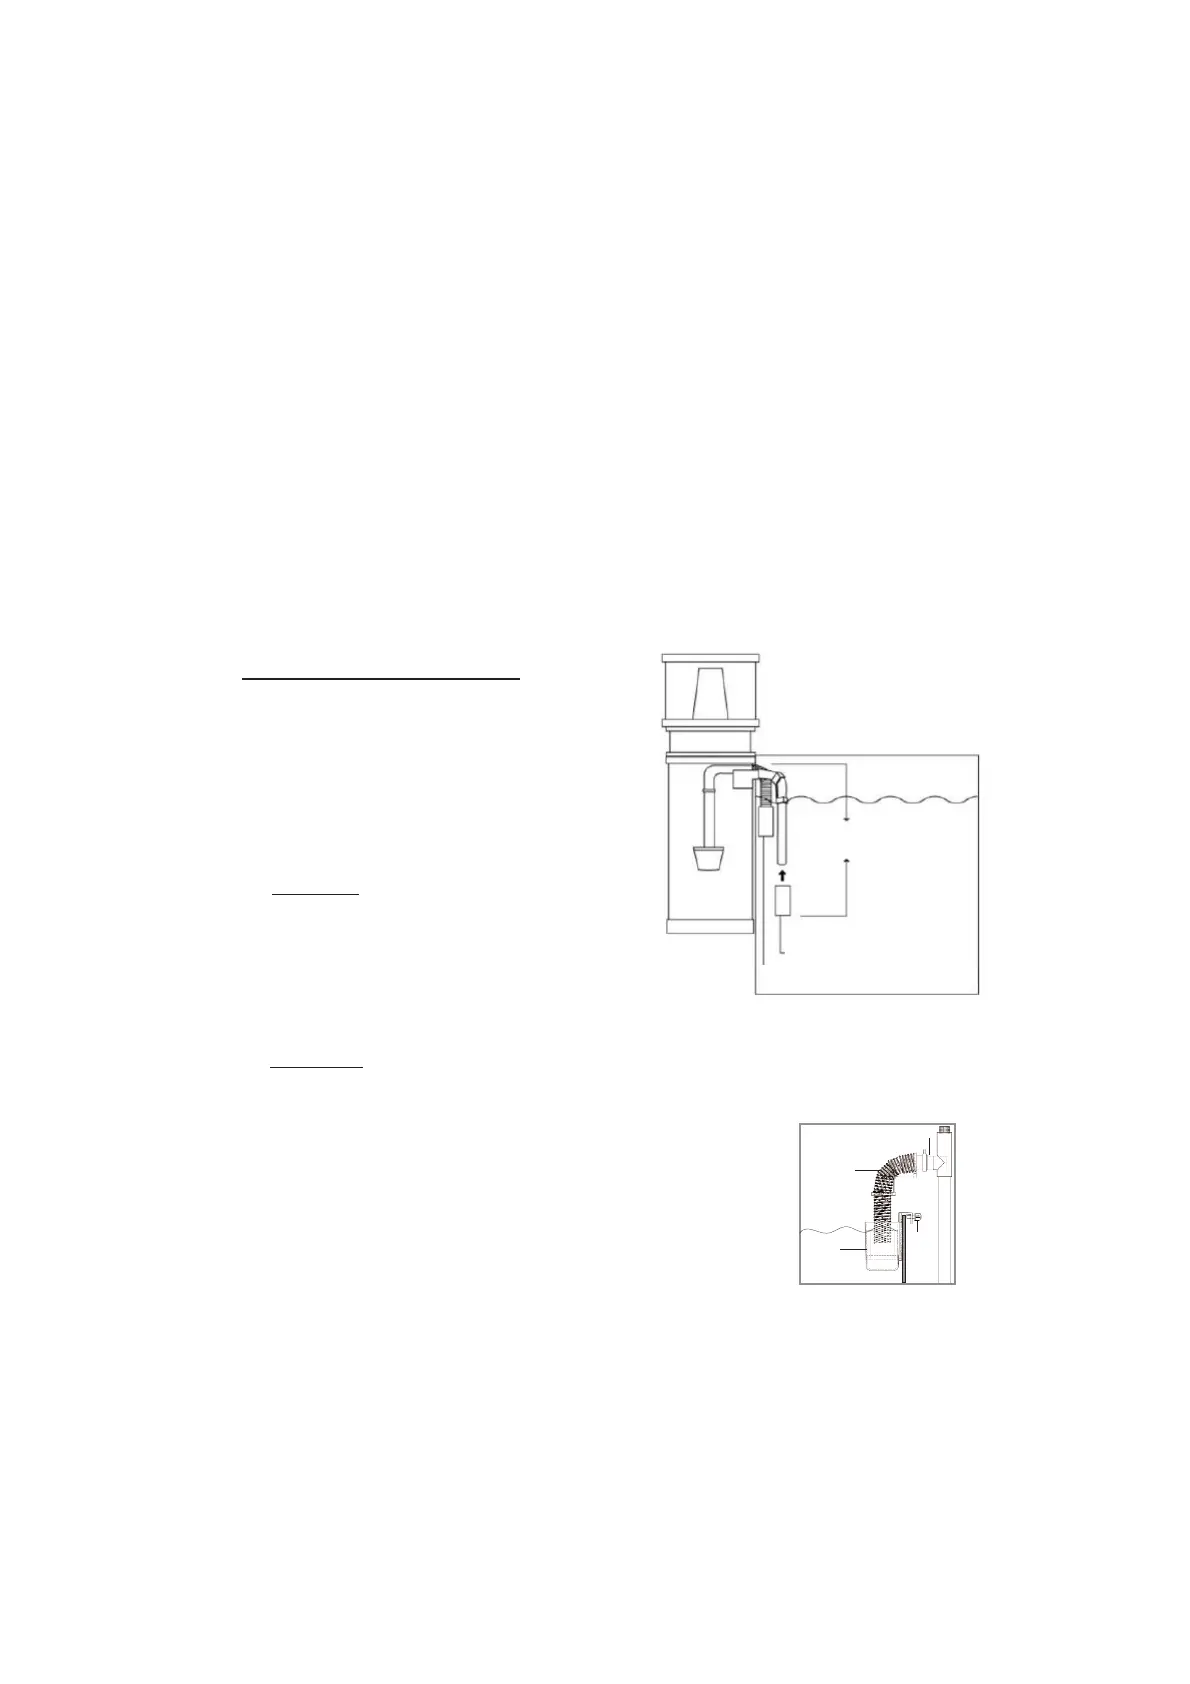
INSTALLATION
The versatile design allows the V
2
Skim Protein Skimmer to be used either externally as a
!hang-on"skimmer or internally in a sump or aquarium.
A.
!HANG-ON" INSTALLA
TION
1. Ensure there is adequate space around the
aquarium or sump to allow the skimmer to be
installed.
2. Ensure that there is an adequate unobstructed
space for the pump inside the aquarium.
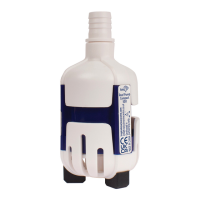
3. Place pump in aquarium. For maximum performance
do not locate the pump more than 20cm below
the water inlet of the skimmer.
USEFUL
TIP: Use the suction cup bracket provided
with the pump to secure the pump on the side of
your aquarium directly below the inlet of your
V
2
Skim Protein Skimmer.
4. Hang the V
2
Skim Protein Skimmer on the side of
your aquarium in the desired location and tighten the securing screws (8).
5. Connect pump to skimmer using the inlet pipe hose assembly (6).
USEFUL
TIP: There are a number of fittings and accessories supplied with the pump
which allow for easy connection of the inlet pipe hose assembly to the pump.
5. Attach the V
2
Bubble Stop mounting bracket onto the side of your aquarium so the
outlet pipe assembly (5) of the skimmer can be easily located.
6. Insert outlet pipe assembly into the V
2
Bubble Stop and tighten
V
2
Bubble Stop securing screw (23).
7. On models 800-1500 there is a drain port (16) fitted in the base
of the collection cup which allows skimmate (waste material) to
be drained to waste.When using this port, remove the rubber
drain plug and fit the supplied collection cup drain hose (24) so
that skimmate can be easily drained away. Please note that longer lengths of drain
hose are available from your local stockist, if required (part no. 5367).
20cm
Water
Pump
V
2
Bubble Stop
Aquarium
Outlet pipe
assembly
Screw
V
2
Bubble
Stop
Water outlet
3
 Loading...