B. IN SUMP/AQUARIUM INSTALLATION
1. Make sure you leave enough room for the skimmer inside the sump or aquarium.
2. Allow sufficient clearance above the skimmer to ensure that the collection cup can
be removed for cleaning, maintenance etc.
3. Fill the skimmer with sufficient sump or aquarium water to prevent the skimmer
from floating when placed in the sump or aquarium.
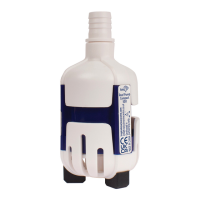
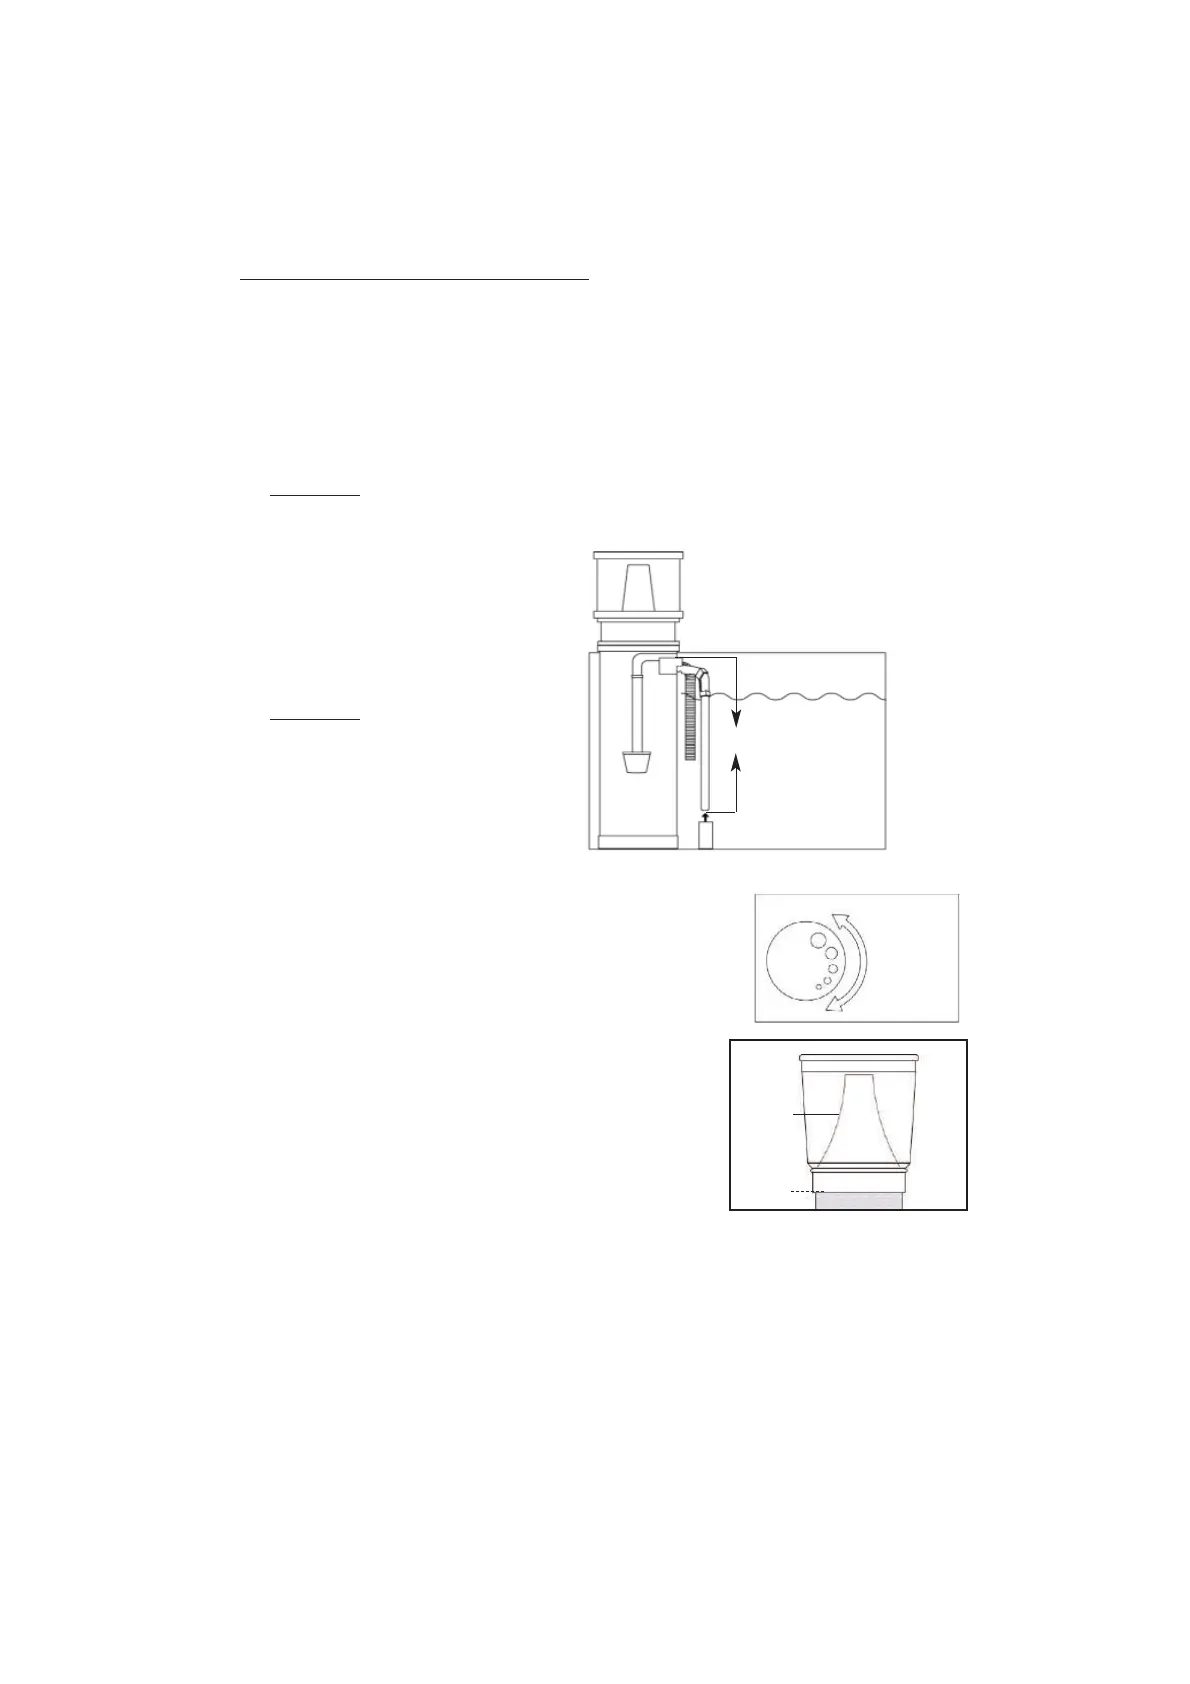
4. Place pump in a suitable location in the sump or aquarium and connect pump to
skimmer using the inlet pipe hose assembly (6). For maximum performance do not
locate the pump more than 20cm below the water inlet of the skimmer.
USEFUL
TIP: Use the suction cup bracket provided with the pump to secure the
pump in your aquarium.There are also a number of fittings and accessories
supplied with the pump which allow for easy connection of the inlet pipe hose
assembly to the pump.
5. Attach the V
2
Bubble Stop mounting
bracket (21 or 22) inside sump.
6. Insert the outlet pipe assembly (5)
into the V
2
Bubble Stop and tighten
V
2
Bubble Stop securing screw (23).
USEFUL TIP: If the height of your sump
does not allow the V
2
Bubble Stop to
be positioned in the desired location
use two cable ties to secure the
V
2
Bubble Stop to the upright, fixed
outlet pipe directly below the outlet
(see * on Parts List diagram).
OPERATION
1. Make sure all connections are tightly secured.
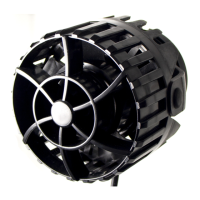
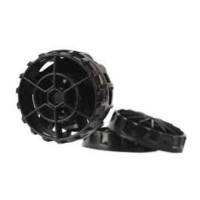
2. Ensure the skimmer collection cup (2) and lid (1) are
securely and correctly positioned on the skimmer body (9).
3. Turn the water level adjustment dial (3) to make sure it is in
the lowest position.
INITIAL OPERATION
1. Plug in and switch on the pump.
On models 800-1500 please note that due to the
unique design of the removable venturi injection assembly
(10) some water may escape from the joint between the
fixed pipe and removable assembly on initial start up. This
does not affect the performance of the skimmer.
2. Turn water level adjustment dial until the micro-bubbles fill approx. 50% of the neck
below the collection cup (see diagram). Let the pump run for 24-48 hours to
allow the skimmer to establish itself.
3. Once the skimmer has been established, turn the water level adjustment dial to control
the water level within the main chamber and cone to the desired foam consistency.
Water Level Adjustment Dial
Higher Water Level
Lower Water Level
Collection
Cup Cone
Level of
Micro Bubbles
Water
Sump/Aquarium
Pump
4
20cm
 Loading...