4
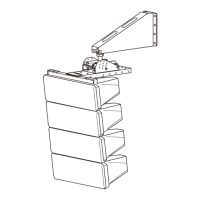
Step 4. Attach the T-bracket to the speaker.
Attachwiththespeakersetaboveasshowninthegure.
FixtheT-brackettothespeakeratall3indicatedpositions.
4-1. FixtheT-brackettobothendsofthesideangleplatesofthespeakerfront.
Usethesuppliedbolts(withspringandplainwashers)andspacers.
4-2. FixtheT-brackettothespeaker’srearbracket.
Fixtotherearbracket’sendmosthole.
Usethesuppliedbolt(withspringandplainwashers),J-spacer,andangenut.
Fordetails,refertotheprocedures(1)to(3)asshownbelow.
Note
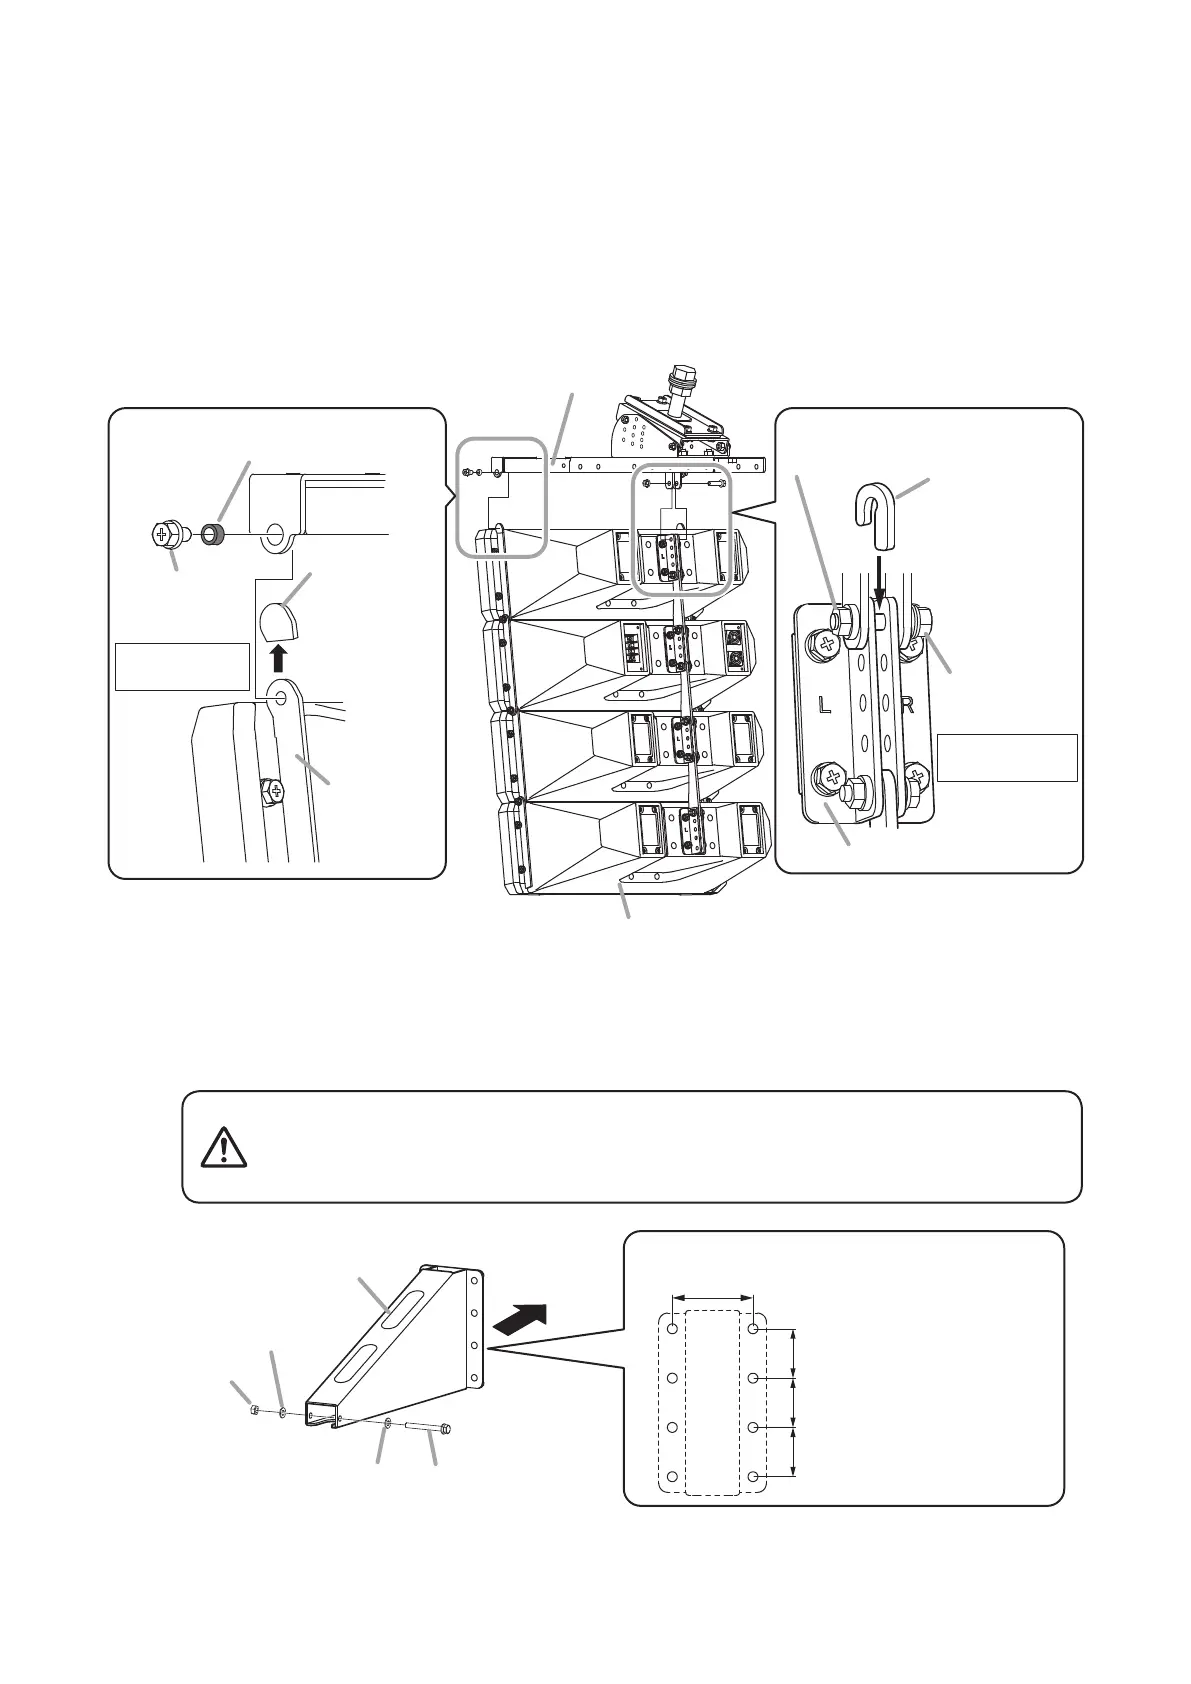
Similarly, fix the T-bracket to the end of the
side angle plate on the opposite side.
Spacer ø9.2 (0.36")
(accessory)
Rear bracket
Hex head
bolt M6x12
(accessory)
Side angle plate
Protection cover
Note
Remove the
protection covers
from the side
angle plates
before joining.
4-1
Tightening torque:
5 N·m
J-spacer
(accessory)
4-2
(1) Lightly secure.
(3) Tighten firmly.
(2) Insert.
Flange nut for M6
(accessory)
Hex head
bolt M6x30
(accessory)
Tightening torque:
5 N·m
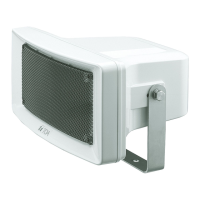
HX-7B or HX-7W
T-bracket
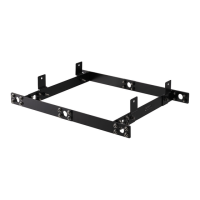
Step 5. RemovethesafetyboltfromBracketAoftheHY-WM7BorHY-WM7W.
Step 6. Using8bolts,etc.,mountBracketAoftheHY-WM7BorHY-WM7Wtothewall.
Safety bolt
To wall surface
[Bracket A's mounting dimensions]
Unit: mm
Nut for M8
Plain washer for M8
Plain washer for M8
HY-WM7B or HY-WM7W
(Bracket A)
90 (3.54")
555555
(2.17")(2.17")(2.17")
Note
Be sure to use 8 mounting
holes in Bracket A.
6
5
Wallmountingboltsandnutsarenotsupplied.
Usenutsandboltsthatareappropriateforthewall’sstructure
andcomposition.Failuretodosomaycausethespeakertofall,
resultinginpersonalinjury.
WARNING
Note
After tightening the bolt, ensure
thattheJ-spacerisrmlyxed.