3.3. Switch on the SmartPlane Pro
FPV
1. To connect the SmartPlane Pro
FPV
, plug the charged battery
into the battery bay of the
aircraft up to the limit stop.
The LED on the plane ashes
blue now.
2. Enable Bluetooth in the
smartphone settings and start
up the SmartPlane Pro App.
3. Keep your smartphone close to the antenna in the front of the aircraft. With existing Bluetooth
connection, the LED is now permanently blue.
3.4. Control
3.4.1. Tilt mode
With two simple hand movements, the App allows for comfortable and easy control of the SmartPlane Pro
FPV
.
Only one hand is needed for this. The smartphone needs to be held at and horizontal for takeoff.
» Speed / ight altitude: The thumb control is used
to move the thrust regulator on the display of your
smartphone. If this is pulled up, the plane gains speed.
A downward movement reduces this. The altitude of the
Smart Pro plane can be adjusted via the speed.
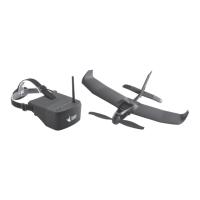
» Spiralling: Through a slight tilting of the smartphone
(See picture) to the left or right, the SmartPlane
Pro will start spiralling.
See also the explanations in the videos at www.tobyrich.com/support.
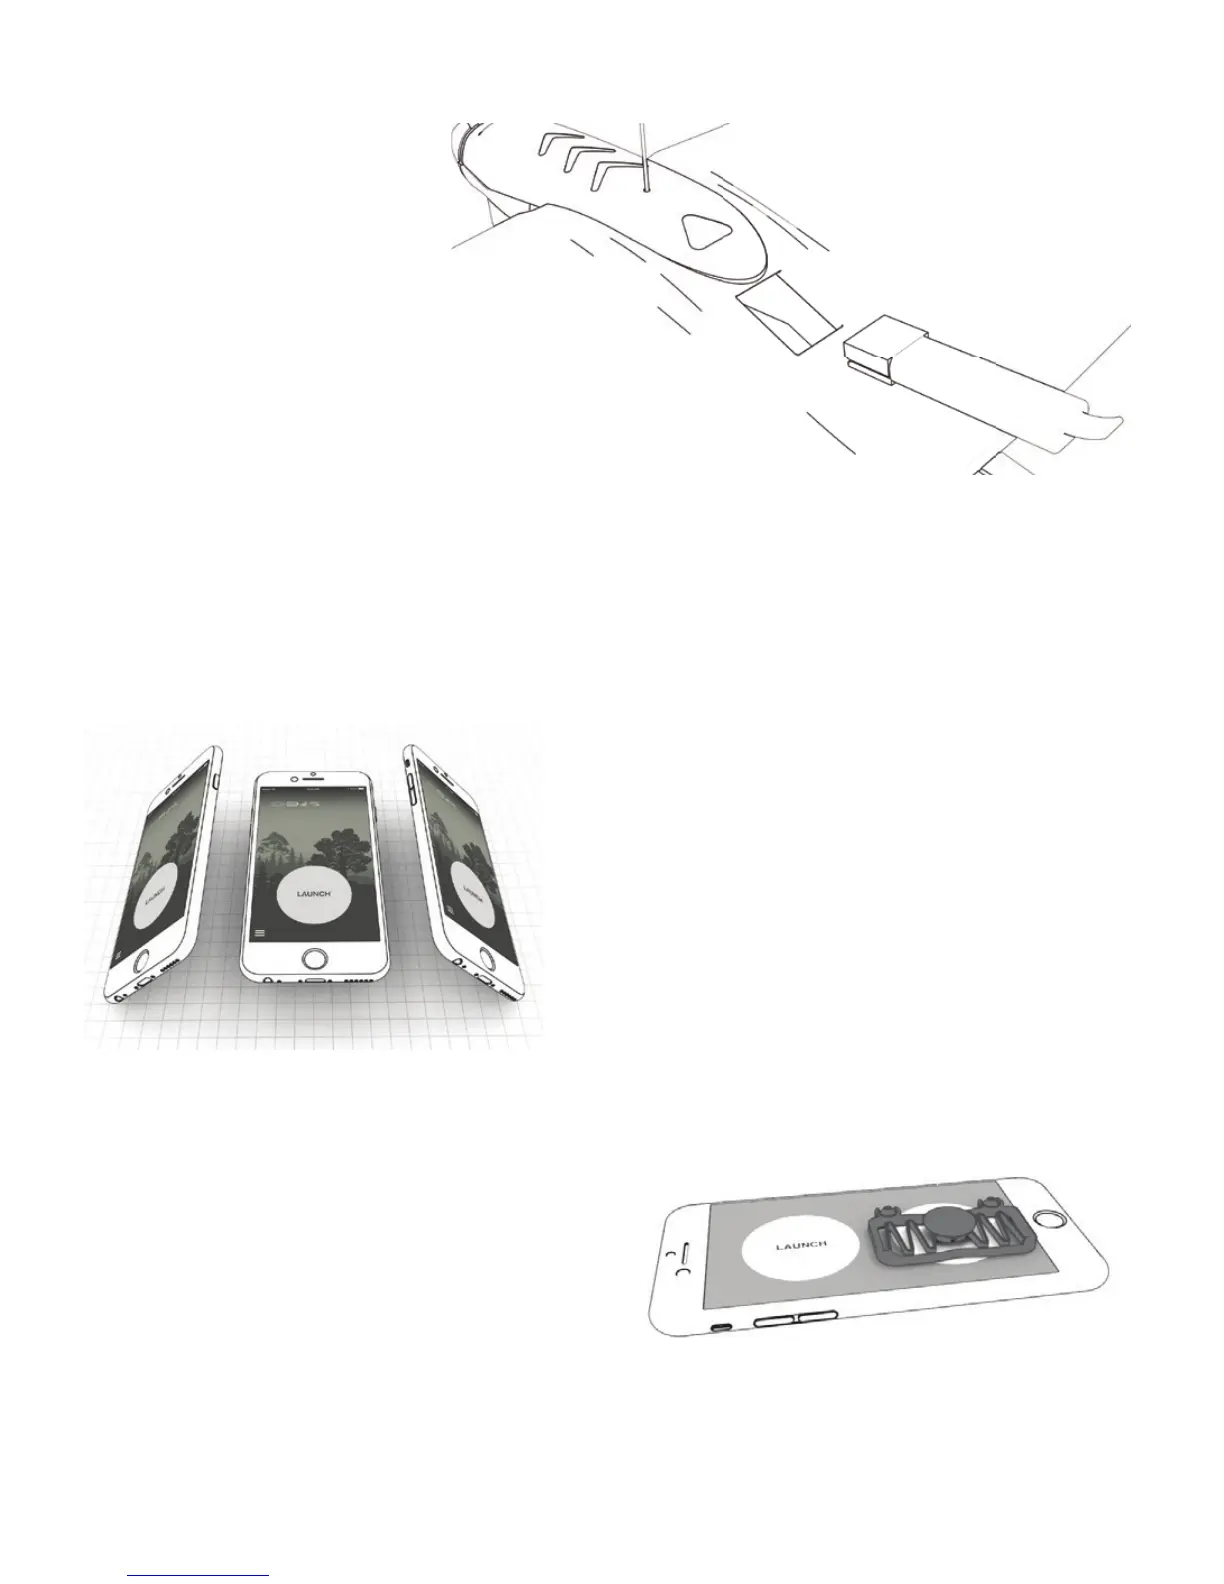
3.4.2. Joystick-Mode
Position the joystick over the right circle. Press the two
suction cups on rmly to secure the position. Use your
left thumb to operate the thrust controller. Use the
Joystick to steer left and right.
IMPORTANT: Before installing the joystick, clean the smartphone screen with a suitable cleaning cloth, e.g.
a micro ber cloth.
For more tips and tricks, check out the tutorial in the SmartPlane Pro app.