Select
Use ▲▼ key to select number and press MEM key to
save and proceed to the next.
Press MD key to proceed without saving. (Press C key
to return to RUN measuring mode).
●Target torque setting (Default setting: 0)
Set the rst target torque. 10 different torque values
can be registered and each will be expressed in
alphabet A-J on display.
Press ▲ key to select digit and ▼ key to select
number. Press MEM key to save and proceed to the
next. (Press MD key to proceed without saving. Press
C key to return to RUN measuring mode.).
In the same way as the rst target torque setting,
set the second "B", and all the way to the 10th "J".
After completing 10th "J" setting, it returns to RUN
measuring mode.
If you want quit on the way, press C key to return to
RUN measuring mode.
④ Setting on Judgement tightening mode
Use ▲▼ key to set the counter to 00 (RUN measuring
mode).
Keep MD key pressed for 2 seconds or more seconds
to proceed to the setting selection.
●Selecting subject to set
Select MODE_S (setting on tightening mode and
torque setting), or PARA_S (other parameter settings)
.
Use ▲▼ key to select MODE_S and press MEM key
to proceed to the next.
Press MD key to proceed without saving. (Press C key
to return to RUN measuring mode.)
●Tightening mode setting
(Default setting: PRESET)
Using ▲▼ key to select "JUDGE", and press MEM key
to conrm. (If you press MD key, it proceeds to the next
without saving. If you press C key, it returns to RUN
measuring mode)
16
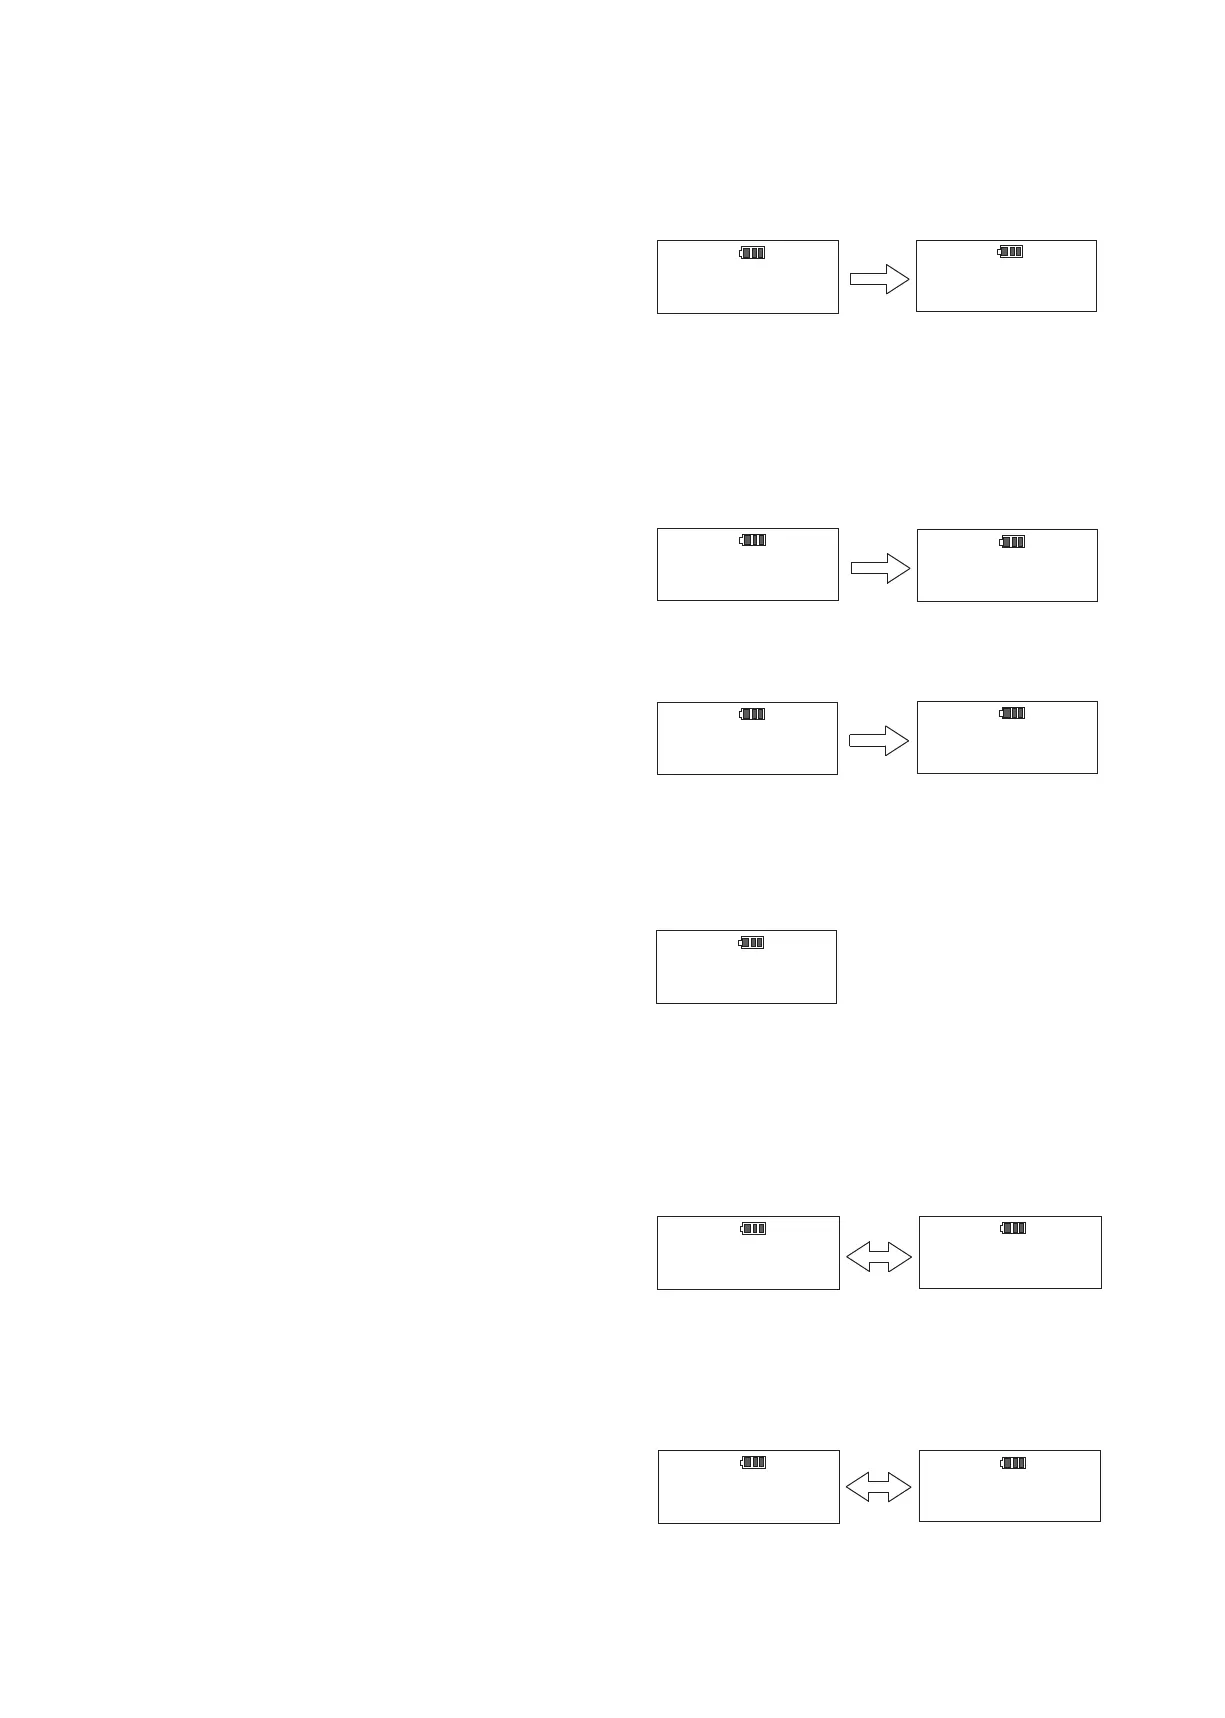
Before Setting
After Setting
●Target range setting (Default setting: 0%)
Set the target torque range to be indicated by blue LED. Select target range by percentage (%) based on the target
torque (select in 0-10% range).
Example: When target torque is 100N ・ m and Target range 5%, the actual range will be 100N ・ m-105N ・ m
(The target range will be lit by blue LED).
Select
Before Setting
After Setting
Before Setting
After Setting
 Loading...