■
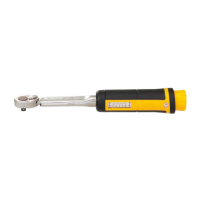
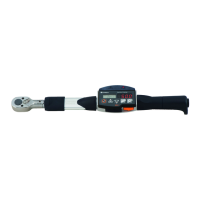
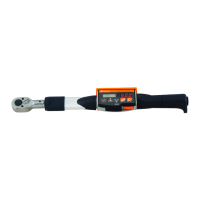
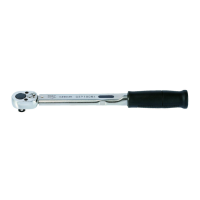
CLICK TYPE TORQUE WRENCH
6
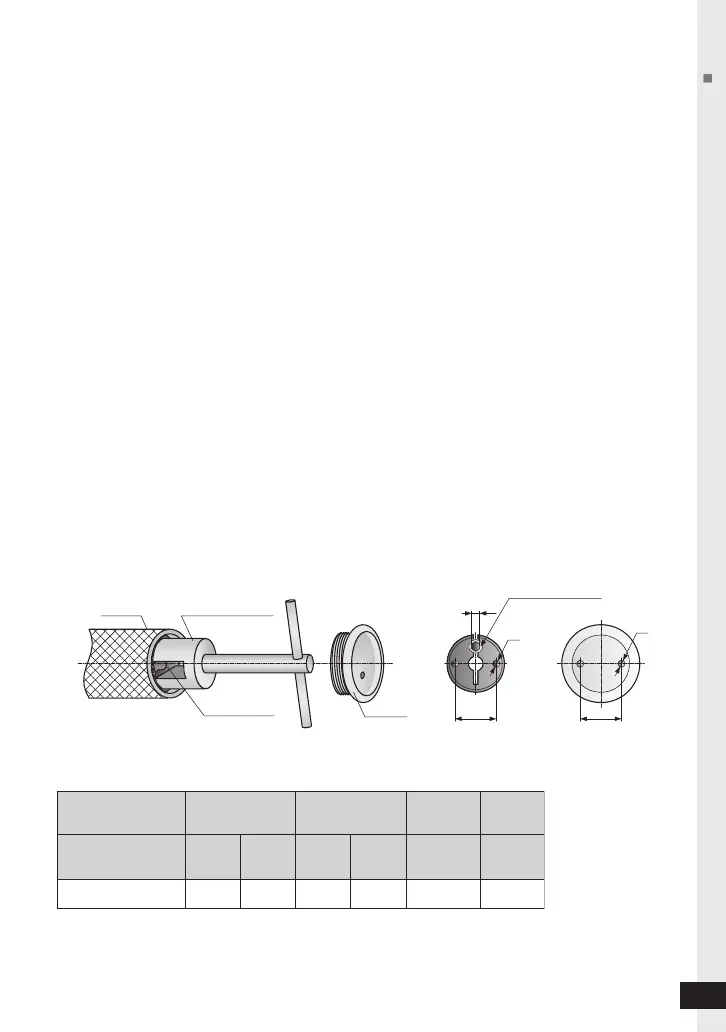
スラストリング工具
ThrustRingTool
チュー ブ
Tube
スラストリング
ThrustRing
キャップ
Cap
a
2a1
W
d
1
d2
スラストリングネジ
TrustScrew
締め付けトルクT
TighteningTorque
ThrustRingTool専用工具
トルクレンチ 型 式
スラストリング 工 具
スラストリングネジ
スラストリング
キャップ
a
1/d1
[mm]
a2/d2
[mm]
A-5
3
5.1 18/3.5
18/3.2
314
カタロ グ
No.
二面幅
W[mm]
締付
トルク
T[N・m ]
QSP420N/CSP420N
QSP/CSP
No.
Model ThrustRingTool ThrustScrew
ThrustRing
Cap
QSP420N・CSP420N
1.スラストリング工具(A-5 No.314)
を左に回してキャップは外します。
2.スラストリングネジ(六角穴付ネジ)
をヘックスビット付ドライバーで左に
回して緩めます。
3.スラストリングをスラストリング工具
で回して設定トルクの調整を行い、ト
ルクレンチテスタ(DOT、DOTE、
TF等)で設定トルクを確認します。
スラストリングは右に回すと設定トル
クが増え、左に回すと減少します。
4.トルク調整が終了したらスラストリ
ングネジをトルクイドライバ(LTD/
RTD)を用いて下表の規定のトルクで
締付けます。
5.キャップを取り付け、スラストリング
工具で右に回して締付けます。
For QSP420N, CSP420N model
1. Remove the cap by turning it
counterclockwise with the Thrust Ring
Tool (A-5, No.314)
2. Loosen the Thrust Ring Screw (hex set
screw) by turning it counterclockwise
with a hex-bit screwdriver.
3.
Turn the Thrust Ring with the Thrust
Ring Tool to set a torque. Use a tester
(Model: DOT, DOTE, TF, etc.) to confirm
the set torque.
Turn the Thrust ring clockwise to add
torque value, and turn counterclockwise
to reduce torque value.
4. After torque setting, fasten the Thrust
Ring Screw by turning it clockwise with
the specified torque described in the
table below. Use a torque screwdriver
(Model: LTD & RTD) for fastening the
Thrust Ring Screw.
5. Fasten the cap by turning a clockwise
with the Thrust Ring Tool.
シグナル式トルクQSP3他-取説.indd6シグナル式トルクQSP3他-取説.indd6 2016/11/1518:44:542016/11/1518:44:54
 Loading...