NOTE - FOR COLOR FASTNESS: Before using
carpet
cleaning chemicals, test on an inconspicuous part of
the carpet for color fastness. Place the solution on a
small piece of clean white cloth or tissue. Rub the
carpet
area vigorously with the cleaning chemical. Excessive
amounts of dye showing on the material would
indicate that the colors are not colorfast, and should
not be wet cleaned.
1) Prepare room for cleaning, moving furniture as
need
to provide a clear working area. Cover bottoms of
furniture
legs where possible. (Aluminum foil or foam blocks
are ideal for this purpose.) Pin up curtains and drapes.
2) Gather cleaning supplies: a clean, suitable sized
bucket, carpet cleaning solution, de-foamer solution,
and pretreat solutions for heavily soiled traffic areas.
3) Measure carpet cleaning solution, per
manufacturers recommended ratio, into the TUB (or
bucket) and fill with hot water up to ½ of standard
TUB. WARNING: DO NOT exceed water
temperature of 150º (65º C).
4) Place solution hose into tub making sure it is resting
on bottom of tub.
5) With switches turned off connect the solution hose
and the vacuum hose to the machine and to the wand.
WARNING: Do not attempt to connect solution
hose to machine with pump switch turned on.
1) Plug the power cord into an outlet. WARNING: This machine must be properly grounded. See
Grounding Instructions on page 2 for additional information.
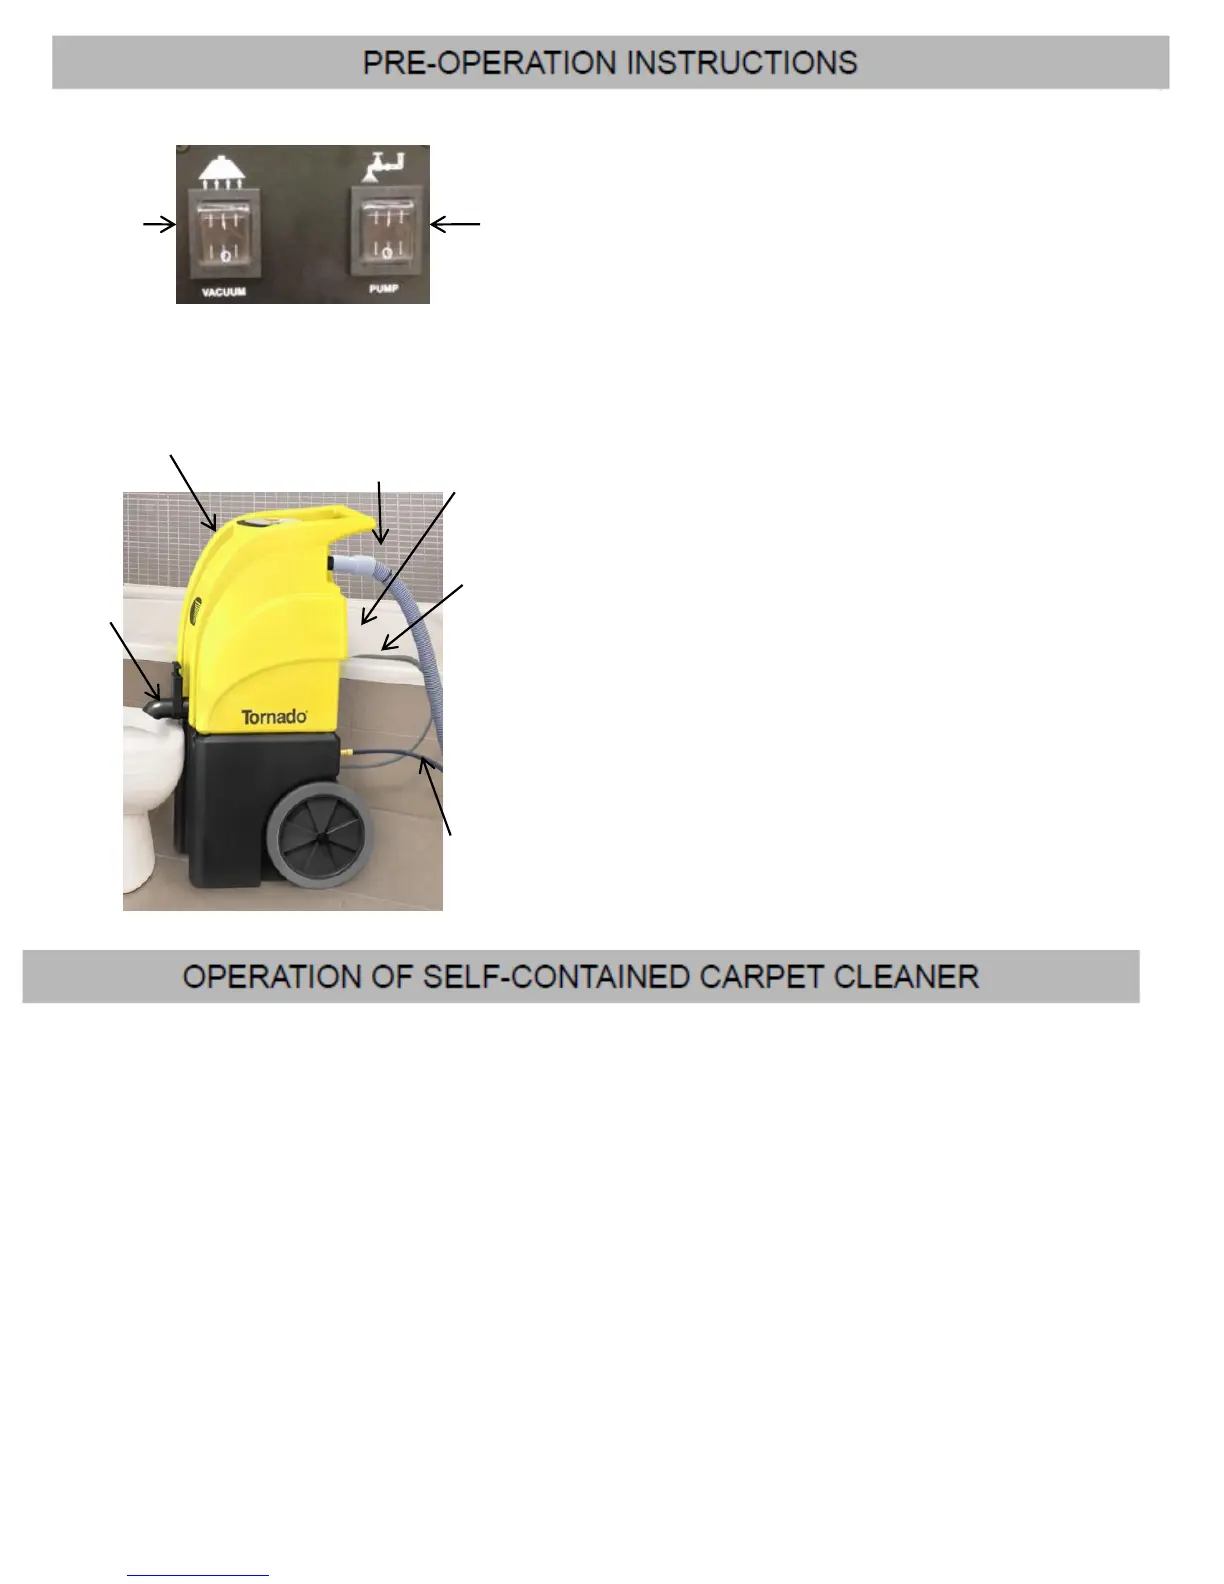
2) With the solution line attached to the wand and the machine, turn on the pump to the “on” position. See
FIG 1B for a diagram on the operation switches. Press the lever on the wand and spray until there is no
air coming out with the water. This takes approximately 2-3 minutes.
3) With the pump still on, press the VACUUM switch “on”.
4) To clean the carpet, squeeze and hold the TRIGGER on the wand to apply the cleaning solution,
5) For optimum cleaning results it is suggested to use a V stroke pattern. Start with an area approximately
4’ x 4’. On the back stroke pull the trigger on the wand for the solution to spray. Let up on the trigger
about 4 inches before the end of the stroke for maximum water recovery. Push the wand forward at a
slight angle until next stroke is slightly overlapping previous stroke. Go over area just cleaned with
vacuum only stroke before moving to the next area. After a few passes, check the RECOVERY TANK to
verify that no foam is present. Add extra de-foamer if necessary.
6) Empty the RECOVERY TANK when it is approximately 3/4 full by pulling up on the handle on the DUMP
VALVE.
7) When finished, shut off all switches. Before disconnecting solution hose relieve the water pressure from
the wand by holding the lever on the wand.
Warning: Turn unit off immediately if foam or liquid come from machine exhaust. Empty & clean out
recovery (dirty) tank and use de-foamer to correct the problem.
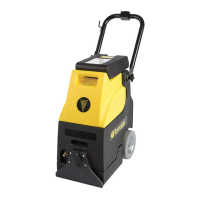
VACUUM
SWITCH
PUMP
SWITCH
FIG. 1B
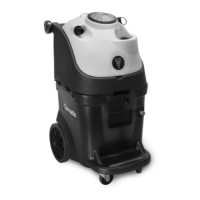
FIG. 1A
RECOVERY
TANK
DUMP
VALVE
VACUUM
HOSE
SOLUTION
DELIVERY
HOSE
SOLUTION
INLET HOSE
SOLUTION
TUB