7
UNCRATING
Your Ultra High Speed Burnisher was protectively
packed to prevent damage in shipment. We suggest that
upon removing the unit from its carton you carefully
inspect it for any possible damage in transit. If damage
is discovered, immediately notify the transportation
company who delivered your machine. As a
manufacturer, we are unable to ace upon any claim for
concealed damage: you must originate the claim.
IMPORTANT SAFEGUARDS
This machine is designed to be safe when used to
perform the functions specied in this Operator’s
Manual. Should damage occur to electrical or
mechanical parts, the machine should be repaired by
the manufacturer or competent service center before
using in order to avoid further damage to the machine
or physical injury to the user. Your
oor machine is
equipped with a safety switch lockout device designed
for your safety. Do not attempt to bypass or defeat the
safety lockout device. Never use any device to lock the
power switch in the ON position.
APPLICATION
The P1600 and P2000 Glazers High Speed Burnishes
are used to achieve and /or maintain a high gloss
appearance on an established oor nish. The high pad
revolution of the oor burnisher combined with a good
polishing pad will turn properly established cleaned
oor nish into a high gloss, hardened nish known as
the ‘wet look shine”. Recommended pads are beige or
white synthetic pads, or the natural hogs hair blended
pads.
Preparation of the Surface
Before each use of this machine, the oor must be dust
mopped with a treated mop and if necessary clean the
oor with a damp mop using a solution of water and
neutral cleaner.
PREPARE THE MACHINE FOR OPERATION
.W
ARNING
To prevent injury, always remove the electrical plug
from the electrical outlet before changing the polishing
pad and before leaving the machine.
With the handle locked, tip the machine back until the
handle is lying at on the oor
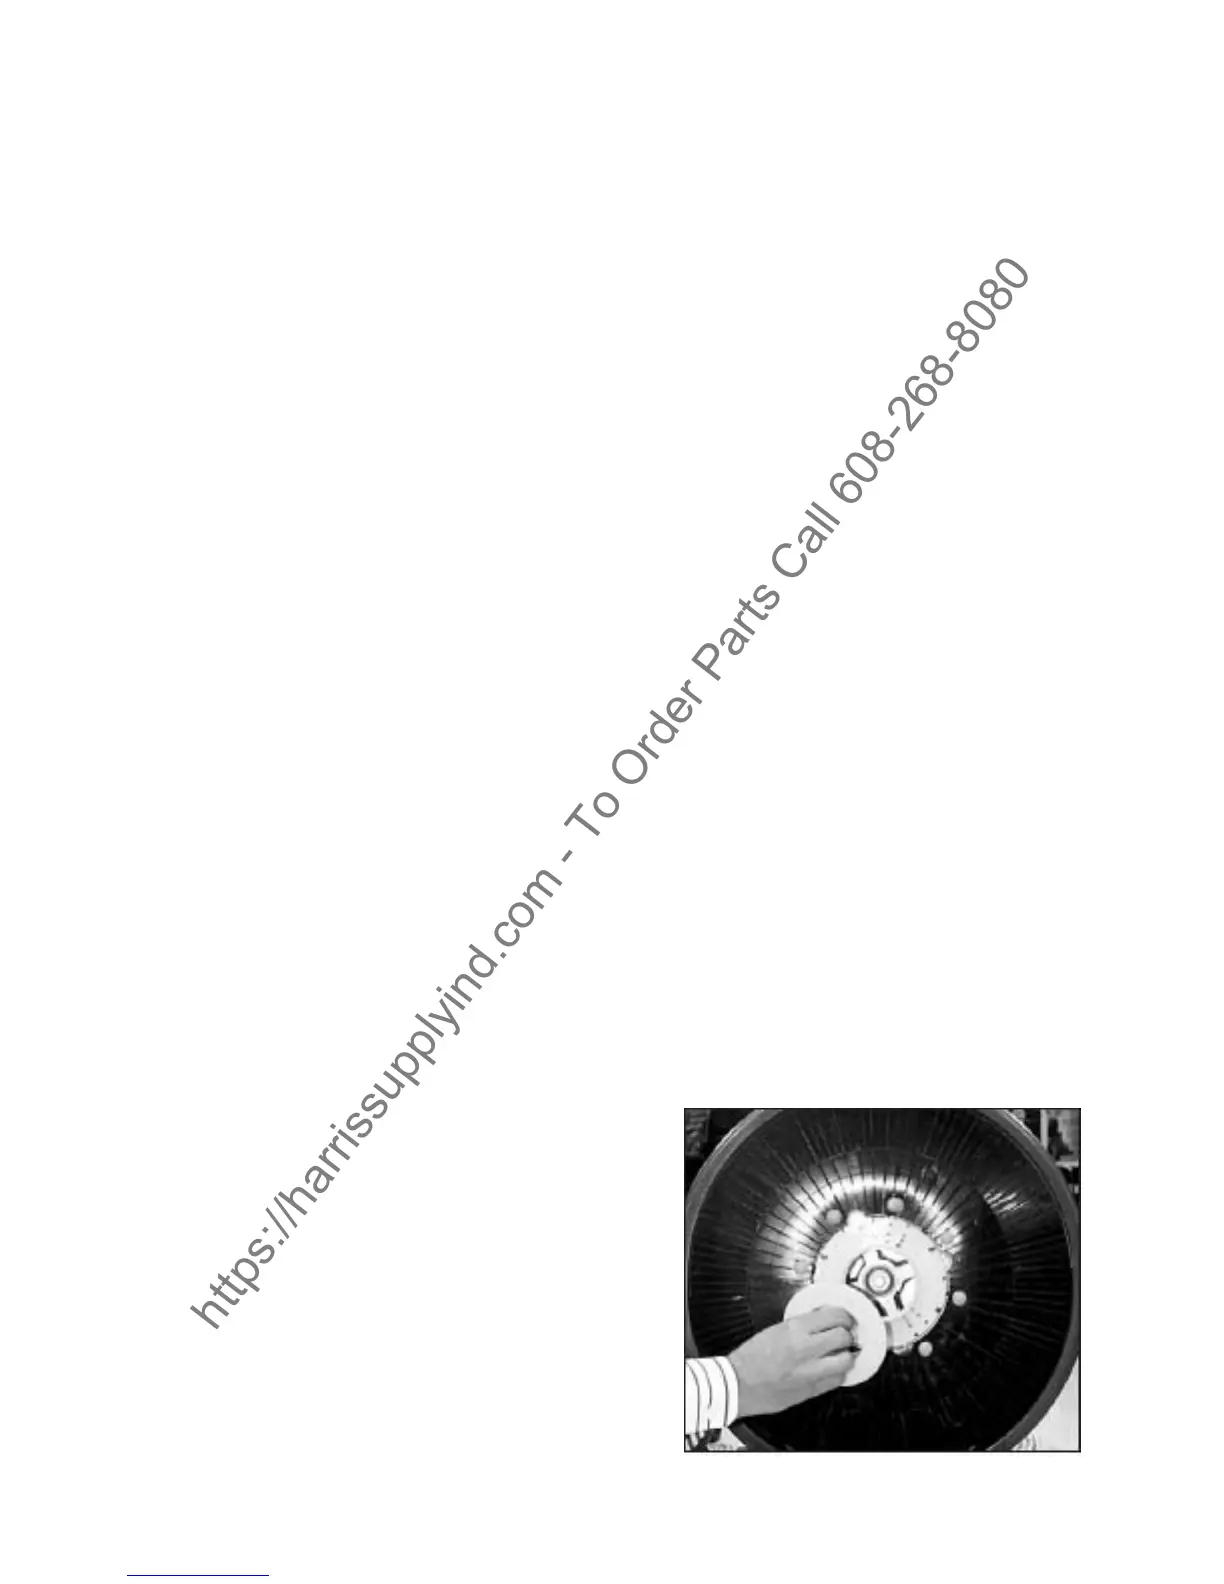
To remove the pad-lock pad holder from the exible
pad driver, grasp the center support with your thumb
and forenger and turn the collar counter-clockwise
(see gure 1).
Place a clean or new 230” bufng pad over the
alignment ring on the pad holder
Replace the collar by turning clockwise until snug (see
gure 2).
Step back and tilt the burnisher to the upright position.
Connect the power cord into a grounded, 3-wire outlet.
The P1600 and P2000 Glazers should be operated
with the handle in the unlocked “oating” position to
provide excellent maneuverability and automatic pad
contact. The P1600 and P2000 Glazers are designed
for maintenance of large, open areas. To prevent
excessive pad drag or uneven burnishing where tight,
repetitive turns are necessary, lock the handle for
manual control of pad contact
. NOTE: The hardened steel cam release lever does
not require extreme tightening to effectively hold the
handle in position. Over-tightening the can release
lever will shorten the functional life of the lever (see
gure 3).
gure 1
https://harrissupplyind.com - To Order Parts Call 608-268-8080

 Loading...