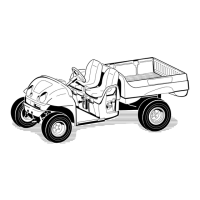
1. Blo w compressed air from the inside to the
outside of the dr y filter element. K ee p the
air hose nozzle at least 2 inc hes (51 mm)
from the filter and mo v e the nozzle up and
do wn while rotating the filter element.
Important: T o pr ev ent dama ge to
the filter element, do not ex ceed 100 psi
(689 kP a) air pr essur e.
2. Inspect the filter element for holes and
tears b y looking through the filter to w ard a
bright light.
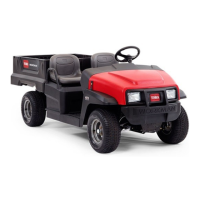
Installing the Filter Element
Important: T o pr ev ent engine dama ge,
al w ays operate the engine with the complete
air cleaner assembl y installed.
1. Inspect the new filter for shipping damag e .
Chec k the sealing end of the filter .
Important: Do not install a dama ged
filter .
2. Inser t the new filter into air cleaner body .
Ensure the filter is sealed properly b y applying
pressure to the outer rim of the filter when
installing it. Do not press on the flexible center
of the filter .
3. Install the co v er and secure the latc hes .
Servicing the Engine Oil
Chec k the oil lev el before eac h use .
Chang e the oil after the first 25 operating
hours and ev er y 100 operating hours thereafter .
Chang e the oil twice as often in special operating
conditions; refer to Maintaining the V ehicle under
Special Operating Conditions .
Note: Chang e the oil more frequently when
operating conditions are extremely dusty or sandy .
Oil T ype: Deterg ent oil (API ser vice SG , SH, SJ ,
or higher)
Viscosity: See the table belo w .
Figure 34
Checking the Oil Level
T o c hec k the oil lev el, refer to Chec king the Engine
Oil in Operation , pag e 22 .
Changing the Oil
1. Star t the v ehicle and let it r un for a few min utes
to w ar m the oil.
2. P ark the mac hine on a lev el surface , set the
parking brak e , tur n the ignition off , and
remo v e the k ey .
3. Raise the bed and secure it with the prop rod.
4. Disconnect the spark plug wires and batter y
cables .
5. R emo v e the drain plug ( Figure 35 ) and let the
oil flo w into a drain pan. W hen the oil has
drained completely , install the drain plug and
tor que it to 13 ft-lb (17.6 N ⋅ m).
32