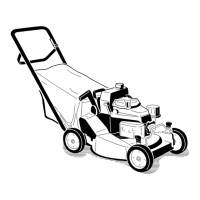
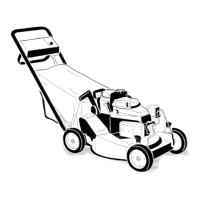
1. Disconnect the wire from the spark plug
( Figure 13 ).
2. Drain the fuel from the fuel tank. R efer to
Emptying the Fuel T ank and Cleaning the Fuel
Filter .
Tipping the la wn mo w er may cause
the fuel to leak fr om the carbur etor or
the fuel tank. Gasoline is extr emel y
flamma ble, highl y explosi v e, and, under
cer tain conditions, can cause per sonal
injur y or pr oper ty dama ge.
A v oid fuel spills by r unning the engine
dr y or by r emo ving the gasoline with a
hand pump; nev er siphon.
3. Tip the la wn mo w er onto its right side .
4. R emo v e the dir t and g rass clippings with a
hardw ood scraper . A v oid bur rs and shar p
edg es .
5. T ur n the la wn mo w er upright.
6. Fill the fuel tank.
7. Connect the wire to the spark plug .
Cleaning the Discharge
Tunnel and Plug
R emo v e the plug from the disc harg e tunnel and
clean it after eac h use .
Alw a ys be sure that the disc harg e tunnel door
closes securely when y ou release the handle . If the
debris prev ents the disc harg e door from closing
securely , clean the inside of the disc harg e tunnel
and the door thoroughly .
Grass clippings and other objects can be
thr o wn fr om an open discharge tunnel and
cause serious injur y or kill the operator or
bystander s.
Nev er star t or operate the la wn mo w er
unless one of the f ollo wing is tr ue:
• T he discharge tunnel plug is lock ed
secur el y in the discharge tunnel.
• T he g rass ba g is lock ed in place.
• T he optional side discharge chute is
lock ed in place.
• T he discharge tunnel door is lock ed in
place.
Cleaning under the Belt
Cover
K ee p the area under the belt co v er free of debris .
1. Stop the engine and w ait for all mo ving par ts
to stop .
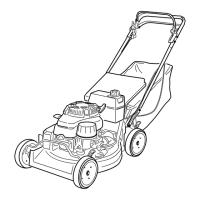
2. R emo v e the bolts that secure the belt co v er
( Figure 37 ) to the la wn mo w er housing .
Figure 37
1. Belt cover
3. Lift off the co v er and br ush out all the debris
around the belt area.
4. Install the belt co v er .
27