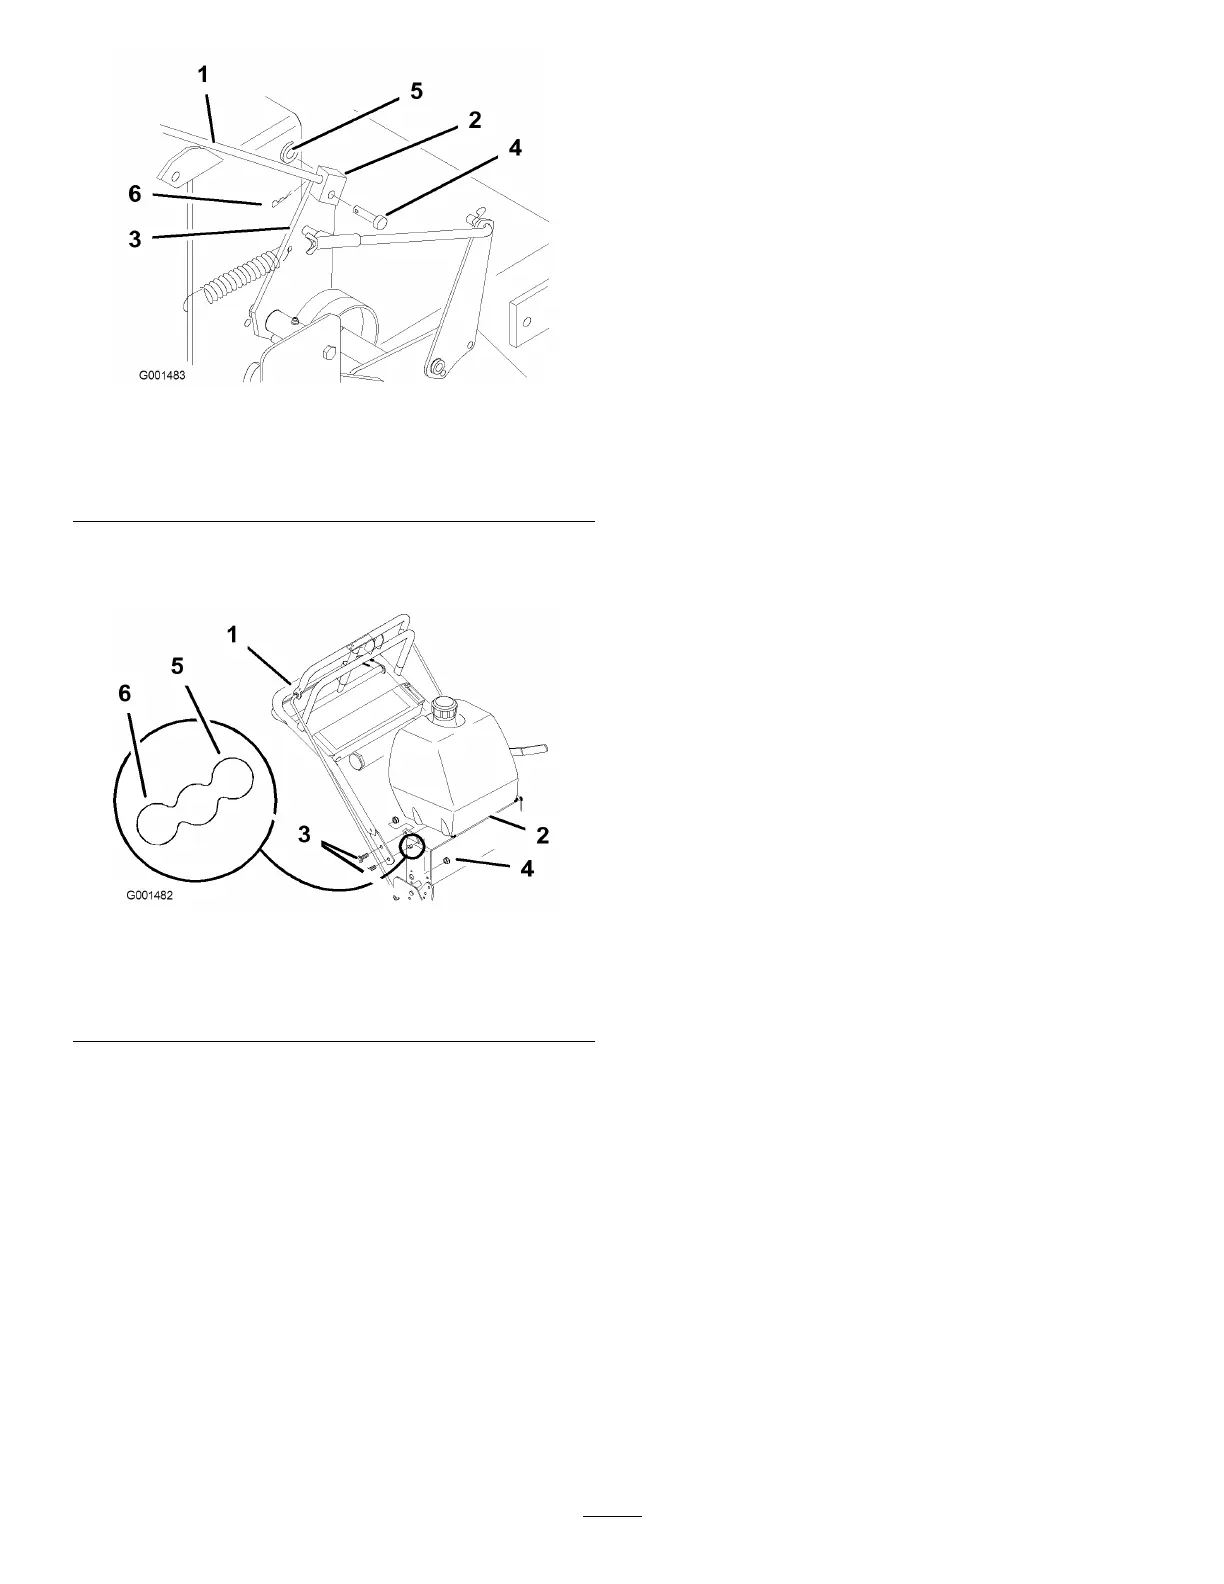
Figure19
1.Controlrod4.Clevispin
2.Controlrodtting
5.Washer
3.Idlerbracket6.Hairpincotterpin
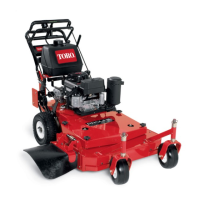
2.Loosentheupperangebolts(3/8x1inch)and
angenutsecuringhandletorearframe(Figure20).
Figure20
1.Upperhandle
4.Locknut(3/8inch)
2.Rearframe
5.Uppermountinghole
3.Flangebolt(3/8x1inch)
6.Lowermountinghole
3.Removethelowerangebolts(3/8x1inch)
andangenutssecuringhandletorearframe
(Figure20).
4.Pivothandletodesiredoperatingpositionand
installlowerangebolts(3/8x1inch)andange
nutsintomountingholes.Tightenallangebolts.
5.Threadrodttingupordownonroduntilproper
positionisattainedandinstallintottingtoidler
bracketwithclevispin,washerandhairpincotter.
6.Checktheparkingbrakeadjustment.Referto
CheckingtheBrakesinBrakeMaintenance,
page33.
23