14
Operation
Operation
Throttle
Trigger
Switch
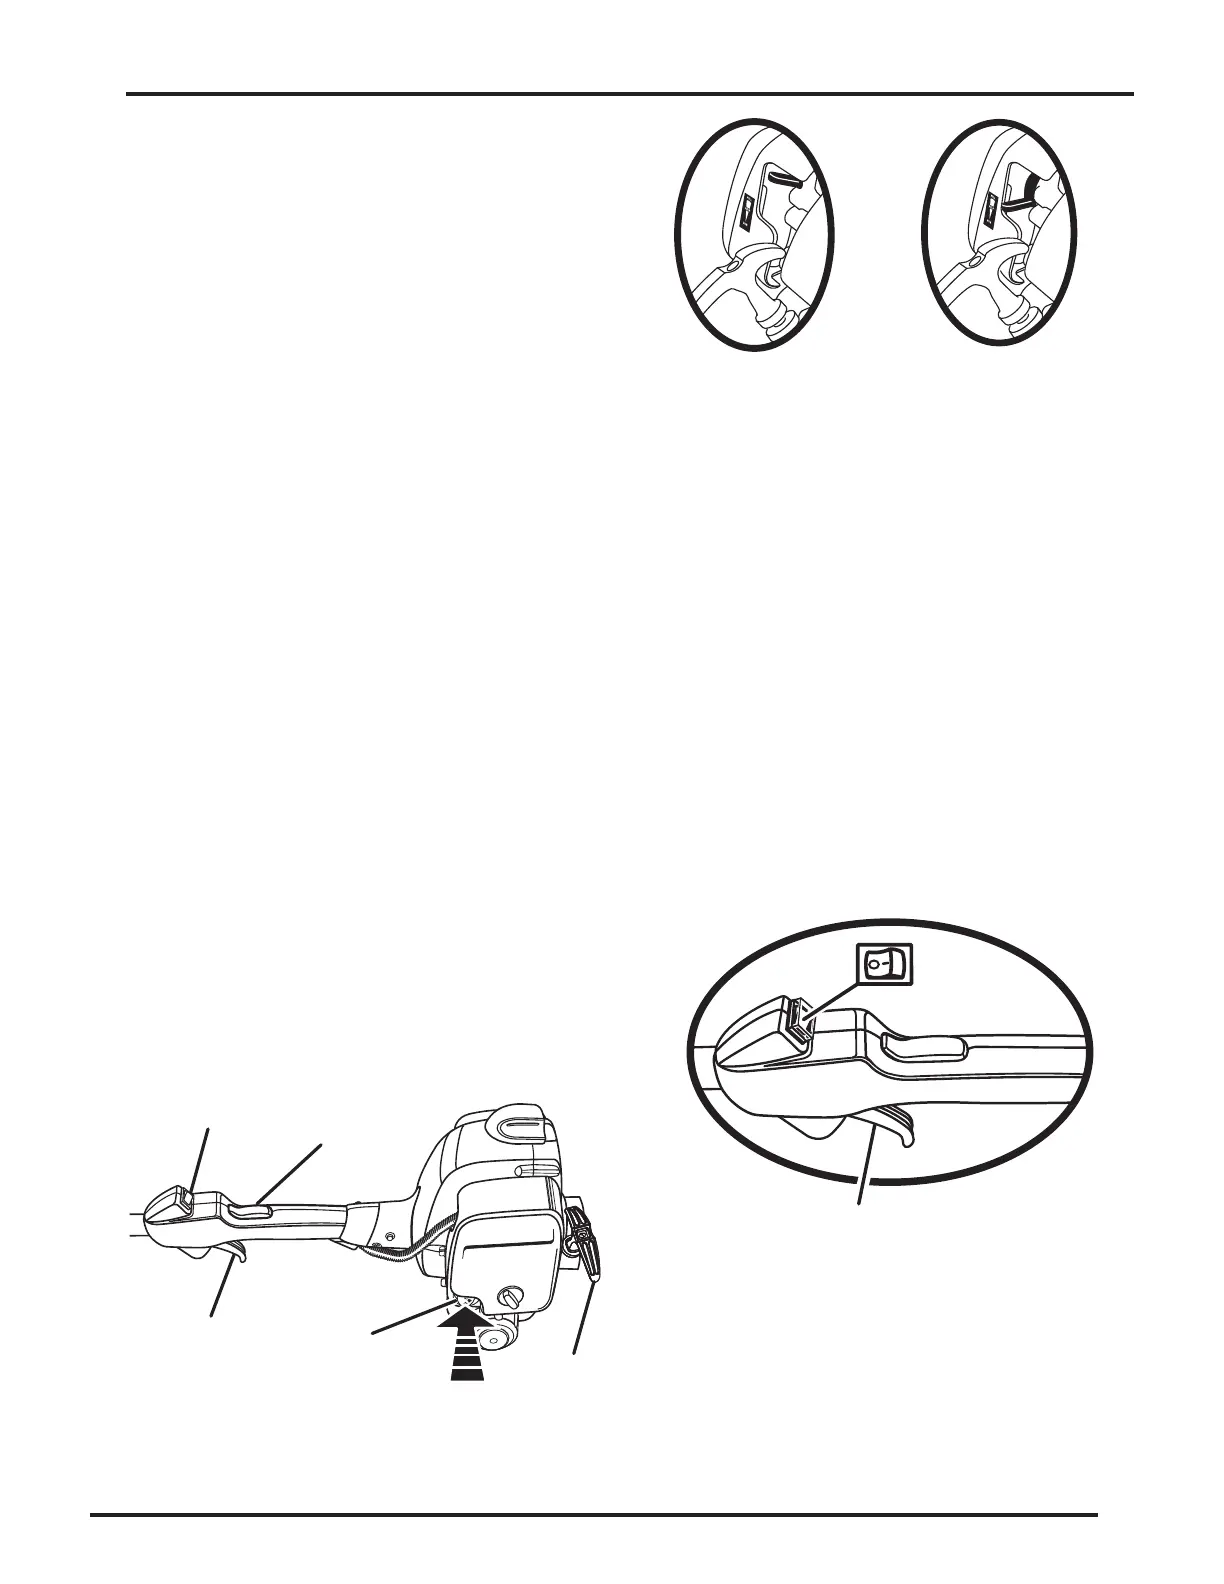
Figure 6
Figure 7
Set Choke to FULL
Set Choke to RUN
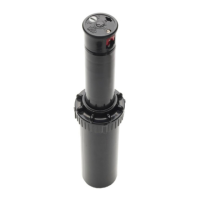
Figure 5
Lock-out
Button
Switch
Starter
Grip and
Rope
Throttle
Trigger
Primer
Bulb
BLADE THRUST
Exercise extreme caution when using a blade attachment
with this unit. Blade thrust is the reaction that may occur
when the spinning blade contacts anything it cannot cut.
This contact may cause the blade to stop for an instant,
and suddenly “thrust” the unit away from the object that
was hit. This reaction can be violent enough to cause the
operator to lose control of the unit. Blade thrust can occur
without warning if the blade snags, stalls, or binds. This is
more likely to occur in areas where it is difcult to see the
material being cut. For cutting ease and safety, approach the
weeds being cut with the brushcutter from the right to the
left. In the event an unexpected object or woody stock is
encountered, this practice could minimize the blade thrust
reaction.
Starting the Product
See Figures 5 - 7.
Starting the product differs depending on whether the engine
is cold or warm. Refer to the label on the air lter cover.
To Start a Cold Engine:
Follow these steps to start a cold engine.
1.
Lay the product on a at, bare surface.
2. Toggle the switch to the I (ON) position.
3.
Push the primer bulb eight times.
4. Set the choke lever to FULL.
5.
Depress lock-out button and squeeze throttle trigger fully
(thru step 7) and pull starter handle sharply until engine
attempts to start (no more than 4x).
6.
Set the choke lever to HALF.
7.
Pull starter handle until engine runs, no more than 6
pulls.
8.
Set the choke lever to RUN.
NOTE: In cooler environments, additional pulls of the
starter handle may be required with the choke lever in
the FULL position.
To Start a Warm Engine:
Follow these steps to start a warm engine.
1. Lay the product on a at, bare surface.
2. Toggle the switch to the I (ON) position.
3. Push the primer bulb up to eight times.
4. Set the choke lever to RUN.
5. Depress lock-out button and squeeze throttle trigger
fully, pull the starter cord.
NOTE: If the product does not start, repeat the previous
steps.
Stopping the Product
See Figure 7.
Follow these steps to stop the product.
Release the trigger.
Toggle the switch to the
O (OFF) position.