29
Cleaning the Foam and Paper Elements
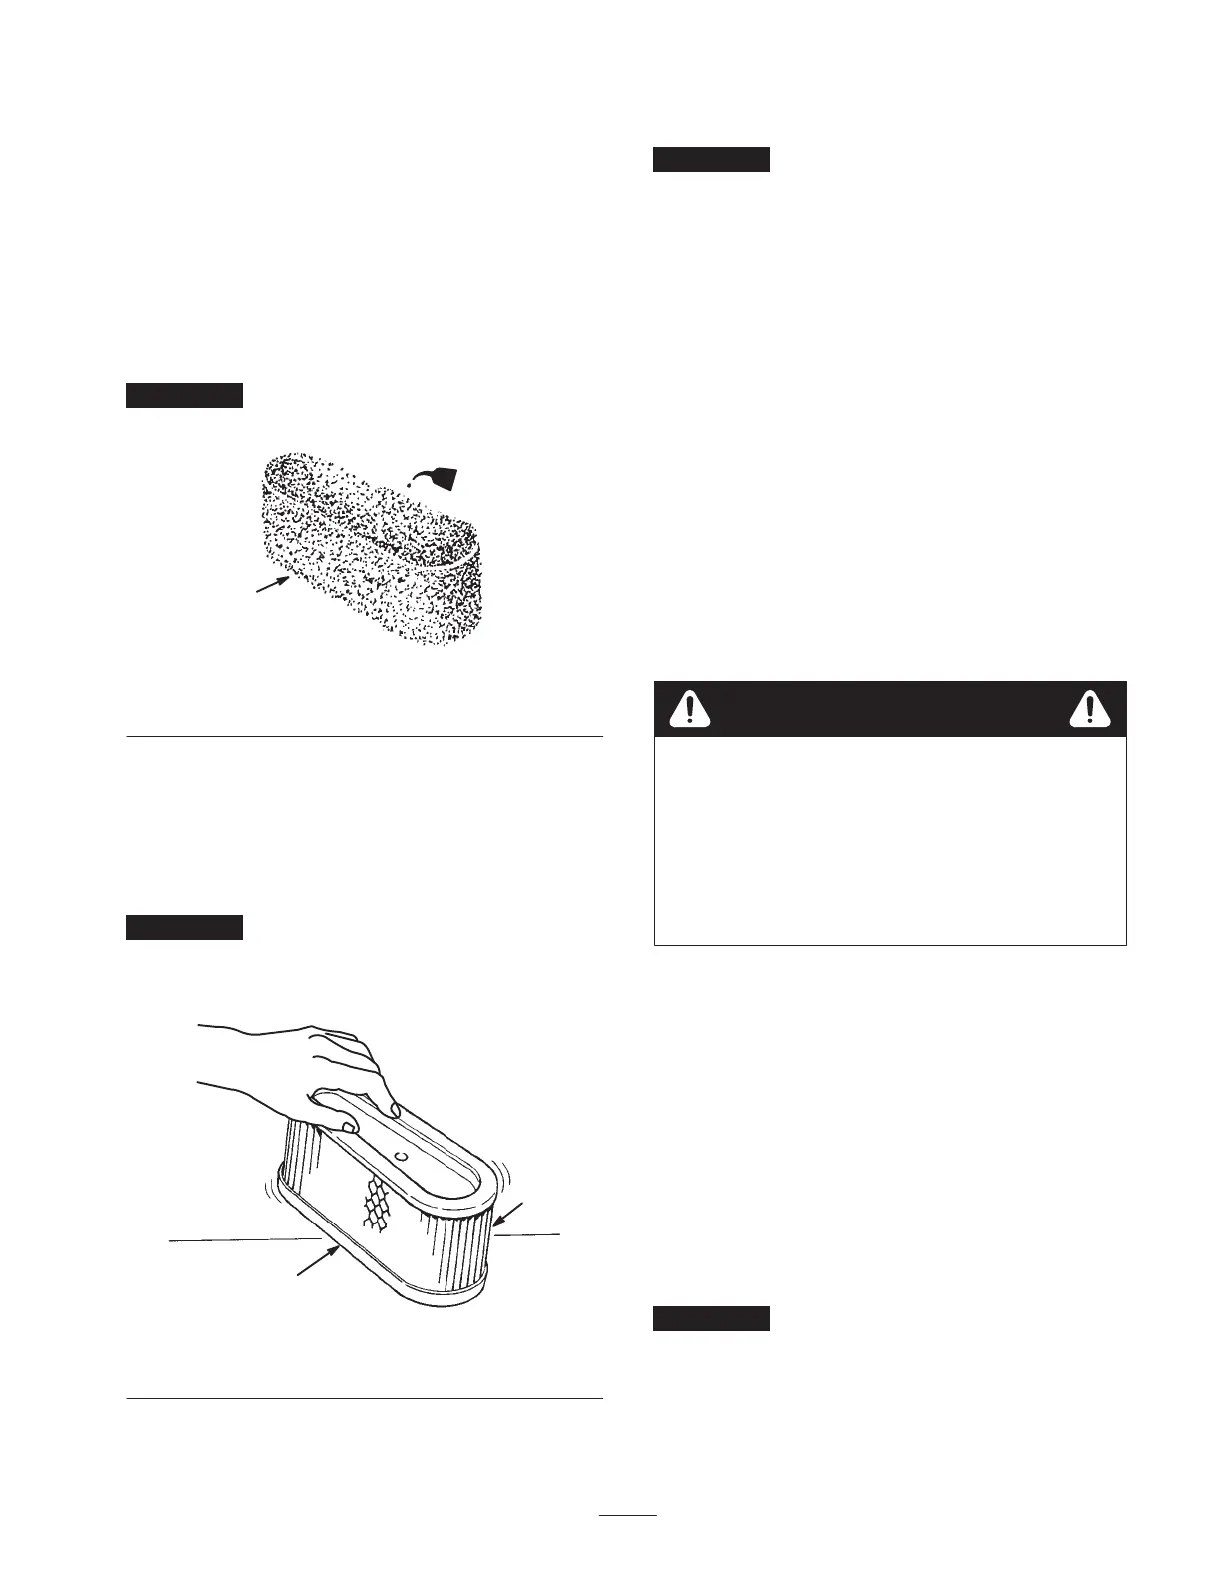
1. Foam Element
A. Wash the foam element in liquid soap and warm
water. When the element is clean, rinse it
thoroughly.
B. Dry the element by squeezing it in a clean cloth.
C. Saturate the element in engine oil (Fig. 36). Squeeze
the element in a clean, absorbant cloth to remove
excess oil.
Important Replace the foam element if it is torn or
worn.
1
2
1866
Figure 36
1. Foam element 2. Oil
2. Paper Element
A. Lightly tap the element on a flat surface to remove
dust and dirt (Fig. 37).
B. Inspect the element for tears, an oily film, and
damage to the rubber seal.
Important Never clean the paper element with
pressurized air or liquids, such as solvent, gas, or kerosene.
Replace the paper element if it is damaged or cannot be
cleaned thoroughly.
1
2
1867
Figure 37
1. Paper element 2. Rubber seal
Installing the Foam and Paper Elements
Important To prevent engine damage, always operate
the engine with the complete foam and paper air cleaner
assembly installed.
1. Carefully slide the foam element onto the paper air
cleaner element (Fig. 34).
2. Slide the air cleaner assembly onto the long rod. Screw
the rubber nut finger-tight against the air cleaner
(Fig. 35).
Note: Make sure the rubber seal is flat against the air
cleaner base.
3. Install the air cleaner cover and knob (Fig. 33). Tighten
the knob snugly.
4. Close the hood.
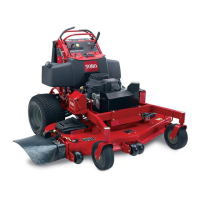
Cutting Blade
To ensure a superior quality of cut, keep the blades sharp.
For convenient sharpening and replacement, you may want
to have extra blades.
Danger
A worn or damaged blade can break, and a piece
of the blade could be thrown into the operator’s or
bystander’s area, resulting in serious personal
injury or death.
• Inspect the blade periodically for wear or
damage.
• Replace a worn or damaged blade.
Inspecting the Blades
1. Remove the mower; refer to Removing the Mower,
page 30.
2. Inspect the cutting edges (Fig. 38). If the edges are not
sharp or have nicks, remove the blades and sharpen
them; refer to Sharpening the Blade(s), page 30.
3. Inspect the blades, especially the bent edges (Fig. 38). If
you notice any wear or damage in this area,
immediately install a new blade.
4. If the shear pins are broken, replace them immediately
(Fig. 38).
Important If the shear pins are broken, the mower belt
may be damaged. Inspect the belt; refer to Adjusting the
Blade Drive Belt, page 31.