Figure9
1.Oilllcap
3.Unscrewtheoilllcapandremoveit.
4.Withthemachineintheoperatingposition,carefully
pouroilintothecrankcase.Wait3minutesforthe
oiltosettleandaddenoughtobringittothepoint
ofoverow .Thereshouldbeverylittle,ifany,oil
leftinthebottle.
5.Screwtheoilllcapintotheoilllholeandtighten
itsecurely.
4
AdjustingtheControlCable
NoPartsRequired
Procedure
RefertoAdjustingtheControlCableinMaintenance.
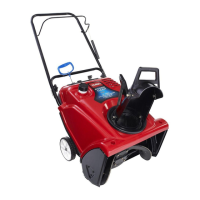
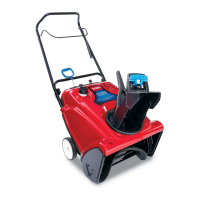
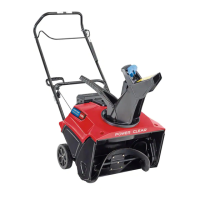
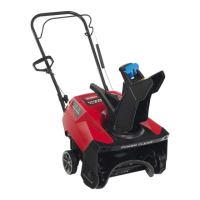
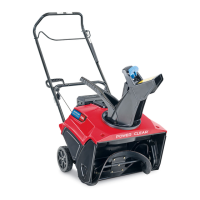
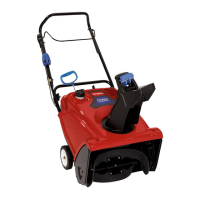
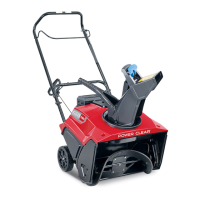
ProductOverview
Figure10
1.Dischargechute7.Electric-startbutton
(model38452only)
2.Dischargechutehandle8.Ignitionkey
3.Fueltankcap
9.Chokelever
4.Controlbar10.Oildrainplug
5.Recoilstarthandle
11.Oilllcap
6.Primer
Operation
Note:Determinetheleftandrightsidesofthemachine
fromthenormaloperatingposition.
DANGER
Gasolineisextremelyammableandexplosive.A
reorexplosionfromgasolinecanburnyouand
others.
•Topreventastaticchargefromignitingthe
gasoline,placethecontainerand/ormachine
onthegroundbeforelling,notinavehicleor
onanobject.
•Fillthetankoutdoorswhentheengineiscold.
Wipeupspills.
•Donothandlegasolinewhensmokingoraround
anopenameorsparks.
•Storegasolineinanapprovedfuelcontainer,out
ofthereachofchildren.
•Donottipthemachinebackwardwithfuelin
thefueltank;otherwise,fuelmayleakoutof
themachine.
7