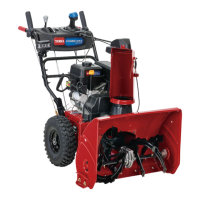
Note:Foreasierinstallation,lookdownthroughthe
openinginthespeedselector(Figure8).
Figure8
1.Speedselector
3
InstallingtheChuteControl
Rod
Partsneededforthisprocedure:
2
Carriagebolts
2Locknuts
Procedure
1.UnwraptheQuickStickandrotateitsothatitis
uprightandinthecenter.
2.Holdthebluetriggercapdownandpulltheleverfully
rearward.
Note:Thedischargechuteanddeectorshouldface
forward.Iftheydonot,holdthebluetriggercap
down(butdonotmovetheQuickStick)androtatethe
dischargechuteuntiltheydo.
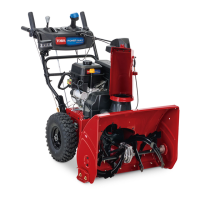
3.Aligntheattenedbackendofthelongchutecontrol
rodwiththeattenedfrontendoftheshortrod
thatextendsfromthecontrolpanelsothattheynest
together(Figure9).
Figure9
1.Shortrod
2.Longchutecontrolrod
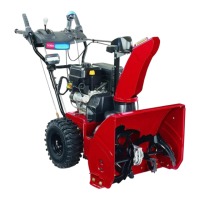
4.Insertthefrontendoftherodintotheopeningin
thebackofthechutegearcoveruntilitslidesintothe
chutegear(Figure10).
Figure10
5.Aligntheholesinthenestedendsoftherodsand
insert2carriagebolts(intheloosepartsbag)through
theshortrodfromtheleftsideofthemachine(from
theoperatingposition).
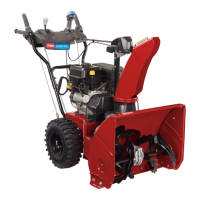
6.Insertthecableclipthatsupportsthedeector
cableontotheforwardcarriagebolt,andsecurethe
carriageboltswithlocknutsfromtheloosepartsbag
(Figure11).
Figure11
1.Cableclip2.Deectorcable
9
 Loading...