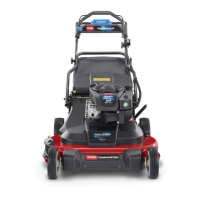
Setup
LooseParts
Usethechartbelowtoverifythatallpartshavebeenshipped.
ProcedureDescription
Qty.
Use
1
Screws(notincluded)
2
Mountthebatterycharger(optional).
2
Allenwrench1
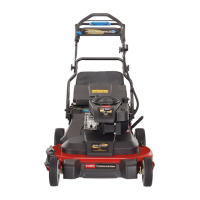
Unfoldthehandle.
3
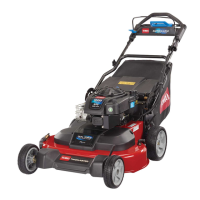
Auxiliaryhandleassembly1Installtheauxiliaryhandle.
4
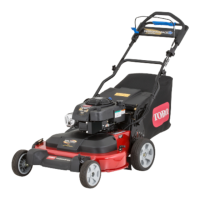
Guard
1Installtheguard.
Important:Thebatterypackisnotfullycharged
whenyoupurchaseit.Beforeusingthetoolfor
thersttime,refertoChargingtheBatteryPack
(page13).
1
MountingtheBattery
Charger(Optional)
Partsneededforthisprocedure:
2
Screws(notincluded)
Procedure
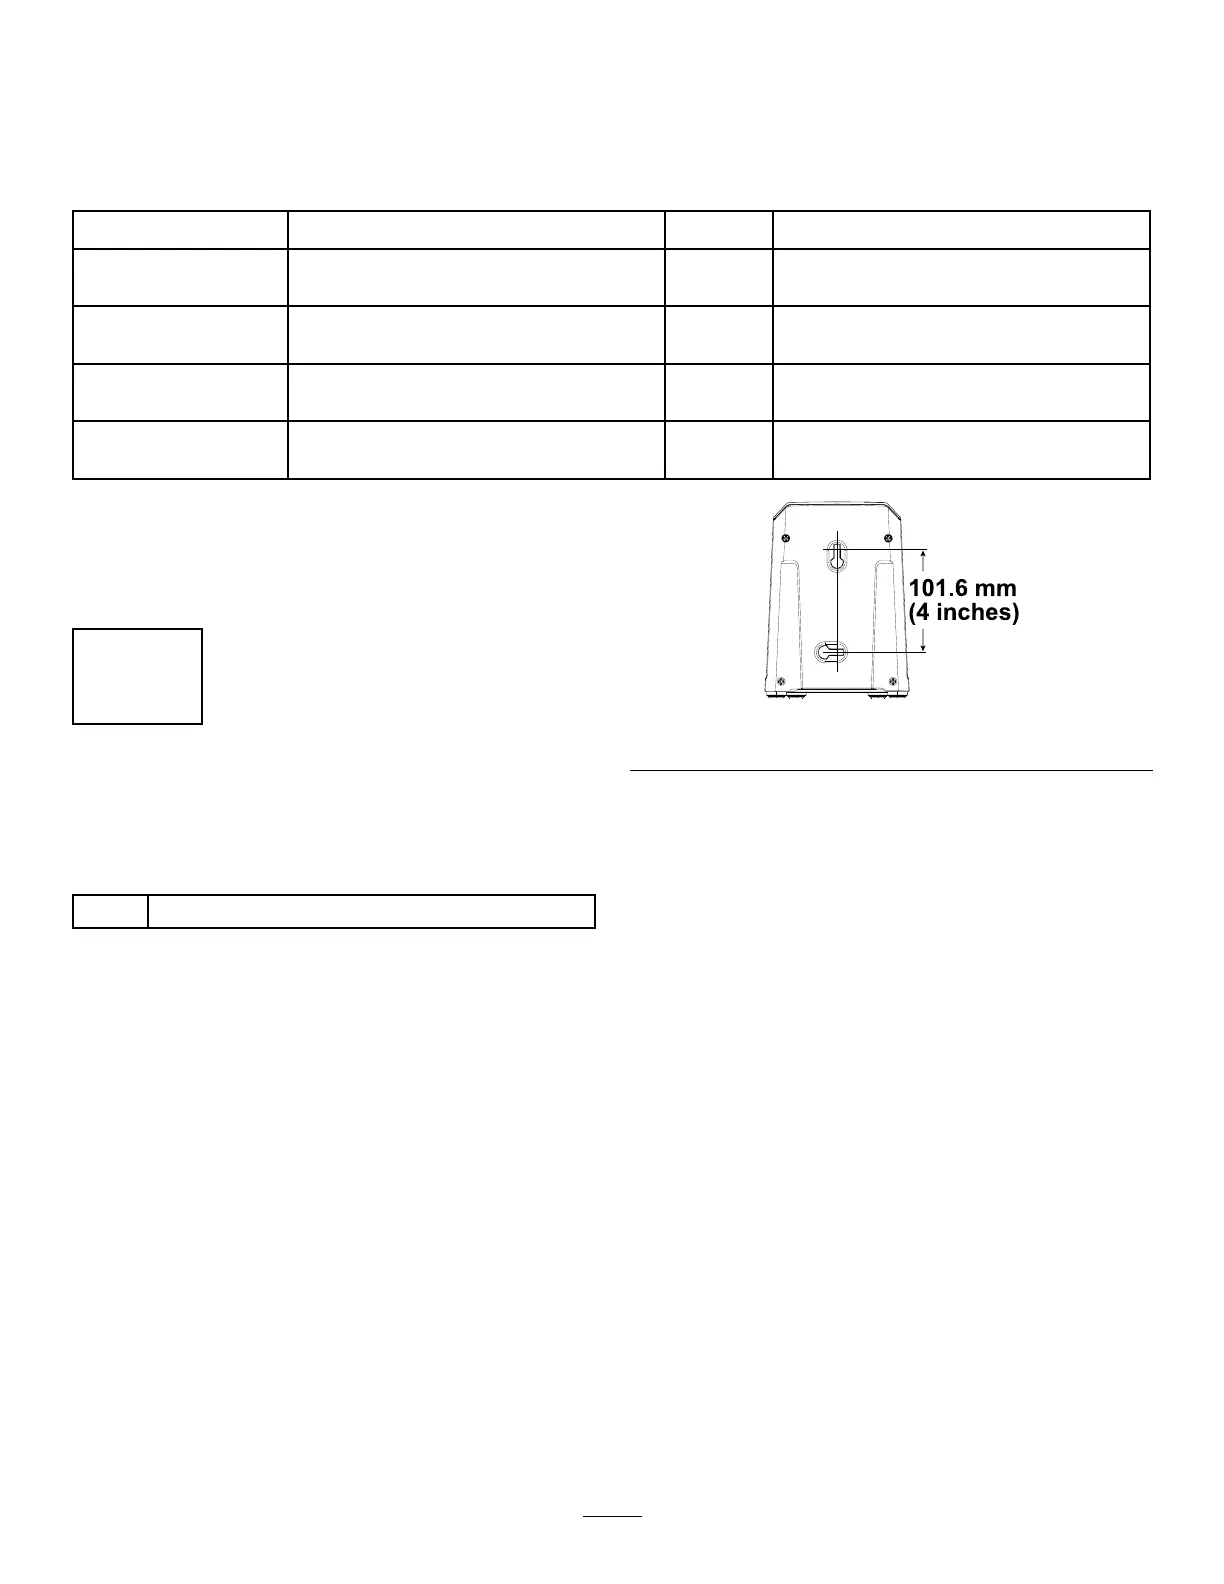
Ifdesired,mountthebatterychargersecurelyona
wallusingthewall-mountkeyholesonthebackof
thecharger.
Mountitindoors(suchasagarageorotherdryplace),
nearapoweroutlet,andoutofthereachofchildren.
RefertoFigure3forassistanceinmountingthe
charger.
Slidethechargerovertheappropriatelypositioned
hardwaretosecurethechargerinplace(hardware
notincluded).
g290534
Figure3
7