© 2003 The Toro Company, Irrigation Division • An ISO 9000-certified Company • www.toro.com Form Number 373-0291 Rev. A
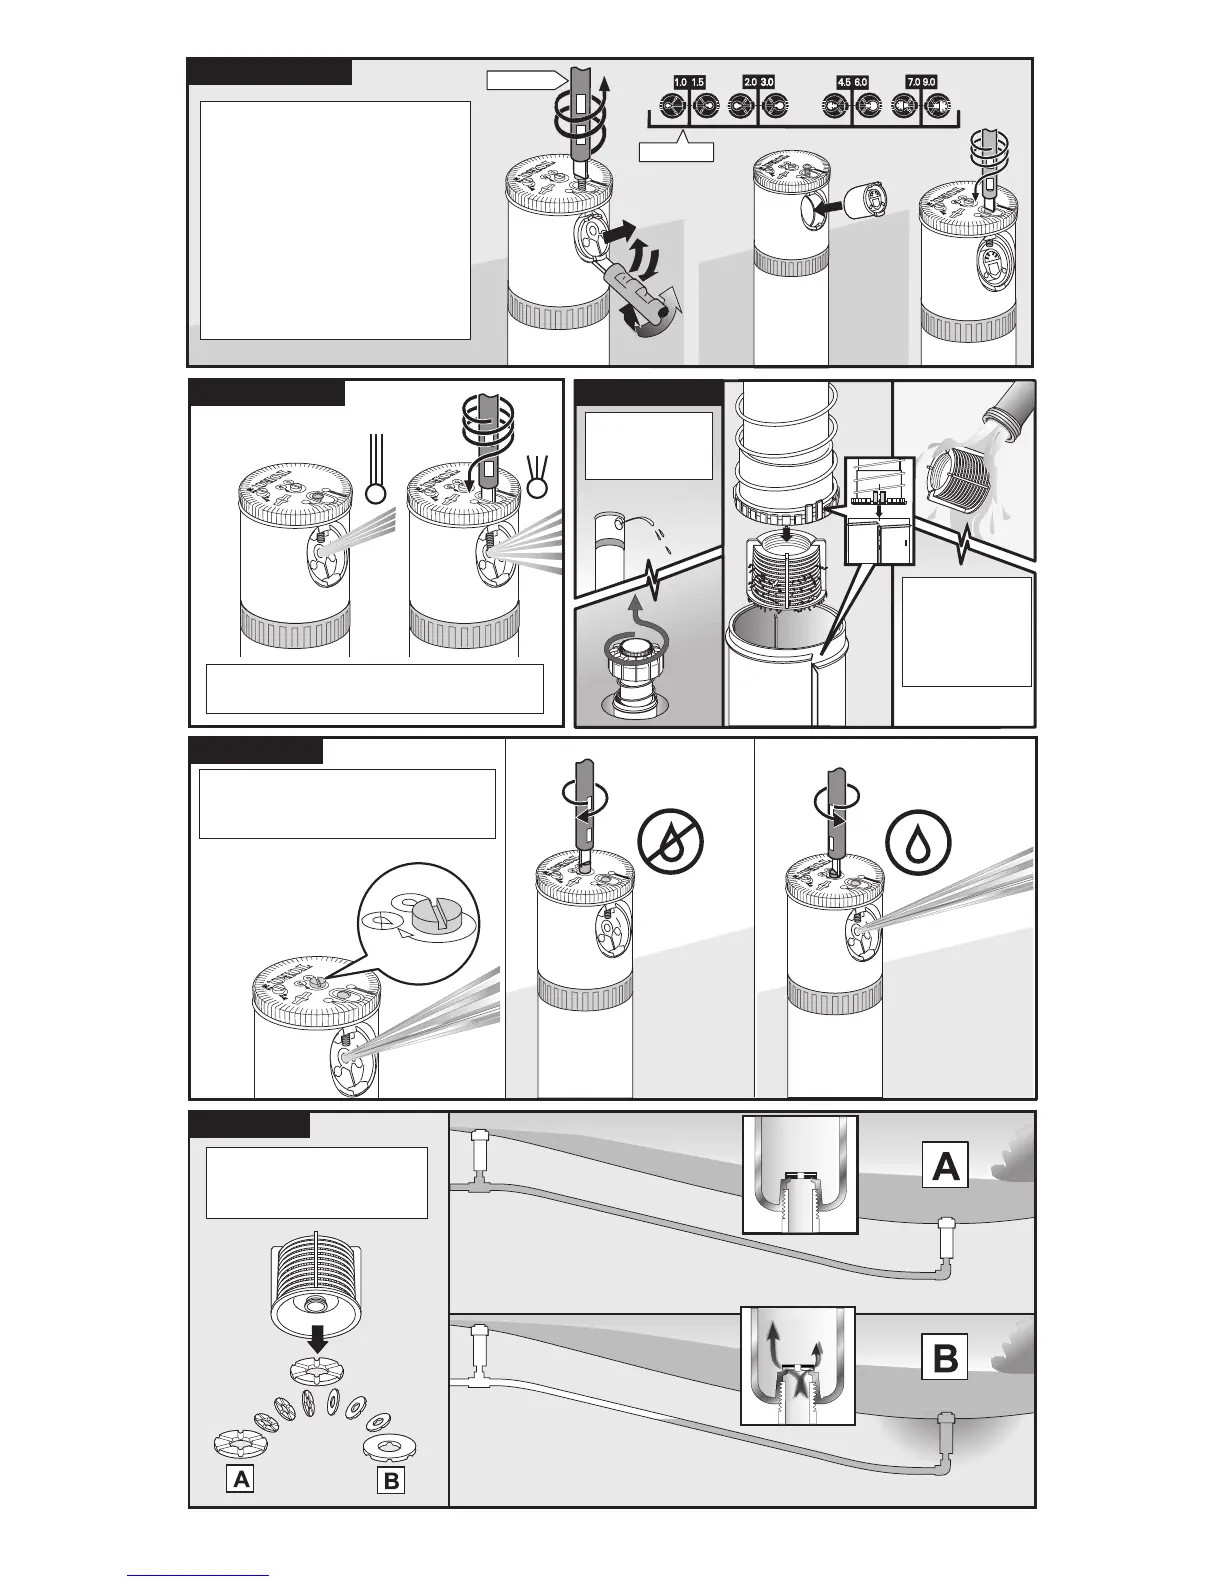
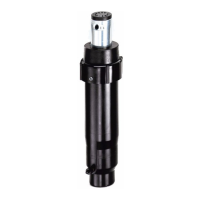
The TR50XT sprinkler comes with
eight additional nozzle sizes from
1 to 9 GPM (4.5 to 41 LPM). To
change the nozzle, use the blade
end of the sprinkler tool or a
screwdriver to turn the nozzle
screw out until it clears the nozzle.
Pry the nozzle out at the bottom
and install the new nozzle. Return
the nozzle screw to its previous
position.
Turn the nozzle screw in to diffuse and
shorten the spray radius.
Turn the center screw right to shut
off flow. Turn the screw left to open
flow.
To eliminate check valve
function, install the check
valve disk in position B.
Remove and
flush screen
as needed.
Changing Nozzle
Adjusting Spray
Cleaning Screen
Check Valve
Flow Shut Off
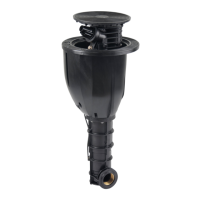
To maintain left
stop, align riser
with body as
shown when
reassembling.
102-1303
102-1877