• Cleans the engine while it r uns
• Eliminates gum-lik e v ar nish buildup in the fuel
system, whic h causes hard star ting
Important: Do not use fuel additi v es
containing methanol or ethanol.
Add the cor rect amount of g as
stabilizer/conditioner to the g as .
Note: A fuel stabilizer/conditioner is most
effecti v e when mix ed with fresh g asoline . T o
minimize the c hance of v ar nish de posits in the fuel
system, use fuel stabilizer at all times .
Filling the Fuel Tank
1. Shut the engine off and set the parking brak e .
2. Clean around eac h fuel tank cap and remo v e
the cap .
3. Add unleaded regular g asoline to both fuel
tanks , until the lev el is 1/4 to 1/2 inc h (6 mm
to 13 mm) belo w the bottom of the filler nec k.
T his space in the tank allo ws g asoline to
expand. Do not fill the fuel tanks completely
full.
4. Install the fuel tank caps securely .
5. Wipe up any g asoline that ma y ha v e spilled.
Checking the Engine Oil
Level
Before y ou star t the engine and use the mac hine ,
c hec k the oil lev el in the engine crankcase;
refer to Chec king the Engine Oil Lev el in
Engine Maintenance , pag e 33
Using the Rollover
Protection System (ROPS)
T o a v oid injur y or death fr om r ollo v er : k eep
the r oll bar in the raised lock ed position and
use the seat belt.
Ensur e that the r ear par t of the seat is
secur ed with the seat latch.
T her e is no r ollo v er pr otection when the r oll
bar is in the do wn position.
• Lo w er the r oll bar onl y when a bsolutel y
necessar y .
• Do not w ear the seat belt when the r oll
bar is in the do wn position.
• Dri v e slo wl y and car efull y .
• R aise the r oll bar as soon as clearance
per mits.
• Check car efull y f or o v erhead clearances
(i.e. branches, doorw ays, electrical wir es)
bef or e dri ving under an y objects and do
not contact them.
Important: Lo w er the r oll bar onl y when
a bsolutel y necessar y .
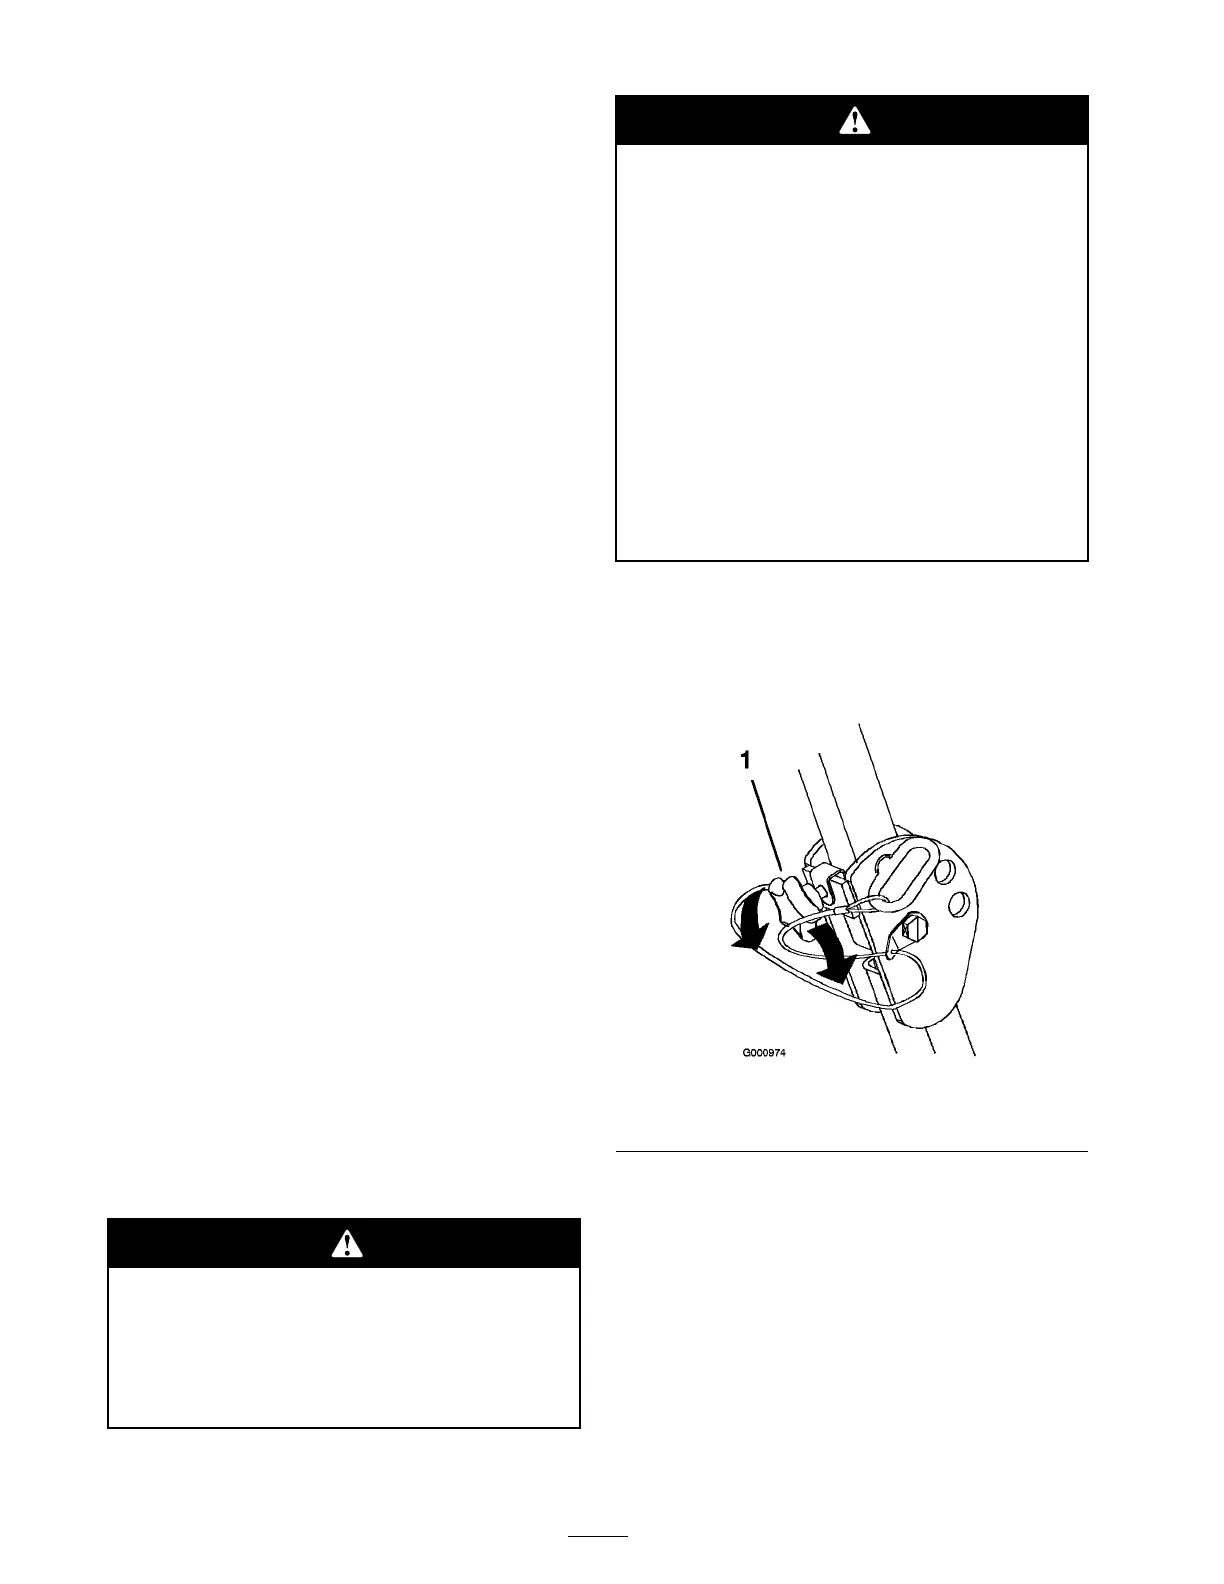
1. T o lo w er the roll bar , loosen the front knobs
( Figure 5 ).
Figure 5
1. Front knob
2. R emo v e the hair pin cotter pins and remo v e the
tw o pins ( Figure 7 ).
3. Lo w er the roll bar to the do wn position. T here
are tw o do wn positions . See Figure 6 for the
positions .
16
 Loading...