1 TROUBLESHOOTING FOR THE HARDWARE
Removal and Installation of the Exit Support Tray 77
Removal and Installation of the Exit Support Tray
If a large number of sheets are printed at a time, some printed sheets may be pushed out of the exit tray. Remove the exit
support tray on the exit tray of the equipment when printing more than 300 sheets.
If the exit support tray is removed, the alignment of a large number of printed sheets can be improved and about 500
sheets of Toshiba recommended plain paper can be loaded on the exit tray.
y To maintain the alignment of the printed sheets, use the exit support tray unless a large number of sheets are
printed.
y When an optional finisher or Job Separator is installed in the equipment, do not remove the exit support tray.
(e-STUDIO206L/256/306, in which the Offset Tray or Job Separator is installed, has no exit support tray.)
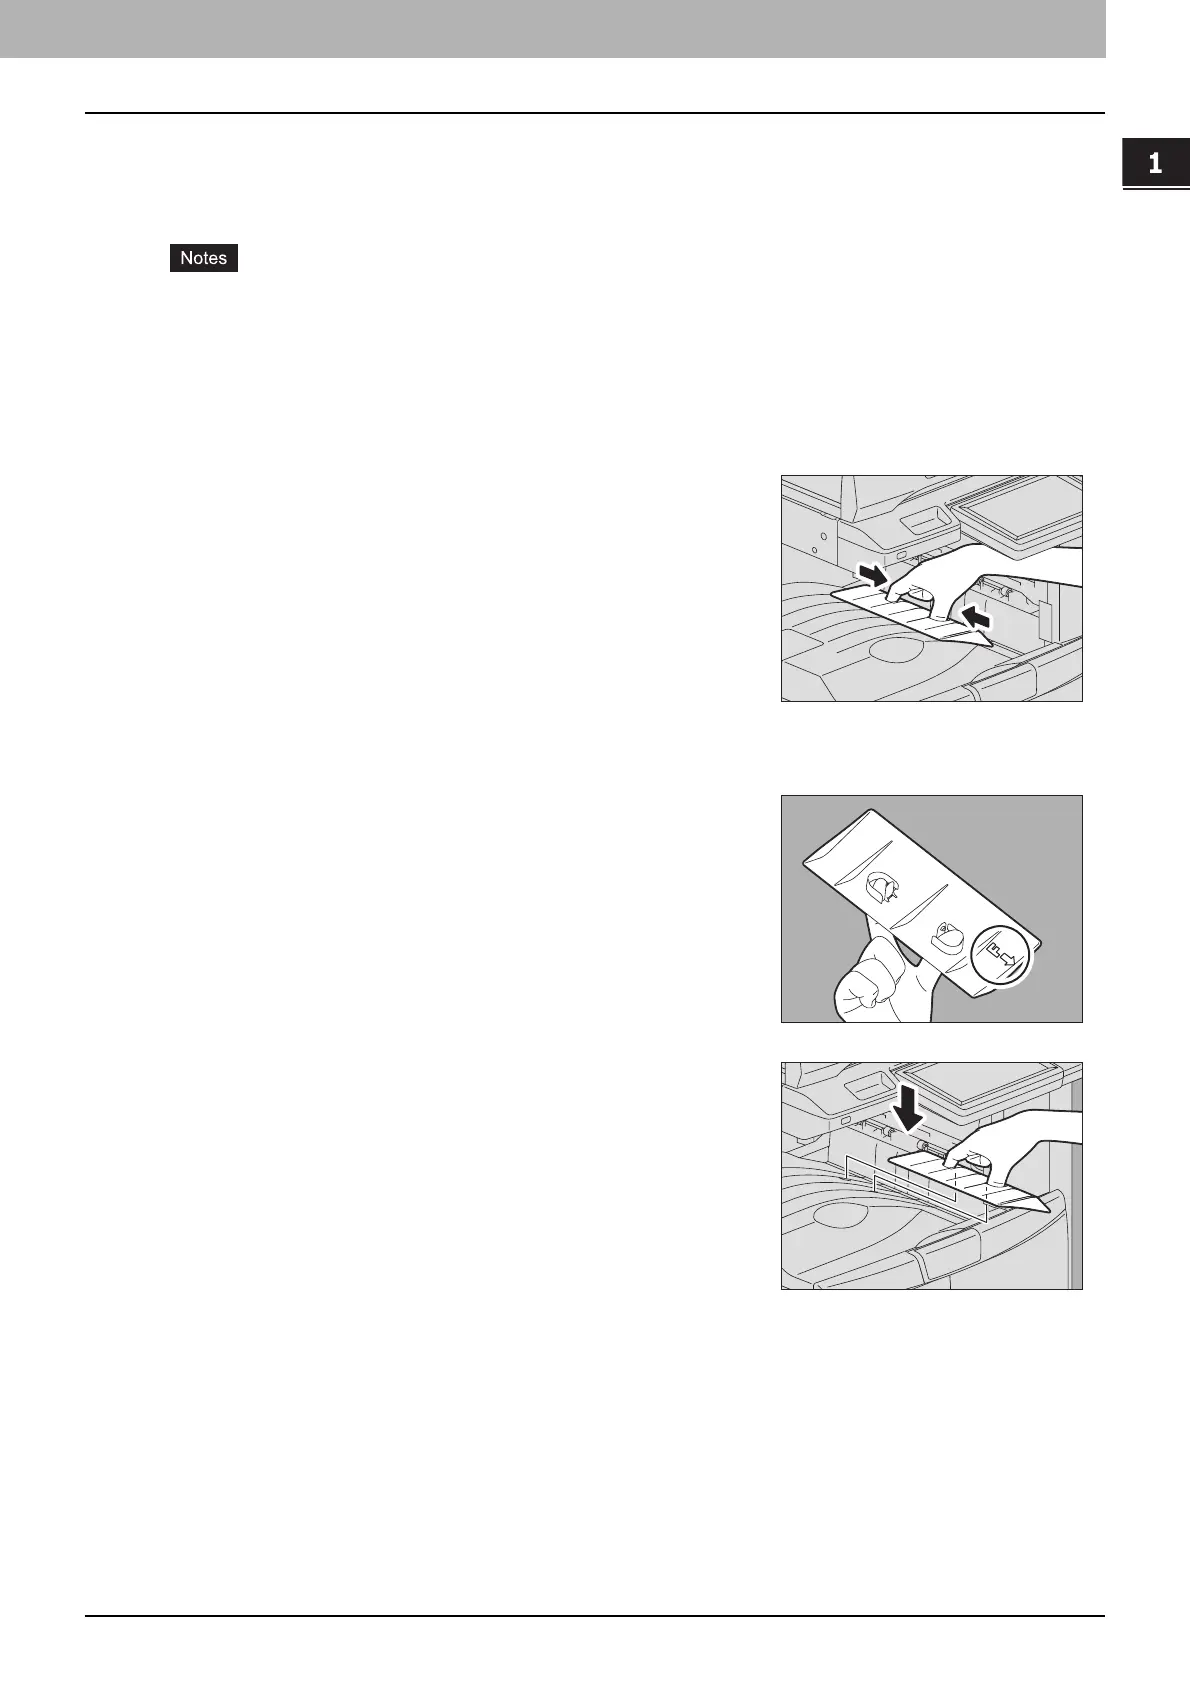
Removing the exit support tray
Installing the exit support tray
1
Place your fingers in the 2 grooves on the exit
support tray and lift it up by pressing the latches
inward.
1
Hold the exit support tray so that the letter “F” on its
back points towards you.
2
Install the exit support tray.
Align the grooves on the exit tray with the protrusions on the back of
the exit support tray and push it until it clicks in order to fix it.
 Loading...


