2
3
4
5
1
1ECO(White)
2 Wi-Fi access (White)
3 Hi POWER (White)
4 Timer (White)
5 Operation (White)
● Displaybrightnesscanbeadjusted,followprocedureon!.
RequireWirelessLANconnectingadapterwhichavailableasaccessory.
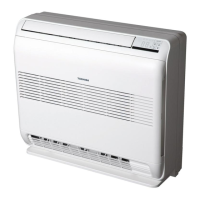
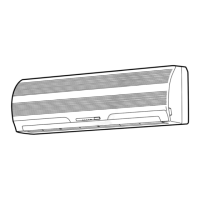
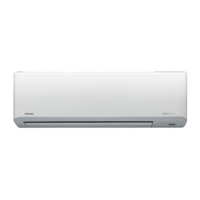
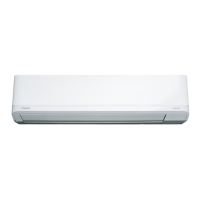
INDOOR UNIT DISPLAY
1
PREPARATION BEFORE USE
2
Preparing Filters
1. Opentheairinletgrilleandremovetheairlters.
2. Attachthelters.(seedetailintheinstallationmanual).
Loading Batteries (when use wireless operation.)
1. Remove the slide cover.
2. Insert2newbatteries(AAAtype)
followingthe(+)and(–)positions.
Clock Setup
1. Push by tip of the pencil.
Iftimerindicationisashing,gotothenextstep2.
2. Press or
: adjust the time.
3. Press : Set the time.
Remote Control Reset
Push by tip of the pencil or
1. Remove the batteries.
2. Press .
3. Insert the batteries.
AIR FLOW DIRECTION
3
1
Press
: Move the louver
in the desired vertical direction.
2
Press
: Move the
louverinthedesiredhorizontal
direction.
3
Press
: For select
louverswingoperation.
Vertical
(Up-Down)
Swing
Horizontal
(Left-Right)
Swing
Swingo
Up-Down
Left-Right
Swing
●Vertical(Up-Down)swing
●Horizontal(Left-Right)swing
4
Press :Toselectprovidedairowdireciton
Wide Spot Wide Spot Wide Spot Return to
center left left center right right manually setting
“Pi”soundwhenairowdirectionissetand“PiPi”soundwhen
airowdirectioniscanceledandreturntomanuallysetting.
Note:
●Do not move the louver manually by hands or others.
●The louver may automation positioning by some operation mode.
REMOTE CONTROL
4
1
2
3
4
5
6
7
8
9
0
!
@
#
$
%
^
&
*
(
)
-
Note:
● TheprovidedRemoteControllerisawirelesstype,whichalsocanbe
usedasawire.Pleasesee“HowtoConnectTheRemoteControllerfor
WiredOperation”,locatedininstallationinstruction,incaseofwired
control is required.
● Inwireoperation,remotecontrollerwillreturntoinitialcondition(PRESET,
TIMERandCLOCKwillreturntoinitialcondition)whenusershutdown
powersupplyofAirconditioner.
AUTOMATIC OPERATION
5
To automatically select cooling, or fan only operation
1. Press : Select Auto A.
2. Press : Set the desired temperature Min.17°C,Max.30°C.
3. Press : Select AUTO, LOW ,LOW+ , MED ,
MED+ , HIGH or Quiet .
COOLING / FAN ONLY OPERATION
6
1. Press :SelectCool or Fan only .
2. Press : Set the desired temperature.
Cooling:Min.17°C,Max.30°C
Fan Only: No temperature indication
3. Press : Select AUTO, LOW ,LOW+ , MED ,
MED+ , HIGH or Quiet .
DRY OPERATION
7
For dehumidification, a moderate cooling performance is controlled
automatically.
1. Press : Select Dry .
2. Press : Set the desired temperature Min.17°C,Max.30°C.
Note: Dry mode fan speed is set to Auto only.
Hi-POWER OPERATION
8
Toautomaticallycontrolroomtemperatureandairflowforfastercooling
operation (except in DRY and FAN ONLY mode)
Press : Start and stop the operation.
Infrared signal emitter
Start/Stopbutton(
)
Mode select button ( )
Temperature button ( )
Fan speed button ( )
Swinglouverbutton( )
SetlouverUp-Downbutton( )
On timer button ( )
Otimerbutton( )
Setup button ( )
Clearbutton( )
Memory and Preset button ( )
AIR FLOW selection button ( )
Highpowerbutton( )
Economy button ( )
Set louver Left-Right button ( )
Comfortsleepbutton( )
Filter reset button ( )
Set clock button ( )
Checkbutton( )
Reset button ( )
1120650287-00_S01_182x257_12p_S_p70_210716.indd 4 2/5/2022 10:28:00 AM
 Loading...