Document 60763-000
Installing RemotEye II/Internal
Follow these steps to install the RemotEye II/Internal card.
a) Slide the RemotEye II/Internal printed circuit board into the
extension option slot of the UPS.
b) Secure the printed circuit board using the UPS-supplied
screws.(See Error! Reference source not found.)
Installing RemotEye II/External
Follow these steps to install the RemotEye II/External device.
a) Insert the power adapter cable of the RemotEye II into
the 12 VDC power receptacle of the RemotEye II
device.
b) Plug the RemotEye II power adapter into a 120/220
VAC power source. For best results, be sure outlet is
powered by a Toshiba UPS.
c) Connect the UPS cable from the RS232 serial port of
the Toshiba UPS to the RemotEye II/External UPS
port.(See Error! Reference source not found.)
Configuration
RemotEye II must be configured for proper operation on its network.
Configuring the RemotEye II via Terminal
The RemotEye II can be configured by directly connecting to the device.
Hardware Setup
Direct configuration is accomplished through the provided cable. Follow these steps to setup the
hardware for direct RemotEye II configuration:
a) Connect the DB9 female end of the PC cable to the terminal or workstation COM port.
b) Connect the RJ45 end of the PC cable to the PC port of RemotEye II/External or the
COM port of the RemotEye II/Internal.
Software Setup
The direct configuration is accomplished by using the RS232 communication protocol.
The direct communication can be performed from a workstation running Terminal
Emulator Software (TES)
Connecting to the RemotEye II via Terminal
A direct configuration session can easily be established once the hardware and software are
properly set up. Follow these steps to begin configuration
:
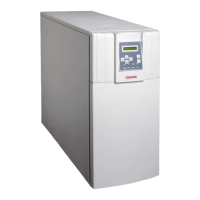
Figure 1: RemotEye II/Internal
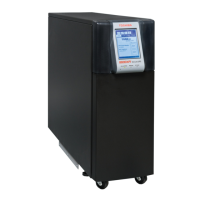
Figure 2: RemotEye II/External
 Loading...