8
Installing the Ovation Jukebox
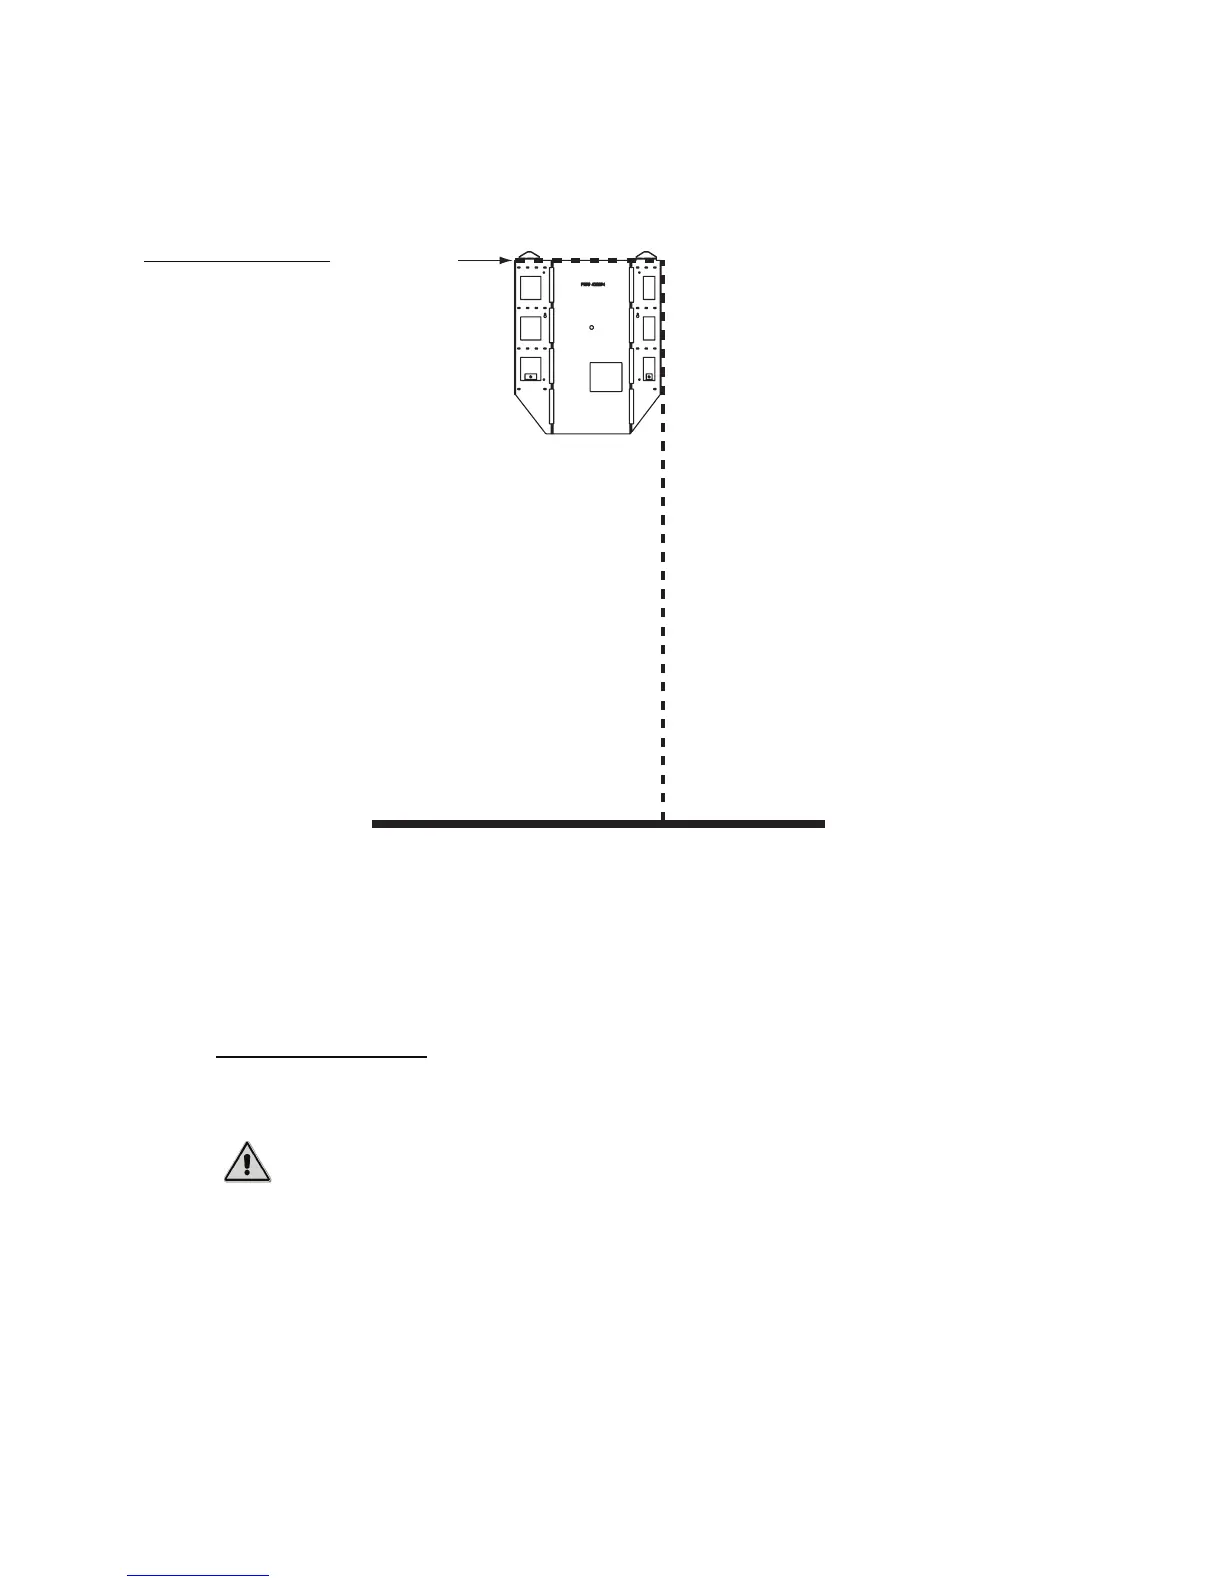
This measurement shows how far the bracket will extend along the wall. The wall bracket for
an Ovation jukebox is 25.1 inches wide, as measured from the line below the top flanges.
3. Align the wall bracket with the measurements you made in steps 2 and 3.
4. Using a level, ensure the wall bracket is level both horizontally and vertically.
5. Attach the bracket to the wall using at least four (4) lag bolts and washers.
The wall bracket is attached. Continue to the next procedure to hang the Ovation console on
the bracket and attach it to the wall.
Hang the Ovation
Once the wall bracket is securely attached, hang the Ovation on the wall.
To hang the Ovation on its wall bracket:
1. Move the Ovation so it is close to the wall bracket.
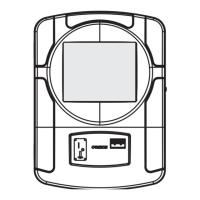
2. Identify the flange hooks for the jukebox on the rear of the Ovation.
These flange hooks fit into receptacles on the wall bracket, securing the Ovation to the wall.
3. Using at least two people, lift the Ovation so that the top of the jukebox is slightly higher than
the top of the wall bracket.
Figure 1
Mounting guidelines for
jukebox wall bracket
Caution: The Ovation jukebox is heavy and can cause injury if lifted incorrectly.
TouchTunes recommends at least two people perform the following procedure.
Top of
Bracket
65 inches from floor
25.1 inches across