Do you have a question about the TouchTunes Virtuo Floor Stand and is the answer not in the manual?
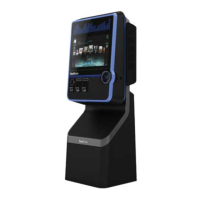
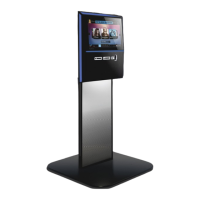
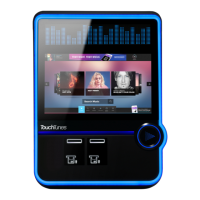
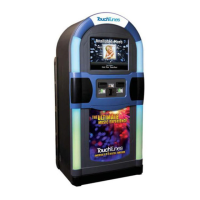
Introduces the Virtuo Floor Stand and its capabilities.
Explains the intended audience and scope of the manual.
Provides critical safety warnings and disclaimers for product installation and use.
Details how to contact TouchTunes for assistance and required information.
Instructions for moving the floor stand to its installation site to prevent damage.
Details the weight and dimensions of the Virtuo Floor Stand and its components.
Lists the necessary tools required for installing the Floor Stand and Virtuo.
Step-by-step guide on safely removing the floor stand from its shipping pallet.
Instructions on how to attach the wheels to the main frame of the floor stand.
Explains how to assemble the two pieces of the baseplate to form the horseshoe shape.
Covers the process of installing and wiring the speakers for the floor stand.
Provides instructions for safely mounting the Virtuo unit onto the assembled floor stand.
Details the steps for installing the crossover bracket and connecting cables.
Explains the overall wiring configuration for the Virtuo Floor Stand and its components.
Illustrates how to connect the speaker wires and other audio cables within the Virtuo.
Specific instructions for connecting the subwoofer and array speaker wires to the power amplifier.
Guide on connecting the I/O board Zones 2 & 3 to the DA-415 amplifier and AC strip.
Provides diagrams showing different possible speaker wiring configurations and their impedance loads.
Instructions on how to secure wiring using twist ties for easier service maintenance.
Step-by-step guide for reattaching the upper back panel after internal connections are made.
Final step of plugging in and powering up the installed Virtuo unit.
| Type | Digital Jukebox |
|---|---|
| Model | Virtuo |
| Manufacturer | TouchTunes |
| Form Factor | Floor Stand |
| Display | Touchscreen |
| Screen Size | 32 inches |
| Connectivity | Wi-Fi, Ethernet |
| Power Requirements | 120V AC |
| Audio Output | Stereo |
| Payment Options | Credit/Debit Cards, Mobile Payments |